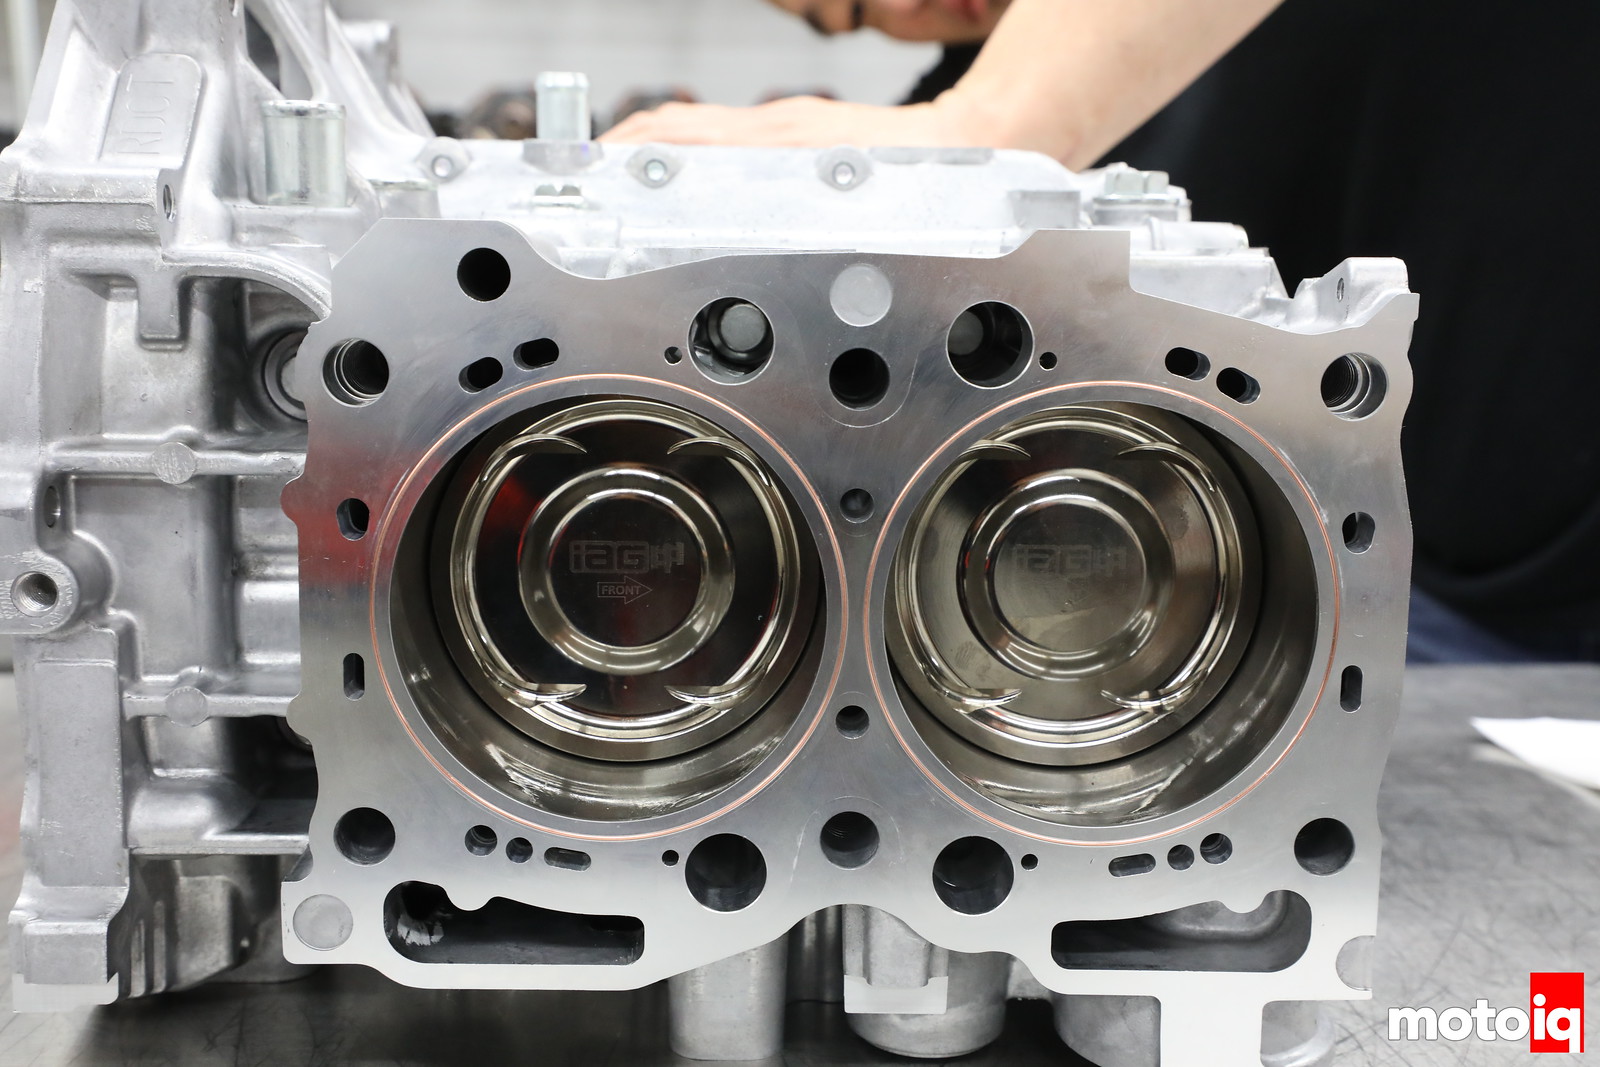
If you have been following our EJ257 engine build series with IAG Performance, you have been able to look inside IAG’s incredible attention to detail in machining and parts selection. Now it’s time to bring all of the parts together and assemble them in IAG’s incredible engine assembly area!
Read all about project STI and the other chapters of this engine assembly!

IAG has a huge engine assembly department. Final assembly is done in two large clean rooms with controlled environments. One room is for bottom end assembly and the other is final assembly. They are well lit and nearly surgically clean with a slight positive pressure ventilation system. The cleanrooms are cleaner than your house and you literally have to walk through double doors and over a tack sheet to pick all the dirt from the soles of your shoes to get in.

To start our build the Calles connecting rods were pre-assembled with the pre-sized bearings being put into the rods along with putting assembly lube on the rod bolts. Assembly lube is critical for correct rod bolt torque readings.

Lube is applied to the bearings on the rod.

The rod is placed on the crank.

The corresponding cap is lightly tapped in place with a small dead blow mallet.


10 comments
Fantastic series Mike. Seeing this level of detail is masterful.
Is the situation with assembly of the piston pins the same for 6-cylinder boxer engines? I can’t imagine how you would get the pin into the center cylinders.
Also, there must be an obvious reason why the block can’t be assembled with the pistons, but I am kinda spacing it. For the Boxer builders, how does ease of assembly compare to straight engines?
Now, I am really curious as to how Porsche assembled their flat-12s. Going to have to do some Googling, I guess.
At least the older air cooled Porsche stuff is different because the cylinders come off the block individually.
Yes Joe.
let us know what you find out
I forgot about the air cooling. I am sure that the same situation applies for the big 12 as Dan mentioned.
I did find a decent build video for the Water Cooled Porsche Flat-6 but it looks exactly as hard as I thought it would be. Knowing Porsche, they probably have a special assembly tool at the factory for getting that pin in more easily. Or maybe some special jig?
Oh, I am sorry. Obviously, the rod bolts can’t be torqued. I knew it was something simple.
The rod bolts can be torqued but the stretch which is the proper technique is used.
Love it – i wish i could have this build.
What is the copper wire diameter and how much it sticks out of the block deck?
Don’t know didnt ask