 |
Project Honda Civic EJ: The Engine Build Begins!
by Chuck Johnson
Photography by Joe Lu
Here at MotoIQ headquarters, we lack any kind of self-control and discipline. When we first conceptualized Project Civic, we planned to keep it simple with only a few basic modifications. However, if you're foolish enough to involve me in a car build of any kind, you're simply asking for trouble. Poor Annie Sam, I'm always taking things too far. Blown head gasket? Sure, we'll just replace that sucker and while we’re in there, we'll take care of a few other things too. [Insert dastardly, evil laugh here.] And so the engine build begins…
 |
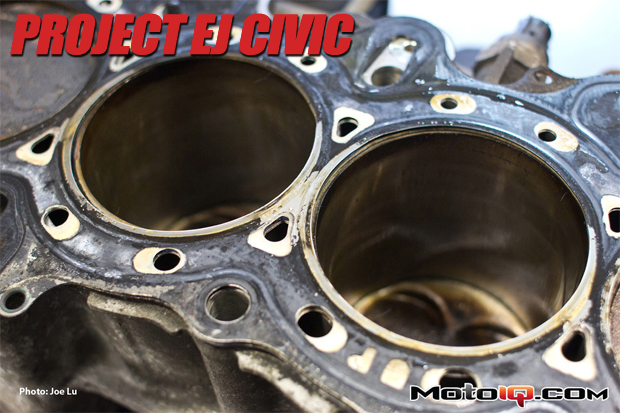
After removing the cylinder head and the head gasket, the results of Annie's literal “hot laps” at Button Willow became quickly apparent. Two tell tale scorch marks led from the combustion chambers of cylinders two and three over to the adjacent coolant passage. This confirmed the suspicions we had about the incessant air bubbles found in the coolant as well as the lack of coolant itself during our baseline testing at Button Willow Raceway.
 |
This type of damage to the head gasket's elastomer coating is typical when over heating distorts the cylinder head or block surface. The loss in micro sealing causes combustion pressure to pressurize the cooling system and also reduces performance when coolant is pulled through the failed area by the vacuum of the intake stroke.
To further assess the damage and determine what kind of shenanigans awaited us, we inspected the cylinder head for warping. This can be done using a “precision parallel” or a “machinist straight,” both of which have a high degree of straightness and flatness. Setting our machinist straight down on the deck of the cylinder head, we used feeler gauges of various thicknesses to inspect the deck for flatness. We repeated this several times in a “X” pattern and then around the perimeter of the deck to determine that the cylinder head was warped by over .005″. This was well over the flatness limit of .002″ specified in the FSM.


