,
Aaron is an artist with a welder and the piece that he built for me is not only beautiful but also tremendously opens up the exhaust when compared to the OEM J-pipe and downpipe. The divorced wastegate pipe also allows for free flow without noise that will make my neighbors shudder. With the VRS catback in place – a Magnaflow cat and Magnaflow muffler but no resonator – it was easy to tie the two together. They were literally made for each other. Urethane muffler hangers holds everything securely in place. The car was then towed home and stored while I waited for Dave's single bay shop to open up and allow us to begin the task of rebuilding the engine. By this time we had decided that only a full rebuild would be sufficient, combining new parts – including ACL bearings from G-Spec – and parts from the second GTi-R engine that I had in storage.
 |
| The VRS stainless exhaust with Magnaflow Muffler and cat came from Eric (LikeTheMovies) on the Dash. Three inches of flow from turbo to tip. |
The focus of the build was to build an engine to OEM specifications but hopefully with greater durability. We started with the head and pulled out the valves from number four cylinder and there was nothing we could do except laugh at how bent they were. We looked over all of the valves from cylinders one through three and realized that they were still in pristine shape. The valves in the second head were also in great shape, fitment was ideal and so we went to work with the build. This was probably the fastest part of the entire project. With everything back in place we used the liquid test to check for the tightness of the valve seal – flipped the head upside down and poured some gasoline into the on top of the valves. Everything was perfectly sealed. This would be confirmed when the engine was together and we completed a compression test.
 |
| When we pulled out the valves there was nothing to do except laugh. |
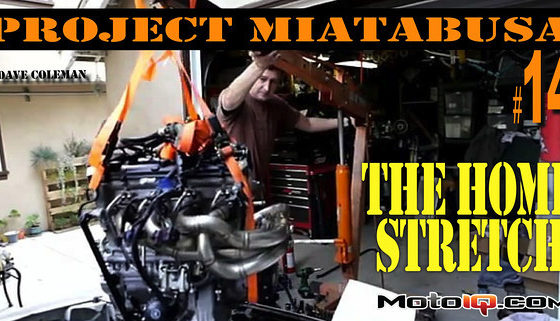
Now it was time to pull the engine. Our plan was to rebuild my spare engine and put the original engine aside, probably for a wild build at some point in the future. We had a 4' x 4' temporary table that was holding the spare engine and the rebuilt head, along with a few boxes of parts. I already mentioned that Dave's shop is a single bay but didn't mention it's also his own residential garage. It is considerably larger than mine, with a compressor and with a hoist that lifts the car three feet into the air. I really appreciated the furnace and hot water tank that came along with his shop, as even though this has been a very mild Canadian winter, it is still winter. We had the second block cleaned, stripped down and ready for the rebuild to begin. After we pulled his engine hoist and engine stand out of storage, we set to work unplugging the rest of the harness, axles and everything else. We then pulled the engine and transmission out the top and, after separating the two, put the engine onto the engine stand. One thing I really came to like about Dave's engine stand is that it has a tray under the engine. Great for holding anything that you need and also catches any fluids that are still hidden in the inner bowels of the motor.
 |
| You may not be budget conscious, but I am. Many OEM parts from my spare engine were utilized in this build, including the valves and a rocker. The exhaust cam was fine, indicating that the timing chain likely broke first. If it was another part, the exhaust cam would have been mangled. |
As we started working on the original engine, we realized that it was simply the better block. I was certain that it had half of the mileage the spare engine had, and everything about it looked perfect. So mid-process we changed our plans and focused upon the original engine for the build. All of the parts, including the block, were cleaned in a varsol tank to allow for careful inspection. While this did not make them spotless like a hot tank process, it did keep costs down and provided us with the opportunity to check everything out ourselves. As we were doing this I commented to Dave that I had never had an engine this far apart and then successfully put it back together into running condition. Thank God that Dave knew what he was doing.
 |
| You need to have the proper tools and space, especially when the build includes having two engines apart. An engine stand with a tray is pure genius. |


