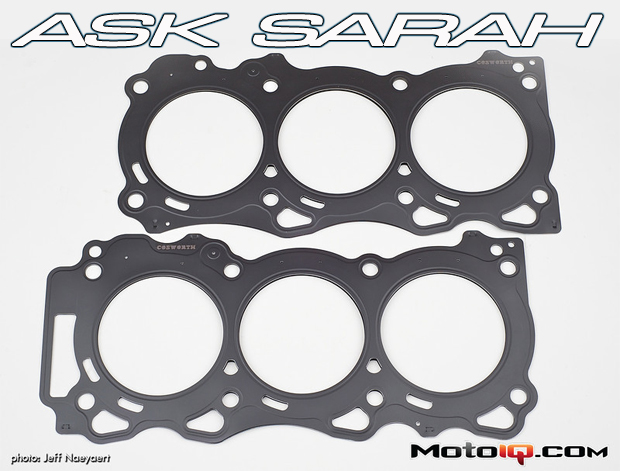
,

Dear Sarah: I just swapped an SR20 into my 1993 Nissan 240SX. It's running fine but I can't figure out how to hook up the A/C compressor with the KA24 lines. I thought about having some factory ones welded but I couldn't find any welders interested in doing it- something about the lines being soaked? And I'm boost poor so I can't get custom lines made. Before swapping the engine, my car's air conditioning worked great and blew ice cold so I know the KA equipment works…is there a way to get this working? - Dr. Drift
I almost can't take your question seriously with that name! Ok… I'm good now. When KA to SR swaps became popular years ago, there weren't many options- you'd pay a lot for custom lines and a recharge or you'd have to buy OEM lines from Nissan and have them welded, another expensive option. Most welders didn't want to modify the lines due to the PAG (PolyAlkylene Glycol: refrigerent) oil soaking into the aluminum. This makes TIG welding virtually impossible.
 |
| These adapter brackets will let you install the KA24 compressor to the SR20 engine. They include radiused ends and flathead allen screws and won't get in the way of the oil pan or sway bar. |
Luckily, one 240SX owner was fed up and developed a custom solution. Cody Ace makes adaptor brackets that allow owners to adapt KA24 compressors and lines to the SR20 engine. His bracket adapter allows any year DOHC KA24DE compressor to be bolted up to any year and type SR20 S13-S15 engine brackets while using the factory lines, equipment and wires. Another nice feature of his brackets are the slim CNC cut design, which allows clearance of all SR20 aftermarket pans as well as aftermarket sway bars. For more information regarding these brackets, check out his website. It includes a guide on the features of his brackets as well as an identification chart to help you determine what components you have before making your purchase.
Sarah,
I cannot get the lug nuts off of a 1994 Pontiac Sunbird. I have taken it in everywhere and no one can get them off because they do not have a tool that will fit. What can we do?
Thanks,
Billie
The locking wheel lug nut must be removed by turning the special adaptor tool counterclockwise. There are lug lock removal sockets that you can find at any hardware store for this kind of thing but they don't work much better than your home grown options. You can usually get the locking lug nut off without the special tool by using a deep (1/2″) 12 point socket that barely fits over the lug nut. Whack it a little with a ball peen hammer to get it nice and tight over the lug nut and then loosen the lug nut. You might want to put the end of a jack or some other pipe on the breaker bar to help with leverage. After you remove the lug nut, you can hit the socket against the ground or use a punch to get the lug nut out of your socket, though I suggest you don't use an expensive socket just in case.
If that doesn't work, you can try drilling a small hole into the center of the lug nut and using a chisel and punch to split the lug nut and pull it off. But you do run a higher risk of damaging your wheels with these options. You can also try using a cutoff wheel to slice it until the lug breaks into pieces. Or use some vice grips and biceps to muscle it off. Any of these methods will probably render these lug nuts useless; not that you'd want to reuse them anyways given you don't have the key! You can buy another set of lug nuts to re-install the wheels, even a set of the locking lug nuts if you'd like, though I'm not sure how popular Sunbird wheels are on the black market… In either case, take some precautions and wear protective eye wear so you don't get pieces of the busted nut in your eye!
Got a difficult tech question? Email Sarah at asksarah@motoiq.com