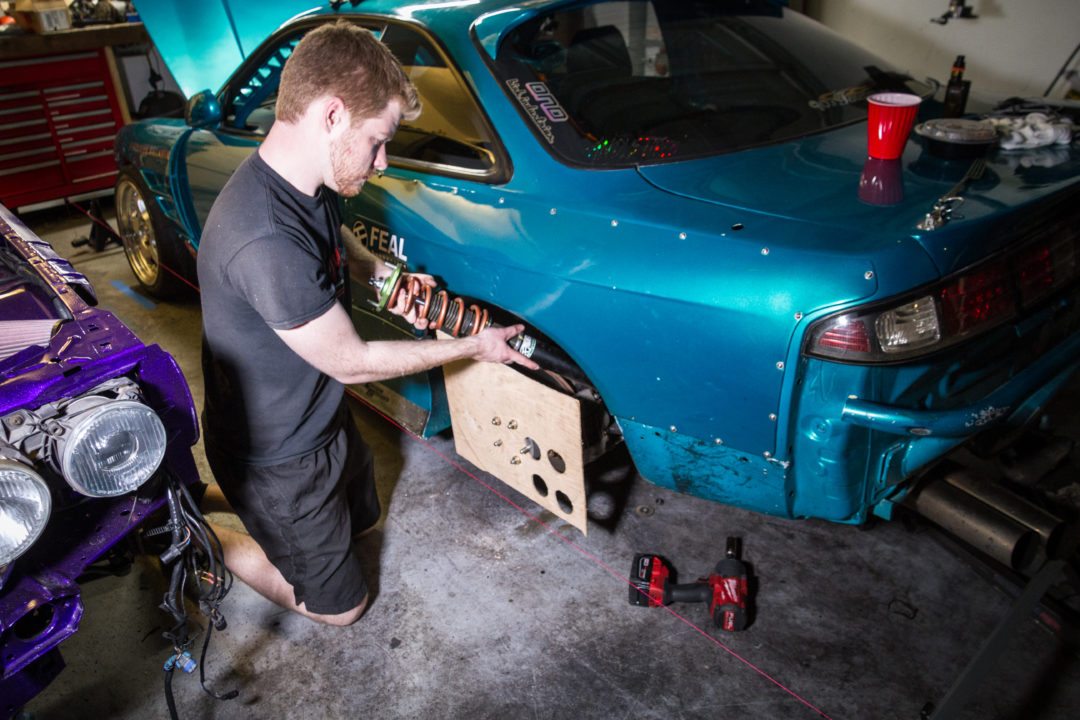
We also stacked a bunch of spacers on the hub in order to make the plywood jig clear the calipers.And there it is! Using this super simple jig, we can now measure the toe at any point in the suspension travel. We drew vertical lines on the jig that are same width as the rim, so that we are measuring our toe at the same distance as the wheel diameter.Next, we removed the coilover and disconnected the sway bar to allow us to move the suspension freely.
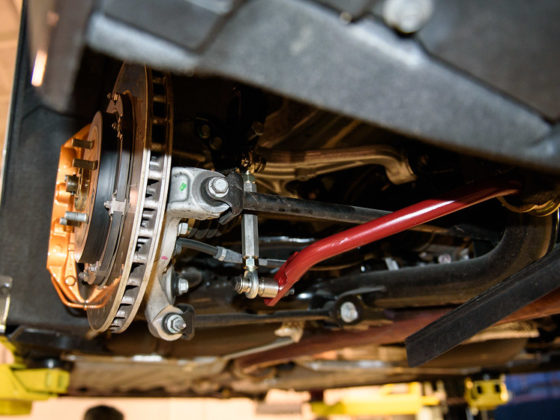
Now, the mere act of jacking up the car will throw your strings off, they will no longer be perfectly parallel to the car. However, that does not matter here. We are not trying to measure the absolute toe, we are only trying to measure the CHANGE in toe across the suspension stroke. After the tension rod is adjusted, you will need to realign the strings before making the final toe adjustment.
We start by taking the first toe measurement with the suspension drooped as low as it will go. We then place a jack under the lower control arm and jack it up until the suspension starts binding (or the toe rod starts hitting the subframe stud). As you can see, we measured ⅝” of toe out under compression! That’s crazy!!!!!
awesome article!! I’d like to know what adjustment I would need to make if i wanted my suspensio to toe in on compression and how to make my rear suspension squat under throttle
This article just changed my life. I had to recently swap out an aftermarket tension rod after it had been bent and thought to myself, “wtf does this even do?” Then BAM, this article gives me not only the information but the awesome visuals to better understand.
Phenomenal write up and I cant wait to see how my S13 feels after a proper adjustment.


2 comments
awesome article!!
I’d like to know what adjustment I would need to make if i wanted my suspensio to toe in on compression and how to make my rear suspension squat under throttle
This article just changed my life. I had to recently swap out an aftermarket tension rod after it had been bent and thought to myself, “wtf does this even do?” Then BAM, this article gives me not only the information but the awesome visuals to better understand.
Phenomenal write up and I cant wait to see how my S13 feels after a proper adjustment.