,

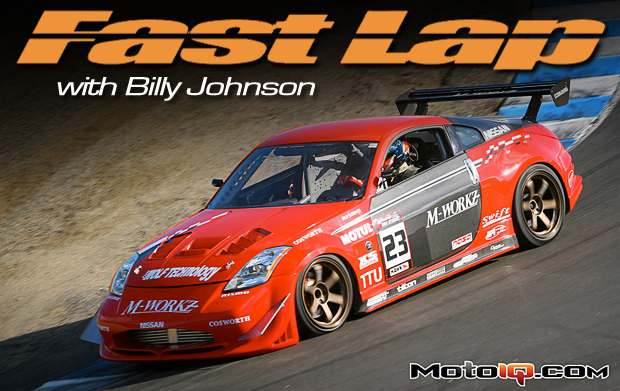
Follow me through a fast lap around MRLS:
Turn 1 (The Crest)
While on the front straightaway, apex the wall on the left right under the bridge/start-finish line. Let the car track-out only to mid track as you reach the blind crest. As you are cresting the hill, turn back left to bring the car down to apex Turn 1 with your left-side tires at the white line. Then track out to the right side of the road. You don’t have to make it all the way to the right side of the track but it’s important to track-out to the “left-of-center” of the road.

Turn 2 (Andretti Hairpin)
There are two predominant theories as to which line to take for Turn 2. Some opt for a straight-line braking zone following the right side of the road and then missing the first apex curb by over a car width or two, creating a long decreasing-radius single apex corner. The other option is to turn-in early and “diamond” the corner. I tend to go for the latter:
Once you have tracked-out of Turn 1, immediately point the car toward the first apex of the now double-apex Turn 2. Speeds can be from 120 to over 150mph at this point so it is important to find a good immovable reference point. The number boards tend to be in a fairly consistent area at MRLS but they have been known to be knocked down by unfortunate individuals so they might not always be the best reference point. Brake in a straight line diagonally across the road from the right side of the road to the apex on the left. I even run over the first apex curb with my left front tire. This line allows you to brake later and to remain on the brakes as you PASS the first apex curb. Once you've passed the first apex, trail off the brakes to rotate the car quickly. Keep the car tight and do not drift any wider than 2 car widths from the left side of the road between the two apexes. Once the car is rotated, pick up full throttle as soon as you can keep it down all the way to track-out. Hit the second apex and track out to the curbing on the right.
Turn 3
Turn 3 is a tight right hand corner whose exit comes up very quick. Since Turn 3 sets up for Turn 4 and the infield straight, the exit is more important than the entry and requires a later apex.
You can draw a straight line from the track-out curbing of Turn 2 to the turn-in point for Turn 3. Follow this straight line which naturally brings the car back to the left side of the road to set up for Turn 3. This will prevent any unnecessary zig-zagging across the track. Find a good brake reference point from the brake markers on the left side of the road. A good turn-in reference point is where the turn-in curbing goes from striped blue & white to the solid white that angles (trianglulates) back to the track surface. Turn in with slow hands and then add more steering input right before the apex to get down to it. This will help make a later apex. Pick up full throttle at or before the apex then start unwinding the wheel to track out. If you run out of room on the exit you either turned in too early or got back on the power too early.
Turn 4 (Exiting down a long straight)
Turn 4 leads on to the infield straight and a great passing zone into Turn 5 so the exit is very important.
Like Turn 3, turn-in at the end of the striped turn-in curbing with slow hands and then tighten the line as you approach the apex to get down to it. In a low powered car like a Spec Miata, you can get to full throttle immediately after a 'confidence lift' at turn-in. In higher powered cars, you will have to tap the brakes at turn-in and coast more, waiting to get to power until near the apex. Like Turn 3, you want to be full throttle by the apex if not before.


