,

Getting coolant from the engine back to the radiator was actually pretty simple. 1″ electrical conduit is dirt cheap, already galvanized to resist corrosion, and easily bent with conduit benders that engineers who have just re-wired their house are likely to have on hand. The OD of the conduit was slightly small for the radiator hoses, so we machined some scraps of steel into swedge dies and hammered them into the ends of the conduit to stretch it to an appropriate size.

We installed the temperature sensor for our mechanical temperature gauge in the rear coolant pipe. This is the hot pipe from the engine to the radiator, so once the engine is warm and the thermostat is open, the reading will be the same as if we had mounted it on the engine. Putting it on the pipe gives us a little more room to work around the engine. If we were smarter, we would have put it even closer to the radiator, outside of the engine bay completely.

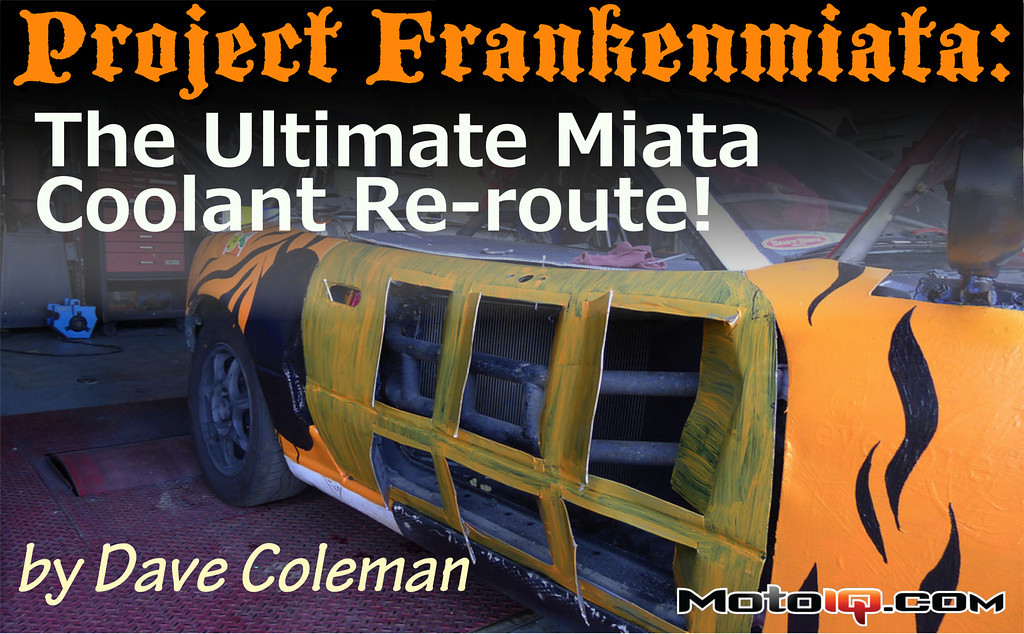
With the water flow figured out, the next challenge was funnelling air into the side-mounted radiator. Air is generally invisible and hard to predict, so we spent countless hours having uninformed arguments about whether air would actually pass through our radiator or simply slide past the open door. It turns out door-mounted radiators are pretty rare, so there was little prior art for us to study.
We started by using a can of expanding spray foam insulation to seal the paths around the radiator. If any air did find its way to the radiator, this should help encourage it to actually pass through.

Next we fabricated some coroplast ductwork to channel to the radiator. The panel visible here creates a relatively smooth, gentle bend for air flowing down the side of the car to bend inward toward the radiator. A sharp bend here, we feared, would cause a mess of turbulence. This panel also separates the inner 1/3 of the radiator from the outer 2/3. The inner 1/3 gets air from the cowl, through the hole Miatas already have to feed the heater and air conditioner, plus the hole in the firewall we cut to pass the coolant pipes in. Since the car originally had no hood, the firewall hole seemed like a reliable source of high-pressure air.

We made a feeble attempt to figure out if the angle was shallow enough to keep flow attached to the surface by taping tufts to the panel and recording it with a GoPro. Just to date this photo, this was the first time we'd ever seen a Go Pro. It prooved to be to complex for us to operate. We never did see any video of the tufts.

Even after the cooling system proved its effectiveness, we added this plywood scoop for summer races. it seemed to work until it got smashed to splinters on the last lap of a Sears Point race.


