
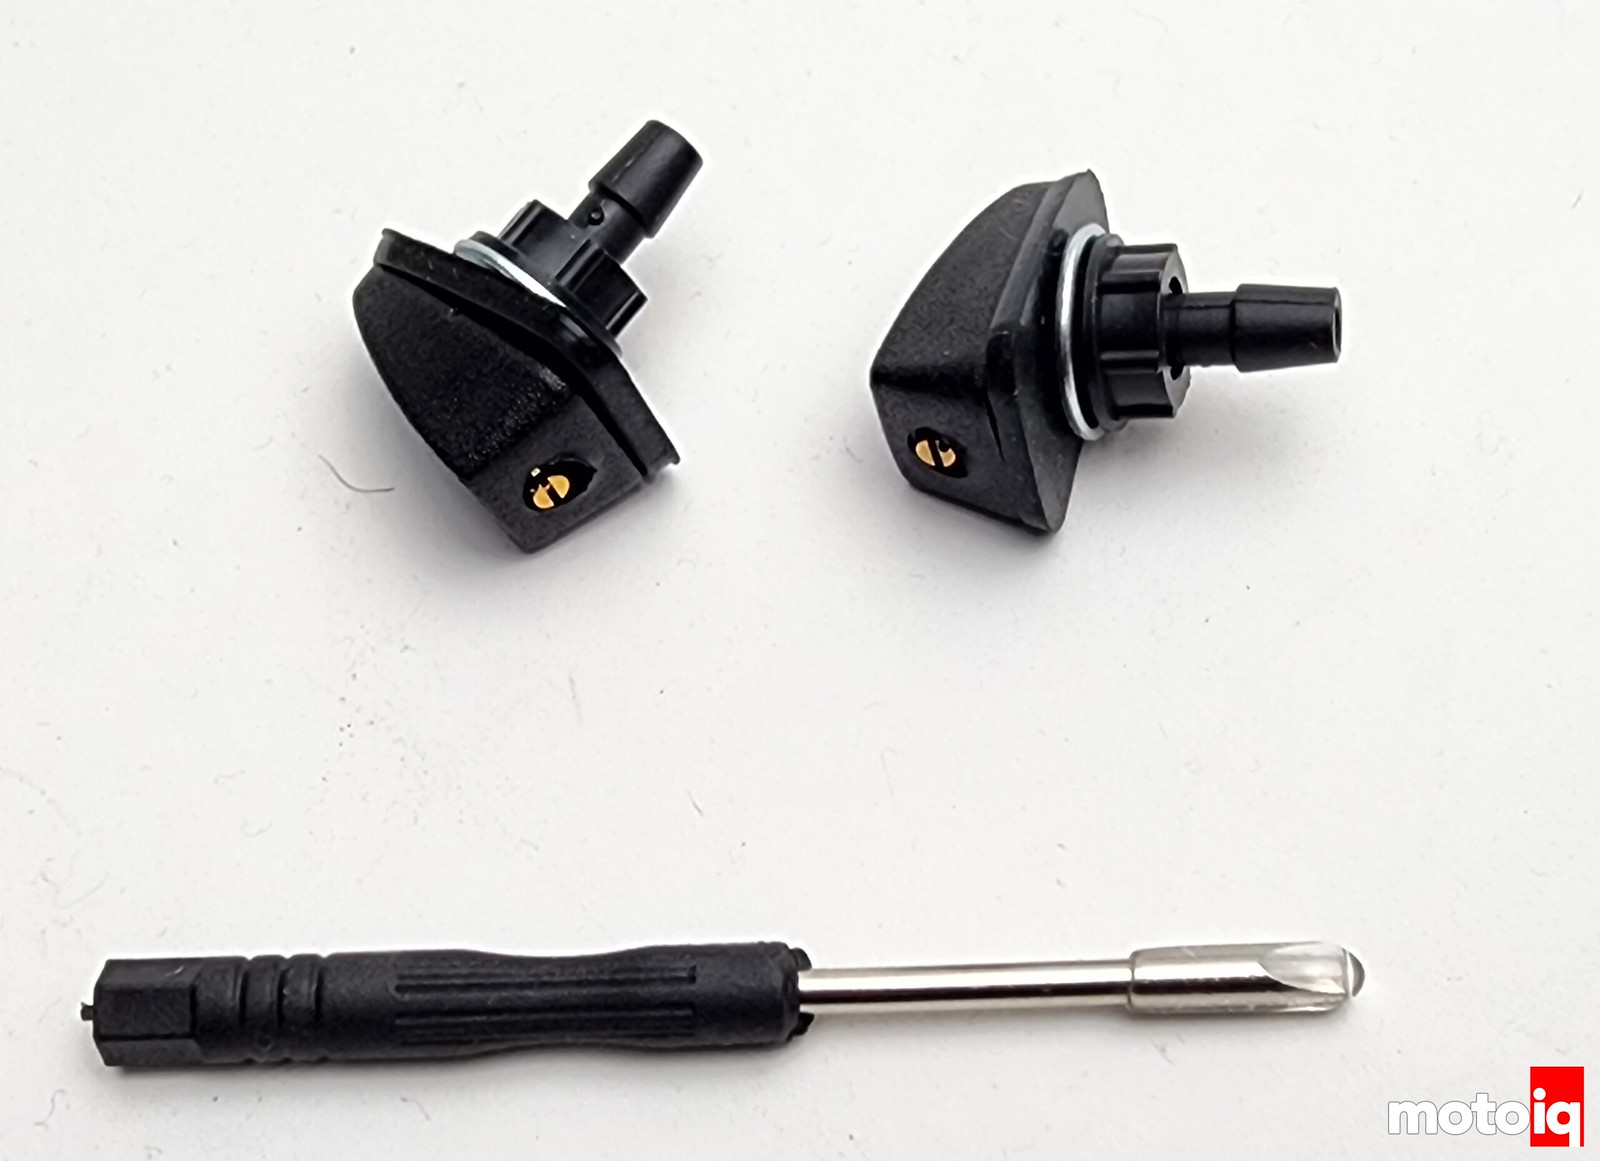

Next, it was time to test and adjust the nozzles. We stuck a nozzle to the end of our HPS hose.

We hit the intercooler sprayer button a few times and set the nozzle adjustment screws for a pretty high flow.

Next, we drilled some mounting holes for the nozzles. We made sure that they were positioned not to hit our bumper beam.

Next, the Nozzles were installed.

5 comments
so i have a GRB rally car and my intercooler spray is connected to an indicator relay so when it is activated, it sprays intermittently….could be something to think abot
I wonder if the spray pattern as well as atomization matters? The picture shows a rather concentrated stream into the FMIC. Does a finer mist mean more surface area, and more effective cooling?
Probably doesn’t matter a lot at speed, we wanted the spray to go through the IC and hit the radiator too. Mostly chose those nozzles because ease of install too.
any proof this actually works? wouldn’t it be better to just use water injection?
The factory uses this system, this is just re-enabling it for a front mount IC instead of the OEM top mount. The WRC cars used it so the factory added it to the production cars. Water injection is something totally different