,
When the time came to install the BPV and IWG I started with the BPV first. Like a good boy I reviewed the instructions and found them to be quite short and sweet. Of course they thoroughly covered how to install the BPV itself but I was looking for a more lengthy explanation of how to adjust the BPV for a particular car etc. They simply stated to install the BPV as delivered and if necessary tighten or loosen the anodized “cap”. I felt a little uneasy about this as the last BPV I used was on Project 200SX and that particular model (NOT A TURBOSMART PIECE) required me to remove a spring, teflon tape all fittings, and use a vacuum pump to adjust the valve to open at the approximate inHg reading at idle. Of COURSE that would be the right thing to do here… wouldn't it?
 |
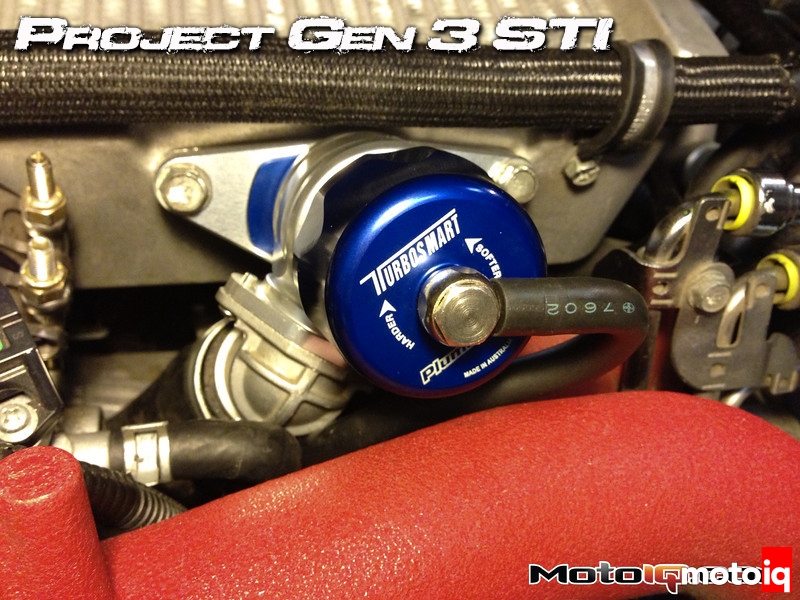
| The BPV uses a 38MM piston and is available in two colors, blue and black. |
The install was very straight forward as the STi has the OEM BPV bolted directly to the top mounted intercooler. I removed the OEM BPV and followed the provided instructions to remove the recirculation elbow from the OEM piece and fit it to the Turbosmart BPV.
 |
| Here you can see the factory recirculation elbow bolted in place. Initially I was going to re-use the OEM Phillips head screws for the assembly however they really suck so see below! |
 |
| I threw those crappy Phillips head screws in the garbage and replaced them with stainless button head's. Now I could make sure the torque readings were accurate and NOT worry about stripping them in the future. |
I then placed my trusty vacuum pump on the nipple of the new BPV to see where it would begin to open and also see if it held vacuum. To my surprise it did not hold vacuum and bled off. Surely the fitting must be leaking so I removed it to find a rubber O-ring; teflon tape will fix this right up! NOPE still not holding vacuum. I suspected the pump was bad so I grabbed the OEM BPV and applied vacuum to it only to have it hold rock solid!
 |
| Here I am wasting time by testing the OEM BPV with a vacuum pump. If you do ever need to check for leaks on an OEM unit this is a great trick. You can also see at what inHg measurement the valve begins to open. A properly adjusted BPV is KEY to avoid compressor surge! |
WTF, SMH, and all of the other eAbbreviations we use for being perplexed. I decide that the tape adds no benefit and after removing it replace the nipple and fitting and decide to install it anyway. After cleaning up all surfaces, making sure the adjustment was positionied at the same point as when I unboxed it, bolted it in place without issue and admired the view.