,
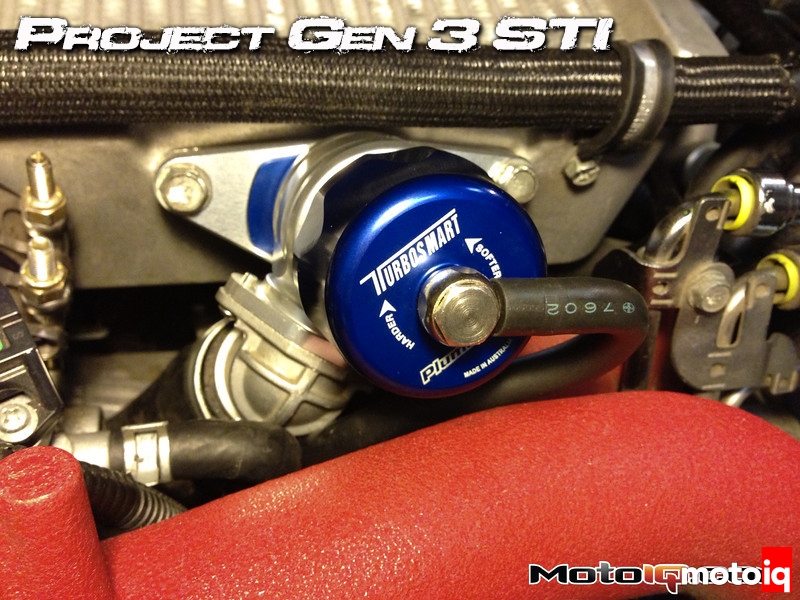
After reviewing my work I decided to go for a drive to make sure all was well as I was indeed worried about my vacuum finding. The car started and idled just fine and as I pulled out no issues were present. Getting in to light boost under throttle resulted in an immediate blow off with no sign of surge. HMMM maybe I am just being overlay cautious or even worse, maybe I am just an idiot… I decide to leave the BPV on the car and e-mail Marty from Turbosmart to ask the question. I explained what I found and I expected some technical response or a solution to the problem in return… NOPE It was much more “simple” than that.
“Wes, of ALL people I need you to read the instructions. Do not do anything to the BPV, install the damn thing and drive the car”.
“Well yeah I did that but what about the vacuum issue Marty?”
“Your test does not apply to our BPV design as it does not use a sealed diaphragm design, remove the tape and leave it alone”.
I laughed out loud at my own over-thinking and in the end the install was extremely easy save my over complication! Note to self, do what they say and leave the effing thing alone.
|
|
| If I had left well enough alone and didn't decide to change my last name to Dumbasski I would have been done with this install in about 20 minutes. Do yourself a favor and listen to Turbosmart. Hell the fact that they are intelligent is right in their name! |
After driving the car for a few days and making sure I didn't screw up the BPV with my fiddling I had confirmed that all was well and I made time to install the IWG 75. This install is a more involved than the BPV as it requires the removal of the intercooler and accessing the turbocharger turbine side and wastegate actuator.
 |
| Here you can see the nicely finished application specific bracket for the STi. This makes it a truly bolt in affair! |
 |
| Here is the IWG75 on our test fit. The bracket provides a bolt in installation. The instructions explain the necessary pre-load/tension and after learning our lesson on the BPV install we followed Turbosmart's advice to the letter! |
On our car we had previously replaced the OEM heat shield with the COBB unit and for us it made fitting the Turbosmart IWG an easier affair. After the heat shield was out of the way we disconnected the vacuum reference line from the actuator as well as the circlip that holds the actuator arm to the flapper arm. This proved to be tricky as it is a very small clip and hard to reach. As a precaution I placed a large white towel down underneath and around the area where I was working, I did this in the event that the clip popped out to prevent it from falling in the engine bay. This actually saved my ass as that tiny thing slipped out of the way and fell right on to the towel. I then removed the bolts holding the actuator bracket to the turbo itself and removed the gate. The IWG75 includes an application specific bracket that bolts to the compressor housing. The IWG75 is larger than the OEM unit it replaces and fits snugly within the confines of the turbocharger area without any interference. We took the time to pull a few of the surrounding hoses snug and zip tie them to ensure they did not rub against the wastegate. We replaced the vacuum lines and re-installed the top mount intercooler.
 |
| Here you can see the lines we zip tied for a bit of clearance. The COBB heat shield also provided plenty of clearance and keeps things shielded from heat! |


