,
As we looked at the installation we knew that it would be a very easy process given that the front install consisted of only 7 bolts (12 if you count the lug nuts) per side. The rear's took slightly more time despite only having 3 bolts holding them in place, but they were really no harder to install. For the fronts we chose to do one side at a time and broke the lug nuts loose before we jacked up one side and placed the car on jack stands. We then broke loose the bottom strut bolts and removed the bolts holding the ABS sensor and brake line in place. Once the line and sensor were free the top 3 nuts were removed from the top hat, this lowered the control arm and allowed us to slide the bolts out of the damper to control arm assembly. Once those were out we simply slid the spring and shock assembly up off the control arm and off the car.
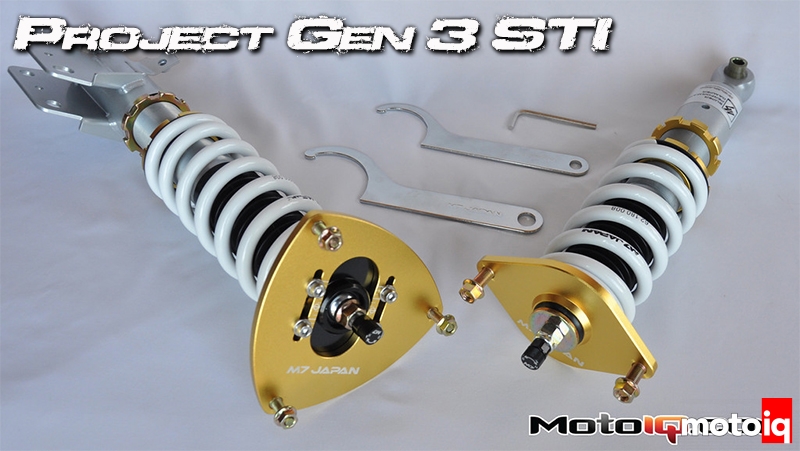
We took the time to place the stock assembly side by side with the M7 setup and decided to take a few preliminary measurements to see how much the car was going to be lowered. In measuring from the top of the top hat to the top of the first mounting hole on both assemblies we estimated they would lower the car by approximately 1.875″. This seemed like quite a bit, however I resisted the urge to switch the ride height just yet. We wanted to install these as delivered so that we could offer that perspective and continue to tweak the setup in future installments.
 |
| The fronts installed in all of their glory. Luckily we can tell our right from our left and installed them correctly on the first try! |
For the installation we made sure we followed the R and L stickers on the bottom of the top hats to denote the left and right sides when lifting the coil overs into position in the shock tower. We placed the three studs in the top hat through the shock tower and hand tightened the corresponding three bolts. We then used a floor jack under the steering knuckle to slowly raise it into place to meet the damper. I also like to use a little bit of moly based grease on the sides of the steering knuckle that interfaces with the damper mounting tabs. This grease allows the knuckle to slide into place easily and also resist corrosion. Once lined up we put the top bolt in place and then tilted the housing as needed to fit the bottom. On the STi Subaru use a centric top bolt for camber adjustment and we marked ours the best we could before removal. The nice part is that you can now adjust camber via the bolt or the new camber plates on the M7 dampers. We finished up the fronts by installing the brake line assembly as well as the ABS sensor and torquing everything to spec which is officially: goodntight.
 |
For the rears we used our floor jack with pinch weld adapter to raise both sides of the car by placing it on the diff brace. Once in the air we supported the car with jack stands and went to work. To reach the 2 bolts that hold the top hat in place you have to remove the rear carpet liner as well as the two plastic covers that shroud the top mounting point. Once that stuff is out of the way the two 12mm bolts are easy to reach. We slightly loosened them and returned to the bottom of the car. For this install we found it easiest to remove the sway bar mounts from both sides in order to gain maximum droop travel. We removed the bottom bolt from the rear lower arm and then removed the two top nuts completely. I then proceeded to stand on the brake rotor to gain enough droop for the damper assembly to be removed from the car. Luckily with the shorter assembly on the M7 dampers installation is super easy; just place the top hat in the shock tower and hand tighten the two top nuts.
If you are by yourself and you do not have an extra set of hands you can use the same floor jack technique by placing the lower bolt in the housing and then jacking the lower arm into place so that the studs protrude through the shock tower. Either way the install is fairly painless and straightforward. We then hand tightened the sway bar end links and lowered the car so that the suspension was fully weighted before torquing to spec.
 |
| With the rear carpet and the plastic finisher removed it's easy to adjust the rear dampers from the top. The only plastic pieces that have to be taken out to easily reach the knobs are the small panels that cover this area. Easy Peasy! |
The first thing we noticed is that the car was LOW! I was less surprised by this based off the fact that we had measured the ride height difference, however the stance certainly caused us to look twice. The front sits decent with a small amount of wheel gap however the rear was nearly tucking. I am sure the hellastanced crew will tell us we “need moar low” however the car was already lower than I was used to. It took every ounce of resolve to not jack it back up and adjust the ride height on the spot, however we swore to give you our initial impressions based on how this setup performed out of the box.
In addition to leaving the ride height set as shipped we also checked the damping adjustment. It was comforting to see that all 4 dampers were set at the exact same settings which was 10 clicks from full stiff. We also checked the adjustment range of all of the dampers and we counted 35 clicks total as advertised. After getting the car back on the ground we did a quick garage alignment. The camber was nearly spot on and within spec as was toe. I suppose marking the centric bolts before install and removal does help. We were still surprised by this as the car was lowered and we expected more of a camber change in the front. In the rear negative camber was obviously increased however with the current setup we have no way of adjusting that.