,
In order to install the senders, I used a “sandwich plate” purchased from JPC. This adapter goes between the engine block and the oil filter and has several ports to allow the installation of gauge senders. I screwed both the oil pressure and temperature senders into this. Technically, the oil temperature sensor should be installed in the oil pan for the best accuracy, as the oil filter location can read a bit higher due to its proximity to the headers. However, I did not want to drop the oil pan at this time, so I installed it here and made sure to zip-tie the wires into a safe yet easily-accessible location so that I could relocate it to the pan at a later date.

Some people don’t like these adapter plates, however, I feel that in this case they are a “safer” installation than using multiple Tee connections to plug into the stock oil pressure sender port. Installing two extra senders into that location would require too many adapter fittings and would cause the entire kludge to stick out too far from the block.
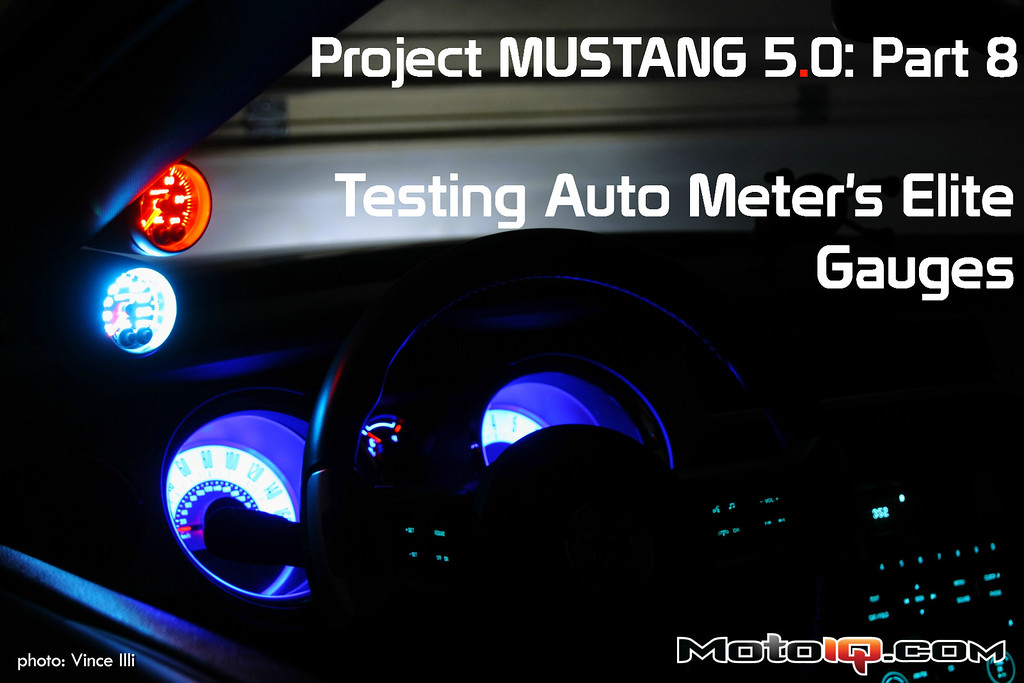
I then mounted the gauges themselves in a pillar pod. It was now time to boot them up and configure them. The gauges work immediately upon installation, but there are quite a few features that the user can configure. First of all, the Elite gauges can be set up to have one of seven back light colors: white, yellow, green, red, ice blue, blue or purple.


Those two buttons on the gauges are for the Peak and Warn functions and for configuring several other functions. Holding the Peak button displays the highest value that the gauge has recorded since the last time it was reset. This is especially handy on the oil temperature gauge, as I can view how hot the oil got after an autocross, road course, or drag strip run without having to stare at the gauge the whole time, which could be detrimental to my driving and/or my car’s bodywork.
Pressing the Warn button allows the user to configure several different warning points. When a warning point is crossed, the entire color of the gauge changes to alert the driver. For instance, I currently have these gauges set up to be blue under normal operation. If the oil pressure falls below 15 PSI (the upper limit of the Coyote’s nominal oil pressure based on the repair manual), the entire oil pressure gauge turns red. If the oil temperature is below 160°F, that gauge is light blue instead of dark blue. If the temperature reaches 245°F, the gauge turns red. I was also able to set up an “Over Warn” function that causes the gauge to flash red if the oil temperature reaches 260°F.


1 comment
The article provides a detailed insight into the testing of Auto Meter’s Elite Gauges on the Project Grey Mustang 5.0.