,

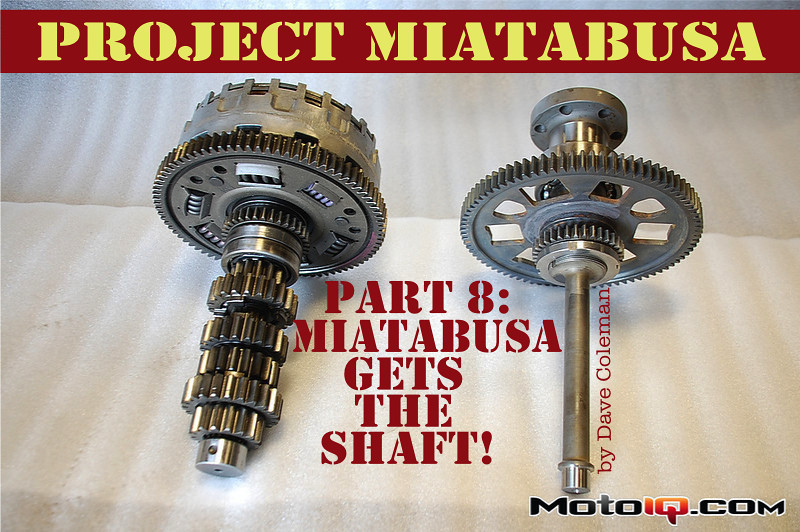
The flywheel adaptor is a separate piece that's splined onto the end of the shaft (this picture was taken before we got the broach to cut the matching splines in the adaptor. To accomodate a nut big enough to hold the flywheel on, the nut's threads are cut right across the splines.

Now, remember that bit about how the big drive gear spins freely on the shaft? We needed it to be rigidly attached to the new shaft somehow. We had originally hoped to spline it to the shaft, but there wasn't enough material in the gear hub to cut splines without dangerously weakening the gear. It turns out motorcycle parts don't carry unnecessary weight just to accomodate goofballs like us. Welding was ruled out because the localized heating would both warp the shaft and weaken it.
We finally settled on induction brazing. Brazing happens at a much lower temperature than welding, so there's no issue with screwing up the heat treat, and the induction heating process heats the shaft evenly, so there's little risk of warping. The braze joint itself is weaker than a welded joint, but it makes up for this by being much, much bigger. A weld would simply be a linear bond as long as the circumference of the weld (a surprising 10 inches, since you could weld both sides of the 40mm shaft), but the braze covers the entire surface area of the interface between the gear and the shaft. Since the gear actually carries a pretty long hub with it (to accomodate the bearing it originally spun freely on), that's about 24 square inches of surface area.

The bearing handling the main gear and flywheel support duties is a huge double-roller roughly the size of a Miata wheel bearing. This had to be a double-roller bearing so it could support the thrust loads from stepping on the clutch.
The shiny surface on the flywheel side of the bearing is the precision-ground oil seal surface machined onto the flywheel adaptor.