

,

With the harness mostly finished, there were still a few wires coming out of the instrument cluster that I couldn't identify. To figure these out, I powered up the harness by putting 12V to the rectifier plug, shown above. Then I could play around with the mystery wires and see what they did.


Watching the cluster while giving various wires their juice made the identification easy. The only tricky bit was figuring out why the speedo was reading 60 mph for a while, and mileage was accumulating on the ODO. Turns out powering the harness with a battery charger is a bad idea. Lots of electrical noise coming from those things. Once i powered it with a nice, steady battery, all the mysteries went away. While I was figuring this out, the cluster accumulated about 9 miles…

 Since the ECU and rectifier both seem waterproof, I decided to mount them in the cowl, where they would be away from engine heat. Drilling a hole in the upper firewall for this turned out to be tricky, since brake lines blocked the path of the drill. Luckily, the hole saw had a hex on its drive side, so it was just a matter of finding something small and equally hexagonal to drive it with. Turns out a 9mm socket fit perfectly, and I was able to drill the hole using an electric screwdriver with a 1/4″ socket adaptor.

I had positioned the ECU in the cowl before making the harness, but didn't make any plans to secure it until the harness was done. Especially at the fat end, with dozens of wires going into each connector, the harness was bound to be stiff and picky about exactly where it went. With the new harness in position, I found the harness was more relaxed with the ECU rotated a few degrees from where I had initially put it.
Final mounting was done with this 3M Dual Lock. Dual Lock is like a manly, industrial super-velcro. It can be removed over and over without wearing out like the sissy velcro on your sneakers, and it still gives flexibility to change position slightly if needed.

The hole has to be oversized to leave enough room for the big ECU connectors to fit through. Here the semi-finished harness is being test fit. The bundle of color barfing out the bottom of the harness is the branch that has to go to the instrument cluster. To get it there, I needed a hole in the firewall big enough for the instrument cluster connector, but because it was going to the interior, it would actually need to be sealed. Pure luck solved this problem…

Just when I was looking for a solution, I happened to salvage this ridiculously expensive mil-spec bulkhead connector with exactly the right number of pins off an old piece of discarded test equipment.

And, while I was busy being lucky, the bulkhead connector happens to fit perfectly in the speedo cable hole (we'll be using the Suzuki speed sensor to talk to the Hayabusa speedo). Amazing!

Normally, there would be no need for a big connector here, but since the engine will no doubt be in and out of the car a hundred more times before this project is done, having an easy-to-remove harness will be handy.

Back up under the dash, more salvaged connectors came in handy. This connector I removed from somewhere in the driver's door is now connecting the Hayabusa cluster to a few Miata signals, like turn signal, high beam and fuel level. There's also a single connector from the Hayabusa harness triggering the Miata fuel pressure relay (conveniently, Miatas and Hayabusas run the same fuel pressure). These wires, plus two going to the ignition switch, and one from the Hayabusa alternator's rectifier are the only wires connecting the Suzuki harness to the Mazda one. Amazing.

Finally, here's a little tip for making your reassembly clean. When you unwrap the factory harness, you'll run into a lot of places where the harness is held to little blind holes with a one-time-use clip that you'll inevitably destroy when you remove it. Fear not. Have a bag of these fancy zip ties on hand. They''re designed to snap into a 1/4″ hole, which is close enough to the 6mm hole all the original clips used.
Oh, and one more thing I almost forgot: 11,000 rpm!
That is all…
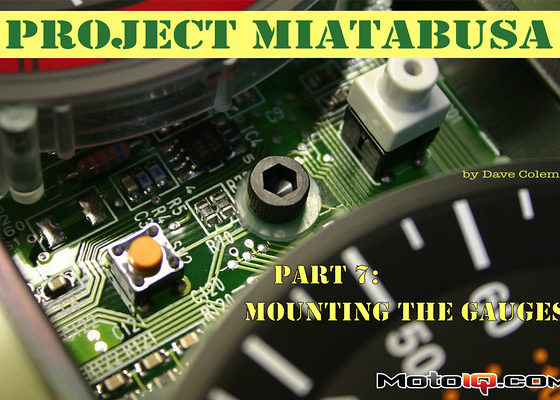
Next up, all the details on how I finally made the Hayabusa instrument cluster sit happily in its new Miata home.
All the Miatabusa you can handle:
 |
 |
 |
 |
 |
 |
 |
 |
 |
 |
 |
 |
 |
 |
 |
 |
 |
 |

1 comment