Project Scion TC Part 3
By Mike Kojima
After Technosquare was done fabricating our cage we proceeded to paint the cage for corrosion resistance and a finished look.
 |
 |
 |
| A spot weld removing drill bit is designed to just cut out the nugget area of spot welded sheetmetal without damaging the base metal. We used this sort of bit to remove around 10 lbs of brackets inside Project Scion. This is a good amount of weight and also helps safety. We used a spring loaded center punch to make a dimple to help center the hole, then drilled out the weld. |
Of course the quality of the job depends on the prep done on the interior. We first removed all excess interior brackets and panels by drilling out the spot welds holding them in. We call this process dehorning the interior. Dehorning is important because it not only gets rid of weight but it also improves safety by getting rid of pointy and sharp things out of the cars interior. We got rid of about 10 lbs of metal this way.
 |
| We sanded the interior of Project Scion with 220 grit paper and scotchbrite pads to rough up the surface to give it some tooth for the paint to stick. |
Next we removed all of the remaining insulation and seam sealer using angle grinders and twisted wire brushes. After this step we degreased the entire interior and cage with MEK and clean cloths. After degreasing we sanded the complete interior with 220 grit sand paper and scotchbrite red to give the surface tooth. We once again degreased the interior.
 |
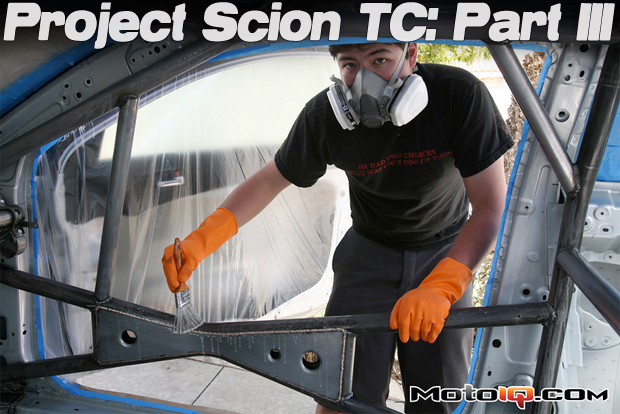
| We used MEK to degrease the interior of the car. MEK is a great solvent but it absorbs though your skin and if you breaths the fumes, it will mess you up. We wore respirators and gloves. |
 |
| We used various wire wheels to get the seam sealer and insulation sealer out. |
 |
| Angle grinder makes fast work of the easy to get to areas. |


