
,
 A wheel spacer could fix the issue, as could a grinder or even a file on the strut housing. I had access to a mill, so that's what I used to make a clean little relief cut in the strut ears.
Much better… It's also worth noting here how close the lower spring perch is to the tire. This is one of many reasons the car doesn't sit any lower than it does. The others all have to do with getting in and out of driveways, having enough suspension travel both for bumps on the street and for track features like the corkscrew that take lots of suspension travel, and not really having any need to impress the hard parking kids next door.

I would like to thank past me for taking this picture as a message to present me reminding me what spring rates we run on this car. Eibach part numbers are easy to understand: 0700 means 7 inches long. 250 means 2.5 inch diameter. 0300 means 300 pounds/inch spring rate. So, with my memory thus jogged, we're running 300 lb/in front, 250 lb/in rear. When paired with appropriate sway bars, this makes for a comfy daily driver that still kicks ass at the track.
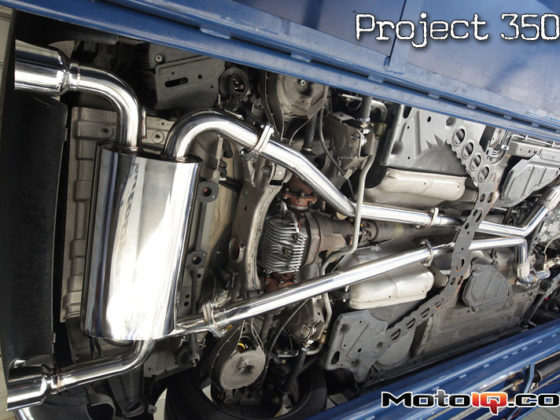
Sway Bars:

I like to run big sway bars on S13s. This keeps roll under control while allowing springs to be soft enough to handle bumps. It also gives you really quick, easy adjustability so you can dial in handling balance at a track day. Progress Technology was just releasing new adjustable S13 bars when we were building this car, and they built extra oil pan clearance into the front pan to clear SR20s with extended sumps. Though there's no extended sump on Project Silvia's girlfriend, it was nice to have the extra room in case we had decided to get one later.

The Progress sway bars come with simple heim-joint end links. This design eliminates any of the deflection and binding that comes from the stock bushing-on-a-stick style of end link. To use the adjustability correctly, you should get the ride height and corner weights set first with the end links disconnected, then connect the end links while the car is sitting on flat ground on its tires. The length of the links can be adjusted so they install easily with no pre-load on the bar. If you don't do this, any effort you spent corner weighting is wasted.

At one point, during the months-long quest for the horrible GRONK and KERPOP noises, I went on a squeak and rattle crusade. Since heim joints are often accused of being noisy, I found a factory ball joint style end link that's fits the bushing-on-a-stick style control arm and ball-joint style sway bar. This is a rare end link shape in the OE world, because the ball joints are strongest when used with the stud horizontal, so anyone designing this suspension would naturally use that orientation at both ends. The rear of the Mazda3, though uses lower control arms originally designed for bushing-on-a-stick sway bars on the Ford Focus. Mazda likes tighter, more responsive suspension bits, so they always use ball joint end links. Fitting Mazda tuning and Ford-designed control arms on the same car results in this unusually convenient end link.

1 comment
Trying to do this same GC coilover setup on my S13 with rear z32 knuckles for that OEM+ type ride all these years later. I have already had to step up from the original 7” 250lbs rear springs to 8” 250lbs which are still at the top of the threaded collar on the yellow KONI with not enough clearance between fender & tire. Currently about 1.8” of clearance between the rear fender & tire which still doesn’t seem close to the early pics of this project car. Do you recall if you had to use longer springs on the rear like I am (about to move up to the 9” 280lbs spring next in order to hopefully have a better range on the threaded collar)?