,
Guide coat. Huh? Guide coat! didn't use one when I did the final block sanding of the car. The final step before shooting the paint is to wet block sand the whole car with 400 grit paper. It's actually a very satisfying process as you really can see how well the body has shaped up. Back to the guide coat. Somehow I missed this in my Google research on car painting and when you look at the car it shows. A guide coat is a fine mist of contrasting color primer that you shoot over the final primer coat of the car before the last block sanding step. 99% of this fine coat will be sanded off but what is left behind will reveal any shallow waves and dings that can't be seen or felt in the primer. Since the guide coat in a different color these flaws will show up as easy to see patches you can repair before he paint goes on. While I very carefully blocked out the whole car and repaired the flaws I could catch, I missed many because they were too subtle to see in the primer coat. The good news is that these flaws are easy to see in the glossy paint. While it's a bit difficult to photograph these problems check out this photo here to see what I mean. This little ding would have shown up with a guide coat sanding and I missed it.

Ok, with the car all sanded and ready it's time for the final prep. First off, wash it with soap and water carefully and thoroughly. Get all the sanding dust and other crud off the panels and really scrub out the seams and edges. Dry everything very carefully and make double sure there are no trapped puddles of water anywhere in the nooks and crannies of the body. Maybe let the car dry in the sun for several hours to make sure all the water has evaporated. Now you will have the task of masking off any parts of the car you don't want painted like windows, headlights, wheels and tires, tailpipes, etc.. Also mask behind the edges of the panels so the paint doesn't get into the door jambs and around the engine compartment. I stripped pretty much everything off the car before I painted it and it still took several hours to mask off the interior and all the other parts I needed to keep paint off of. Do not use newspaper to mask with. It carries dust and fibers that will get everywhere and since masking paper is nearly free buy some! Next, clean the whole car with prep solvent but don't let the solvent dry on the car. You have to spray it on and wipe it off while wet so it carries any wax and grease with it. Next wipe the whole car with tack rags which look like paper towels soaked in some waxy fluid. Oddly they leave no residue while the sticky gunk holds all the dust. Magic and science meet at the tack rag.

Now that the car is ready and you might be opening some cans of paint lets have a chat about respiration. As in breathing. You can't breathe the chemicals in all these products and a dust mask WILL NOT do the job of filtering the nasty gasses that you are about to deal with. You have to use a proper paint respirator and that means one that's rated NIOSH N95. If you can smell the fumes through the mask then something is not working correctly. I bought this mask at B.B.H.W.S. (bog box hardware store) for about $30 and it worked well. Don't spray anything without wearing one of these.

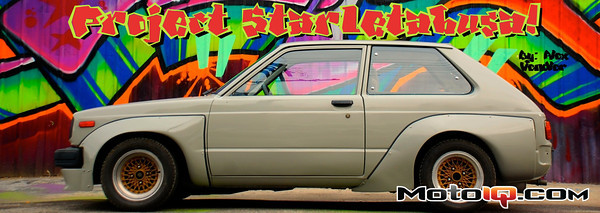
Now it's shoot time. First and foremost, shoot a test. Do this before you do the final masking and cleaning of the car. Get an old body part or other piece of sheet metal, prime it if it's bare, sand it with 400 grit and paint it. You have to do this so you can balance the reducer mix. The paint I used on the Starlet was a single stage enamel. I chose single stage because it's easy to shoot, and can be repaired on spots if need be since there is no clear coat. I also like the look of single stage paint as it's more of a “real” shine. Clear coated paint jobs are the standard today and really look great but have a sort of plastic appearance I am not in love with. Few agree with me on this though and base/clear is mostly how it's done. Anyhow, work out the right amount of reducer to put in the paint for spraying. Remember that the spray gun is shooing out little droplets of paint and they need to congeal together to make a glossy finish. Reducer is a thinner designed for the paint you are using and it makes the little droplets flow together once they hit the body of the car. Too little reducer and you will end up with the dreaded orange peel. To much and the paint will have runs. This is what you will work out on your test panel. Once you have your reducer ratio feeling right and your gun and air settings correct you are ready to shoot. About 3/4 of a gallon of paint, when mixed with reducer and hardener, should cover a small car like a Starlet. I mixed up about half that amount and started spraying from the top of the car down. You should end up shooting about 5 wet coats of paint in all. It's really important to keep track of what has been shot on the car so you don't end up skipping coats on any parts. I missed the driver's door on a couple of coats and then sanded right through the paint during the color sanding and buffing process. Not fun. Wait until each coat has started to tack up before shooting another coat in order to avoid runs. This is key and the break you take to mix up the second half of the paint will help you here. The paint stays wet in the pot much longer than on the car so you can wait between coats without fear of it drying up in the gun. Once the car is shot take a moment to double check that you got paint on the underside of the fender lips, the bottoms of the rocker panels, the backside of the rain gutters and all the other spots you might have overlooked. After that let it sit for 24 hours and then you can start to think about the next step which is color sanding and buffing and I'll be covering that in another article coming soon.


