Project #YAE92 M3: Part 3 – It’s The Little Things
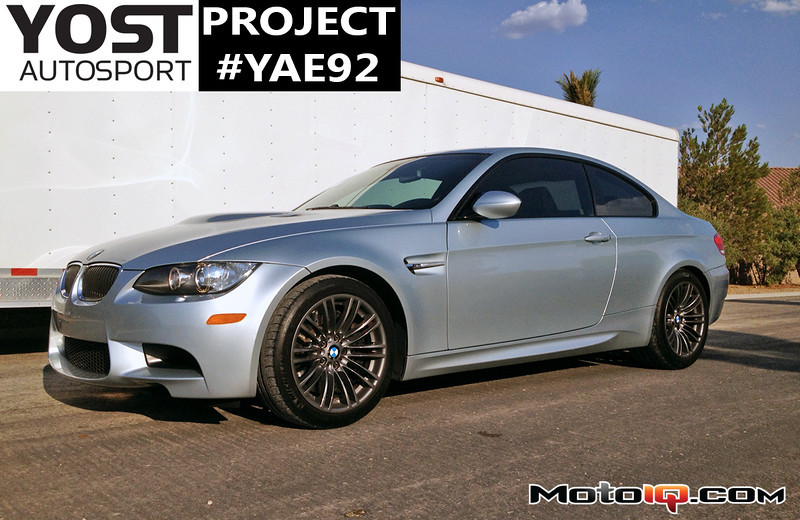
If you haven’t noticed, things are moving quickly with us and the Yost Autosport Project #YAE92 M3 endurance race car build! It seems like yesterday this car was sitting on a set of rollers with everything removed but the engine yet in this part of our build journal it actually looks like a race car! Over the past few weeks our lives have been absolutely consumed by this project as the racing season bears down upon us. If you’ve never built a full blown race car before let me tell you this, there are a lot of small things that need to be done that are seldom on the front of your mind. The list of little things is even longer on an endurance race car where you have to take into account pit stops, driver changes, and night racing. Everything has to be well thought out to ensure safety, performance, reliability, and efficiency. In part three of our build journal, we focus on some of the little things as well as some fun stuff like making the car look pretty!

Our AP Racing air jacks fit perfectly inside of our custom fabricated steel sleeves. The windows cut into the sleeves reduced the weight significantly.
First on the list was an air jack system. We will be running in the highly competitive ES class against Porsche Cup Cars, Audi factory race cars, and more serious machinery. Of course one of the biggest ways to gain time (or lose time) in an endurance race is in the pit stops. In the 25 Hours of Thunderhill we’re estimating anywhere between 25-35 pit stops depending on our fuel mileage so saving as much time in the pits as we can is a huge factor in competitiveness. Air jacks are of course an easy way to gain a lot of efficiency in your pit stops. Simply connect a compressed air supply and all four tires are off the ground at the same time. Many of the advantages to this are obvious but some you may not even think about like how much easier it is for the drivers to not have to maneuver around a floor jack as they’re doing a driver change or having to do a driver change while one side of the car is being lifted and dropped. For our air jack system we went with a kit from AP Racing. To mount the system we called on our fabricator who made us some awesome sleeves for the air jacks to mount inside of. Those sleeves were then notched into and welded to the same support structures used by the factory lift points to ensure they could bear the load of the car and driver.

Here’s our air jack installed on one of the front corners of the car. We spray painted the sleeves to protect the raw metal from surface rust.

Our fire suppression system bottle is mounted on the floorboard behind where the passenger seat used to be. If you must add weight back to a race car, put it as low as possible and in a part of the car where it’s beneficial to weight distribution. Ours helps balance some of the weight removed from taking out the passenger seat while still allowing us to put a passenger seat in the car for non-racing events in case we want to give ride-a-longs.
We also installed our fire suppression system, another small but necessary part of a race car. Although it’s a fairly straight forward thing, there’s still some thought that is involved when installing a fire suppression system. First you have to figure out where to mount it. Fire bottles aren’t the lightest weight thing in the world but you can make the best of it by putting that weight where it can benefit the static weight distribution of the car. You usually see them mounted low, on the passenger side, and toward the middle or rear of the car. You also need to think about where to position the nozzles. One pointing at the driver is a given, but put some thought into where you position the others. We mounted two inside the engine bay, one pointed at each exhaust header as we figured the most likely cause of a fire under the hood would come from some sort of fluid being ignited by the hot exhaust. While it may be tempting to put nozzles everywhere, remember that the pressure and capacity of the bottle remains the same so the more nozzles you install the less pressure and retardant each will spray. You can counter this by running larger or even multiple bottle setups. The pulls are the final thing to consider. We went with a dual pull system so we could mount one on each side of the car that can be easily accessed by both the driver and safety crews from inside or outside the car.


