,

Vince kept at it for over an hour. His arms were getting sore. Finally, the headlights had a light frosted even appearance like the instructions suggested. We were somewhat concerned that there was also a lot of visible deeper scratches caused by the cleaning process.

Vince applied the headlight coating and we were really disappointed. The headlights looked hazed and scratched up. Then, Vince applied a heavy coating and amazingly the headlights looked 100% better. After the first coating dried, Vince applied another heavy coat.
 Now it was time to remove the tape. The headlights looked a lot better than before with two heavy layers of coating on them. The coating is not absolutely permanent and must be reapplied every 12 months.
One thing we noted was that the coating left a residue on the paint that was not exactly easy to remove. We had to clay bar it off. To make things easier, you should mask the headlights off. The whole process is a bit more involved than the instructions suggest. But, you have to figure that crappy oxidized headlights will take a bunch of elbow grease to resolve.

The finished product is a lot better than it was but it was not up to what we expect a really detailed headlight to look like. You could still see the scratches and fogging in the plastic from a few feet away. It was still better than it was before.
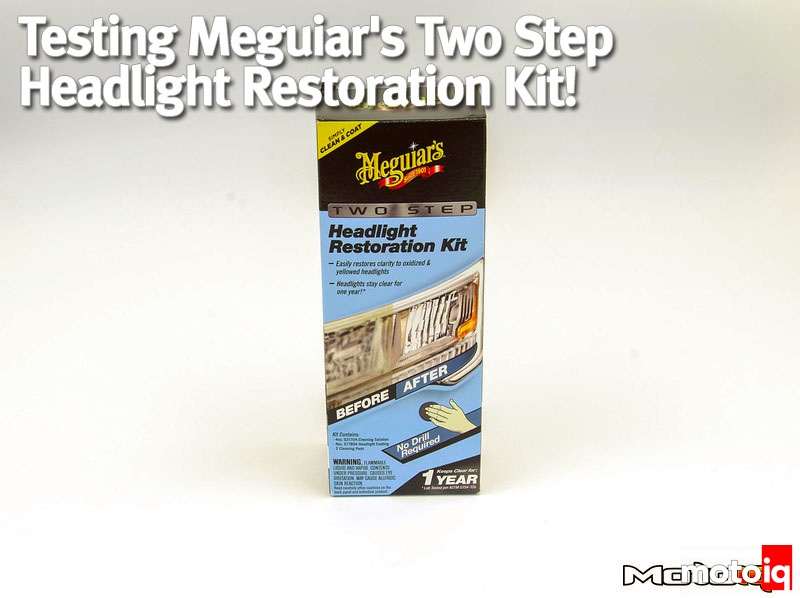
Is Meguiar's Two Step Headlight Restoration Kit the best thing on the market? It depends. If you don't have power tools, it delivers fair results without anything but your two hands. It's not perfect by any means, and we would prefer Meguiars more traditional power buffer applied products for cars we care a lot about. But, that is us, and our dads are TV repair men with excellent tools.
Souces
Meguiar's