
,

As soon as the project progressed from innovative repurposing of garbage to standard construction techniques, progress slowed to a crawl. I know absolutely nothing about doing things properly with wood. Those notches on the left where the rafters hit the wall plate (I looked those words up) are apparently called birdsmouth joints. There is a technique for cutting those, but I don't have the slightest clue what it is, so I used a wood chisel and a Japanese razor saw. Don't look too closely.

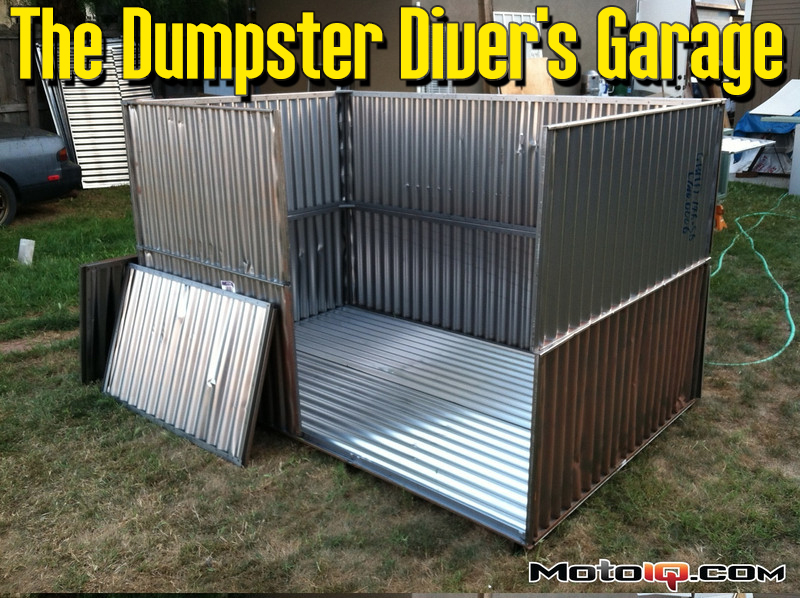
In the end, I had to buy three sheets of corrugated Home Depot stuff. The ends of the roof, shown here, are galvanized steel, while the middle is a mix of translucent fiberglass and clear plastic, making the inside of the shed very well lit. The roof extends well past the walls in every direction, which helps keep the walls themselves dry. Its pretty easy for water to pool up on the flanges between panels, so keeping water away in the first place makes sealing and good drainage easier to ignore.


Next up I needed a door. These pipe fittings were about $0.50 each, while the bucket of metric lag bolts were free. That's right, metric. When you pull lag bolts from international shipping crates, they come in metric sizes.

The bolts and pipe fittings were used to hold this 1/8×1″ steel bar to make a door rail. This sliding garage door is relatively common among the ancient Craftsman garages in my neighborhood.

 Next up, I took another box bottom, which has these rectangular rails welded to the bottom to give bending rigidity and forklift clearance, and attached these rollers to them. The rollers themselves are old Jackson Racing supercharger idler pulleys with some kind of manufacturing defect. They've all been laying around MD Automotive for years occasionally being used as press brake tooling or spacer blocks on the mill. I machined a V-shaped groove in the outer two so they would ride on the rail, then added the third below the rail so the door couldn't simply be lifted off the rail to break into the shed.


1 comment
Is that project Silvia rotting away in Dave’s backyard?