

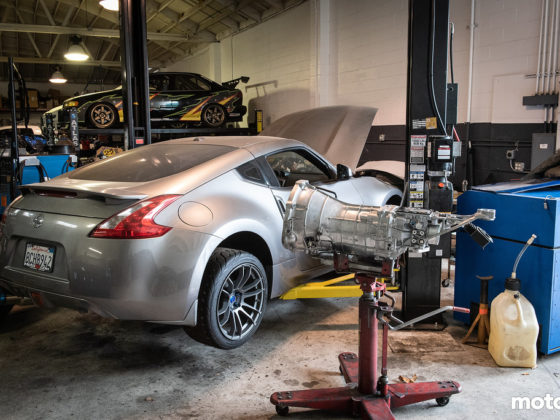
This story like all great stories started with a plan. Then that plan got wadded up and thrown in the garbage but you’ll see what we mean by the end. Our initial plan was to start out getting a baseline dyno run over at the Dsport shop as shown. We’d get baseline power numbers and then procedd with our VQ37VHR Supercharger install. We’d install our parts and then head back to Dsport to see what kind of power we’d make.
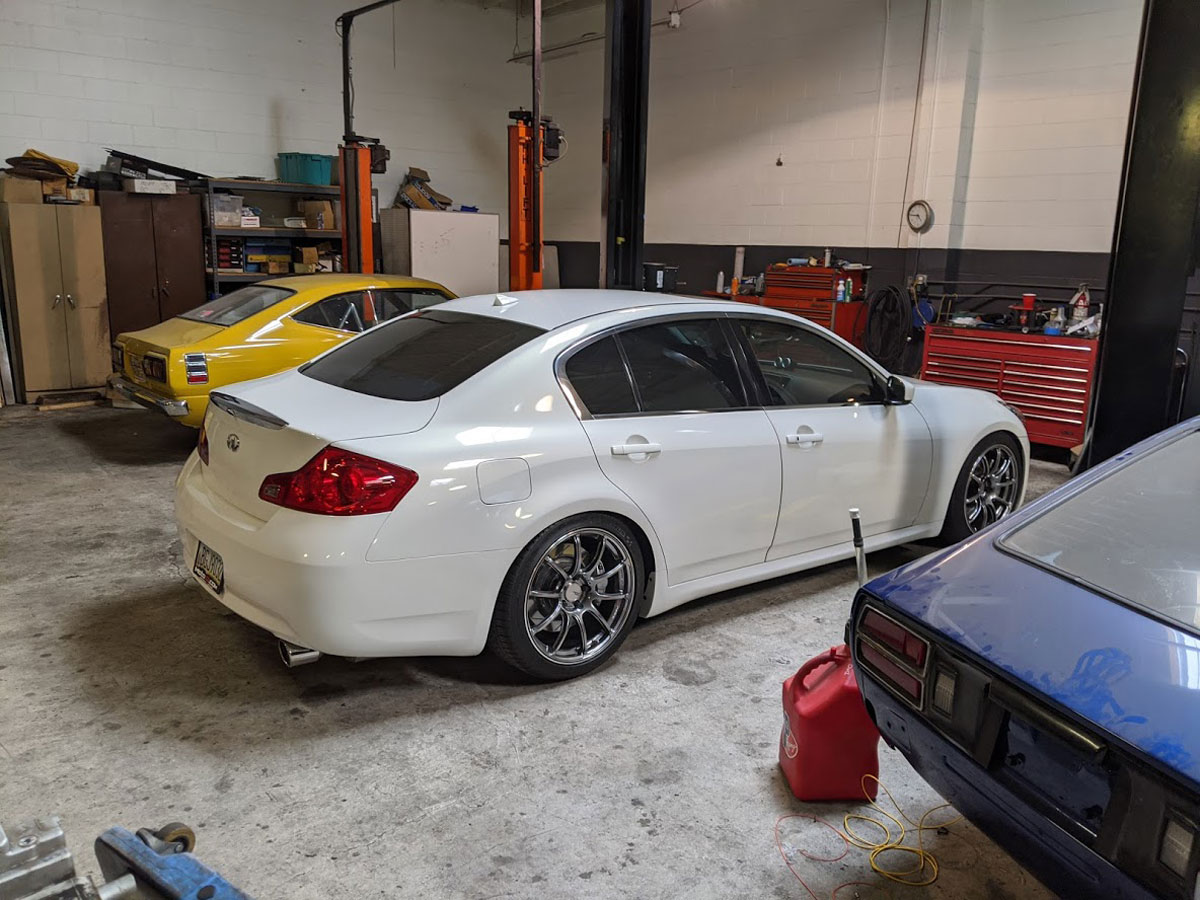
Baseline power was decent at 301 whp. Less that what we’ve seen on other dynojets but respectable for a basic bolt on VQ37VHR. With our baseline set we headed over to the MotoIQ garage.
Fueling the Supercharger
After months of collecting and waiting for parts and years of planning we’re finally ready to install our supercharger on our G37S Sedan. You can read our other articles on our Project G37 as well as the other articles in this series including Vortech V3 SI supercharger and our fueling system from CJ Motorsports and our Air to Air intercooler components from Soho Motorsports. Let’s get started.


8 comments
Will the O2 sensors provide a useful measurement for tuning purposes being so far out of the exhaust stream?
The rear O2 sensors don’t control the engine.
Oh, I didn’t realize those were the secondary oxygen sensors. Makes sense. Thanks for the clarification.
Depending on your tuner and the type of ECU you’re using (UpRev/Ecutek) and what kind of tune you need your tuner can use information from the MAF’s for tuning. Since the fueling system was dramatically upgraded, we added forced induction and we went with the Air to Air intercooler a wideband O2 gave our tuner a precise measurement of the air/fuel ratio. Apparently there’s a lot of turbulence in the intake pipe with forced induction which skewes the air/fuel reading from the MAF’s
Apologies for not taking a picture of the O2 sensor wired up for tuning with the wide band O2 sensor into the test pipe. It was one of those things missed in a hectic day. You were right and you did see just the factory O2 sensors.
The MAF does not read A/F. The wideband O2 sensor does that.
You got me I mis-typed. It messes up the ‘air-flow’ reading from the MAF’s.
Loving this project. I have a G37s 6M sedan and would love more power. My brother had a G35 sedan and after I beat him, he went and got a Q50 redsport off Copart for 12k with 215 miles. While I love the power of the Q50, I hate the automatic transmission. Can you give an estimate of how much this project will cost? I know the kit is about 5k.
The Air to Air kit from Soho with the Vortech supercharger is $6,500.
https://sohomotorsports.com/collections/g37/products/soho-motorsports-a2a-supercharger-kit
Then there’s the fueling that we sourced from CJ Motorsports. Off memory I think that was under $2k.
https://cj-motorsports.com/
In total I think everything was right around $10k.
I know what you mean about the stock automatic transmission. When we first had UpRev tune the car before the supercharger the increased line pressure they achieved really improved the transmission shifting. I’ve read similar improvements with the Ecutek ECU that we now have. We took things a step further and went with a level 10 transmission. It just grips and rips.