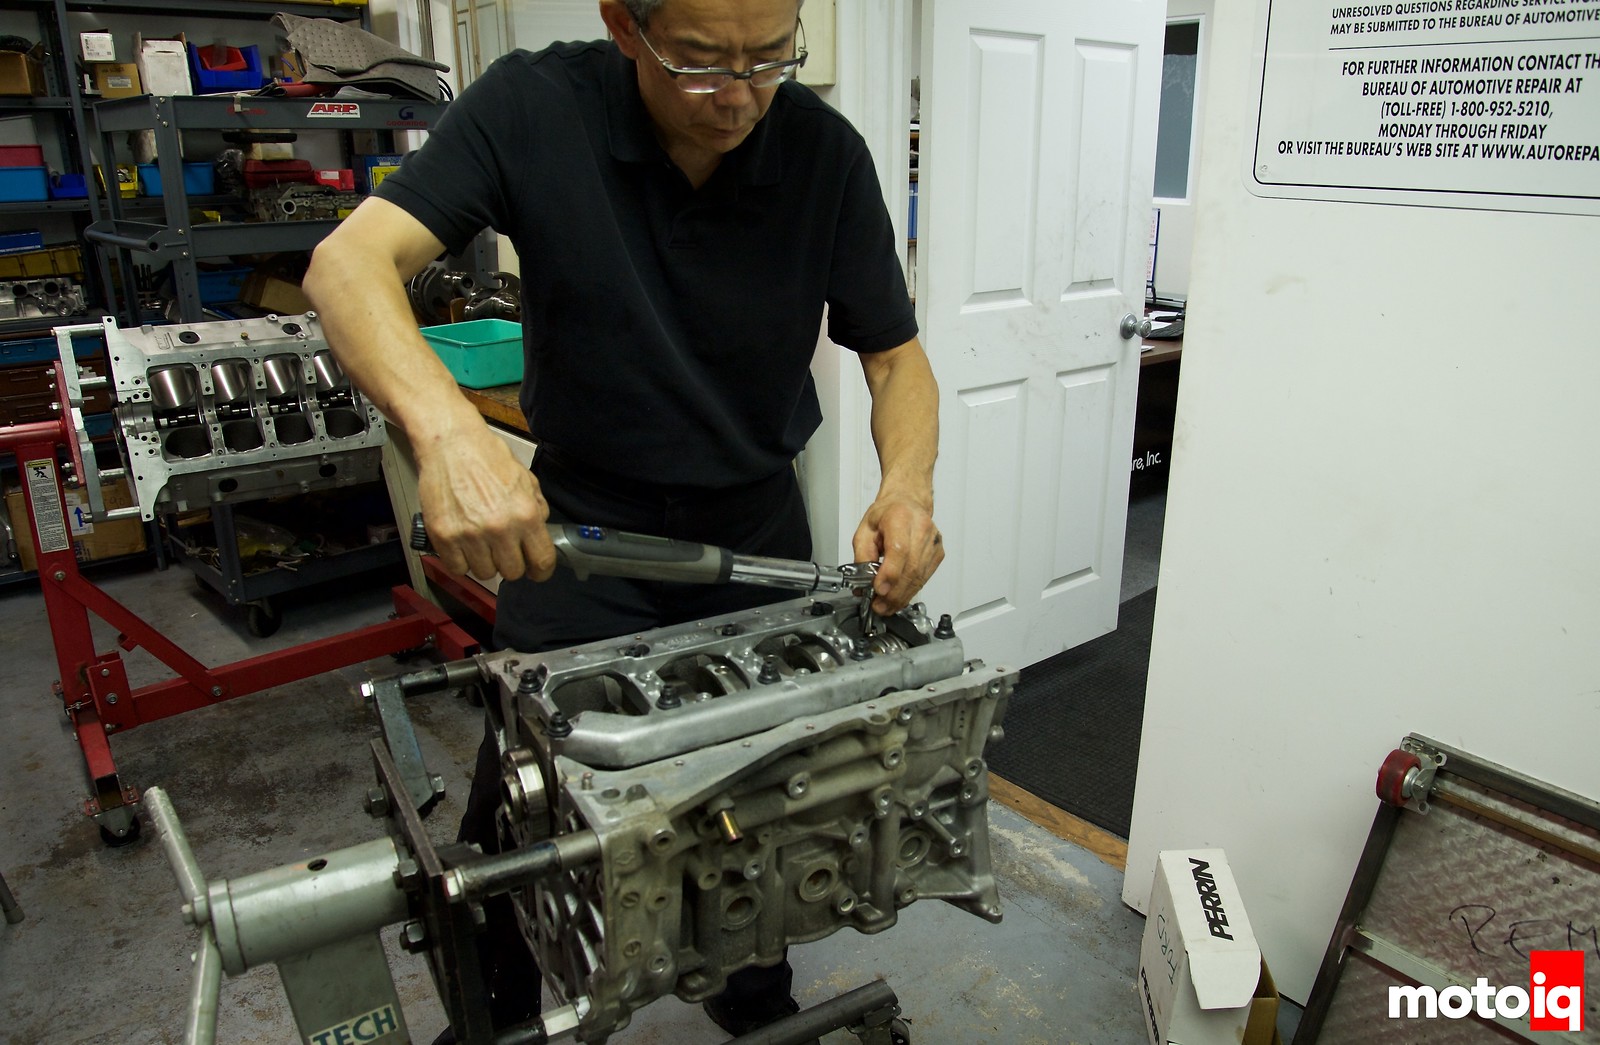
Running the proper clearances in the main and rod bearings are some of the most critical things to control when building an engine. Having the correct clearances means the difference between premature wear, friction, and failure and having a long-lasting, power-producing engine. Our friends at King Bearing wanted us to put together something to show how to correctly measure and control clearances so here is a guide on how it’s done.
Engine Bearings found in automobile engines are hydrodynamic. This means that they are a soft metal shell around the crank journals that depends on a thin film of pressurized oil to prevent metal-to-metal contact between the crank and the bearing to prevent damage. Hydrodynamic bearings are great for this application because for a rotating shaft, they provide the best combination of load-bearing capacity and low friction. They also provide a small level of vibration damping, a factor that is important for high rpm rotating assemblies.
A soft metal is used for the bearings because it can tolerate some touching during startup and other transient low oil pressure situations without damage to the all-important crank journals. A softer metal has the ability to embed contaminates that might end up in the oil to sacrifice itself while saving the harder crank journals. The softer bearing also has rubbing compatibility with the hard crank journal, if it was similar in hardness and composition, galling might occur if any touching of the surfaces was involved. So as you can imagine, although the bearings can take a lot of force they can also be delicate.
Because the delicate balance required to prevent metal-to-metal contact is dependent upon the proper bearing clearance, it is critical to get it right. The proper clearance can be less than 0.001″ and in some engines, the absolute minimum clearance is 0.0001. That’s one ten thousand of an inch!
Too much clearance and an engine will suffer from low oil pressure. In severe cases, the oil pump won’t be able to keep up with the oil bleeding from the large bearing gap due to centrifugal pumping, the hydrodynamic film will break down, and damage to the bearings, then the crank will result. Too little clearance and the crank might bind and make metal-to-metal contact due to runout in the crank. This will result in a lot of friction and damage to the bearings and crank as well.
With modern engines, manufactures have been cutting down on oil pump capacity to reduce pumping losses to improve fuel economy. Manufacturers are also specing low viscosity oil with less viscous friction for better fuel economy. These design trends require tighter bearing clearances and modern manufacturing processes enable closer tolerances which enable tighter clearances in mass production. Most modern engines now use aluminum blocks and aluminum expands a lot with heat causing the bearing clearances to increase.
These factors make the need for precisely controlling bearing clearances when building an engine more important than ever. Bearing clearances are now so tight that when doing a post mortem on other people’s mistakes, having improper clearances is one of the main reasons we find for home-built engine failures. Tight clearances are also much more difficult to control for your local machine shop.
All of these reasons make measuring bearing clearances all the more critical for the hobbyist engine builder. Gone are the days of 0.003″ clearance on the mains and 0.004″ on the rods. The typical proper clearance is less than half that nowadays. Before many home engine builders relied on plastigage to measure clearances. Plastigage was a putty-like material that you would put on a journal, torque down the caps, and measure how much it squished to estimate clearance. With today’s tight clearances, that is no longer an option. Throw your plastigauge in the trash! Let us show you the proper way to measure clearance.

The first step is to measure your crank journals. For this, you must always use a high-quality micrometer, not something like calipers. A micrometer can measure down into the sub ten thousands of an inch range but calipers are only accurate into the one thousands of an inch range, not good enough. When using the micrometer you can use the clutch-driven small knob at the end which freewheels at a given torque, this makes sure you use an equal amount of pressure when taking a measurement, important for consistency. When learning how to use a micrometer, practice measuring a journal many times until you get the feel right and come out with consistently repeatable measurements. We measure each journal in a couple of places around the circumference and from side to side to see if the journal is out of round or tapered. This is almost never an issue with modern engines. We write our measurements down for each journal.

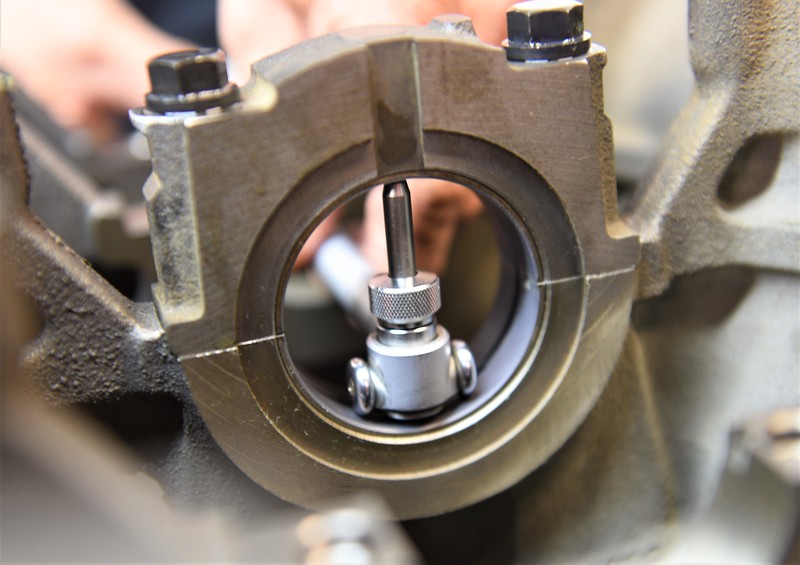
Next, it is time to measure the inside diameter of the main bearings. For this, you need a high-quality bore gauge. You first need to set up the bore gauge using a micrometer to establish your zero reading. You set your bore gauge with a micrometer to zero it at your recorded main journal diameter.


18 comments
For a home hobbyist what are decent quality and reasonable costing micrometers and bore guages to feel comfortable enough verifying these measurements at home?
We use Mitutoyo. You have to use decent stuff because you are measuring very small differences.
Mike, what I don’t like about the bore gauges like the ones used in the picture ( All brands) is that they leave marks on the bearings. I think that some type of intrimik with the same leg set up as the bore gauges would be ideal for the job, however, such design does not exist. Hint Hint!!!!!!
it maybe burnishes the zinc flash on some bearings, big deal, on coated bearings it doesn’t do a thing.
I’ve always used Mitutoyo, and while the prices can be shocking, a trick I’ve found is checking around at pawn shops. With a little haggling and saying things like, “my work will need me to get this calibrated before I can use it.” Or if the tool is missing it’s case or reference block, you might be able to get the price down to $20 or so.
Very helpful article, but it definitely makes me feel like building (rebuilding) more modern engines at home / at the hobbyist level is pretty much going to become impossible. I’m just finishing up a KA24DE build, and I talked to a few “machine shops” who basically laughed in my face at the idea of a using a torque plate on “a small 4-cylinder motor,” so as you say, even finding a qualified machine shop can be a challenge, and that’s for a 30+ year-old engine.
Then there’s the tool cost which I’d think for most people is going to be a bore gauge, micrometer set, and rod bolt stretch gauge, which could easily be $1000 for Mitutoyo or something equivalent.
It feels like we’re about at the zenith of internal combustion engine technology in terms of power and efficiency, which is cool, but the understandable tradeoff (as you say) is that there are far fewer people / shops who can competently work at the level of 0.0001″ and smaller tolerances, so I do wonder what that will mean going forward.
You are really talking about the ultimate in power and reliability. FYI, I have taken apart and refurbished engines and replaced head gaskets for under a hundred dollars. You may want to look into domestic engines if you just want to enjoy the rebuild process without breaking the bank.
Have you tried to build an LS or Coyote engine, these are about domestic as you can get and they run very tight clearances. We see LS’s with very low oil pressure all the time, the result of someone just throwing some bearings in it, even other “pro” engine builders. We run at the tight end of the factory clearance or you get things like 10 psi hot idling oil pressure and 35 psi going full tilt, barely acceptable for a stockish engine but not a performance one. Maybe you can get a little less careful on an old SBC with an iron block but even then, measuring clearances is not breaking the bank. Most engine failures from people attempting to build engines are the result of #1 poor tuning #2 incorrect or sloppy clearances.
If bearing clearance is such a concern, the bores in the block for the main bearings should be checked for size and roundness first.
The main bores are always checked to see if they are out of round and out of plane to determine if the engine needs to be align bored.
Does bearing clearance also affect what oil viscosity to use after rebuild? Given the tight clearance that you like to follow, do you tend to recommend lower viscosity engine oil from factory recommended specs? Is it important to match the bearing clearance on all the journals?
Whenever we read factory rebuild manuals, we will always discover there are multiple bearing thickness to choose from during ordering. We could use bearing halves of different thickness to achieve the desired clearance required.
However when it comes to aftermarket bearings, I tend to notice one size fit all bearings even for popular engine types. How do you achieve your desired clearance with such bearings?
We never use a lower viscosity than the factory recommendation. We use King bearings because they come in small increment size differences so we can mix and match shells. Failing that, you can align bore the block and resize rods to the minimum size to close up clearances with crush or use an oversize bearing and machine the crank undersize precisely to the right diameter to get good clearances. It’s important to work with a good machine shop and have a good relationship with one.
What oil viscosity do you recommend your customers to use on the engines you built? Will it be too much work to machines those parts than to just use original bearings that comes in small size increments?
It really depends on the motor and end-use. OEM bearings are mostly not designed for racing use.
Do you somehow take into account how much the anvils on the gauge head dig into the bearing material? Not an issue on hard-faced race bearings, but it’s visible on soft stock bearings.
That’s why I always double-check with plastigauge. Even after measuring crank runout, journals, big end bores and main bores.
If you do things right, it won’t even make a mark.
Nice article, thank you.
I need some advice, I have Subaru STI 2008 2.5 L turbo engine and I know,
that theese blocks tends to flex a lot and also crankshaft need “a litlle more space- not to go metal on metal contact” so many people (engine builders) recommend me to go with bigger clearances on main journals.
But as I read this article recommendation is to go to tighter clearances on low minimum of factory standard specifications?
So how about Subaru EJ engines and bearing clearances?
Thank you,
BestRegards
Mike
I couldn’t help noticing you didn’t mention. rod side clearance. Is that not a concern, what are your thoughts on that? How would you correct too large of an end clearance? Thanks for taking the time to show how to properly take these measurements. Much appreciated.