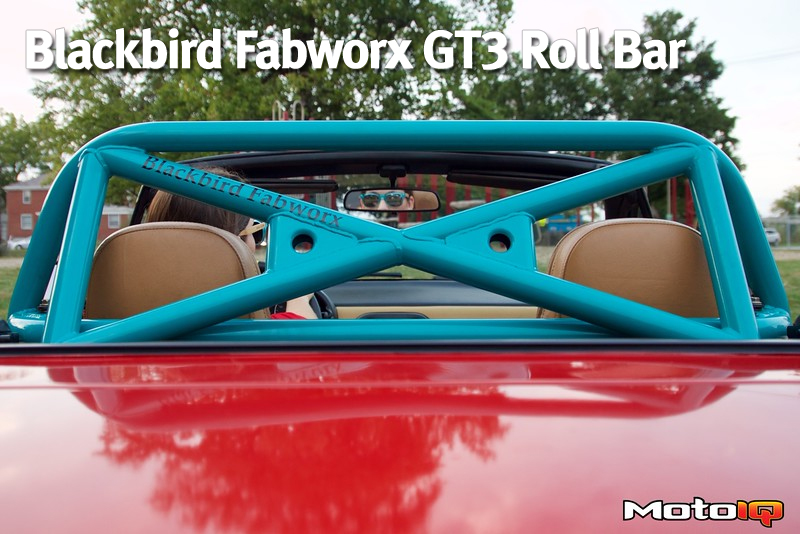
,
 Taking out the carpet is also a simple job, just mind the plastic clips. These can break very easily, so a trim panel tool is highly suggested. No clips were lost or harmed in the installation of this roll bar. The door seals, bolts for the seat belt guides, and plastic trim panels are next to go. After those, the parcel deck panel is removed. A layer of sound deadening covers some of the bolts that need to be removed, but all in all, disassembling the Miata interior is a simple task.
 Turns out that layer of sound deadening can get moist and cause the access panel to the fuel tank to completely rust out. A disgusting surprise to say the least, but good to know and luckily, there was no rust on any structural components.
 The trunk liner and carpet will also have to be removed for access to the rear legs of the roll bar.
 At this point the seat belt reels need to be slightly modified to work with the roll bar. We have to adjust the angle of the reel from pointing straight up, as seen on the left, to angled inward, as you see on the right.
 This is accomplished by removing the tab that goes into the body as seen on the left and middle photos. Then with the seat belt reel in position, mark and drill a new hole to work with the OEM sheet metal screw that holds it's position. I somehow missed a finished photo of this procedure, but below is a photo where the fully installed reel can be seen. This is critical to accomplish at this point as the roll bar encapsulates the reel and you won't have access later.
 Next is measuring thrice and cutting like eight times. I put a lot of effort into making sure both sides were cut symmetrically and squarely, but I ended up cutting off more than I had to. As this part of the car isn't structural, removing a little too much isn't that big of a deal, but don't use my lines as an exact guide.


