,
 The instructions suggested using tin snips, but I used a wide variety of tools to do this job. I started with a jig saw, as I come from a woodworking background, but quickly I ran out of room to maneuver the tool. Tin snips were used, but I wasn't getting a cut without deforming the metal that was going to stay, so I switched to an angle grinder with a cut off wheel. This made for quick work of the Japanese steel with nice straight lines.
  The angle grinder made quick work on the cuts, but did leave some sharp edges. I cleaned these up with a file to reduce the chances of bloodletting during the next phases of the install.
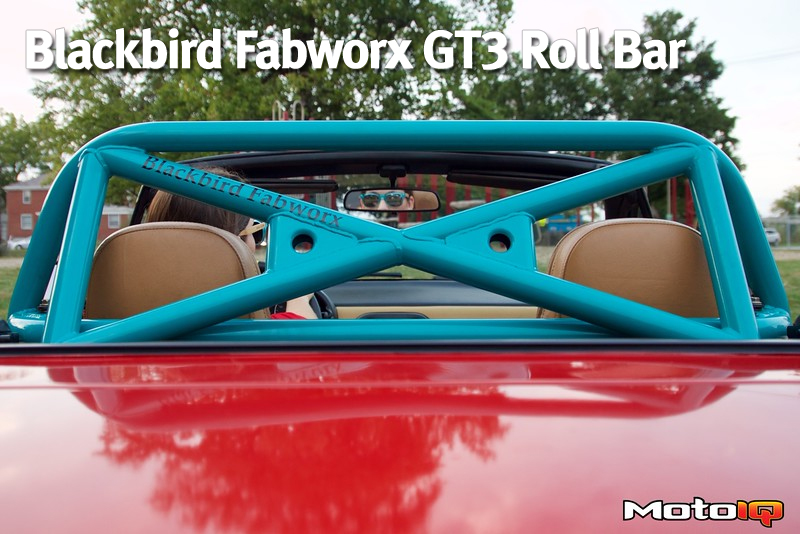
 Recommended as a two man job, initial placement of the roll bar can be done by yourself, I can attest to that, but if you have a friend's help, use it. Here you can see how the main hoop sits in front of the seat belt reel, which is why it has to be angled inward. At this point you'll bolt the bar into the car via the two bolts that also hold the reels in place, ensuring to center the hoop within the chassis first.
 Up goes the back of the car, with jackstands and wheel chocks to reduce the chance of something cute and heavy crushing you to death. The wood under the jackstands is to protect the asphalt from any damage.
 With the wheels removed, you'll have access to a few plastic panels that will need to be removed so you can access the underside of where the roll bar mounts.
 The roll bar's backing plates make their appearance at this stage of the install. Beautifully powder coated, it makes you hate to have to install them under the car, hidden from the world.


