,
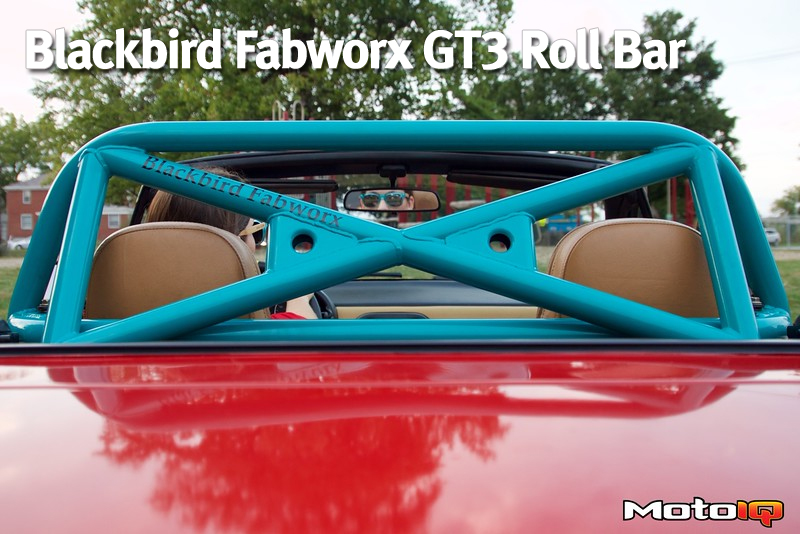
 And what the top looks like all finished up.
 The upper seat belt guide bolt needs to be shortened to work with the new seat belt guide location. Now in Blackbird's instructions, this bolt was fully threaded from the factory, not so on our Miata. Being too impatient to wait for a replacement bolt from Mazda, but having access to a wide variety of tools, I set out to cut new threads to see if I could make the existing bolt work. After cutting the new threads, I shortened the bolt per the instructions and tested my newly formed threads before installation. The bolt tightened up perfectly fine.
 Why wasn't the girlfriend in pictures before? Well, this ended up being a two day install and on day one there was a wedding that I needed an excuse to get out of. That excuse was working on the Miata. I hate weddings. With the girlfriend back, I put her to work using her nail painting skills to make sure any exposed metal was covered.
 The tetanus filled parcel shelf was trimmed for installation.
 It looks halfway presentable when fully installed. This will be replaced with a rust free one once one is sourced.
 Here we can see the final installation of the top seat belt guide with my custom threaded and shortened bolt. Notice the clearance made for the seatbelt by trimming the plastic interior panel.


