,
 |  |  |
| Part of the huge pile of stuff that got removed from the interior. | Dry ice was used to make the tar-like sound deadener brittle so it could be easily cracked away in sheets. Don’t mess with Annie, she will pound you. | 5 year old Christa Kojima is a big helper. |
As a first step, we obtained a totally stock nice 2003 Sentra SE-R Spec-V. As it sat shining in the sun in the driveway, it seemed almost a shame to do what came next, which amounted to an automotive gang rape. The first step in building a race car is to strip it to a bare shell so a proper roll cage can be built. To speed things up, we invited all of the neighborhood car freaks in our area for a strip the car fest. A group of eager teenagers went to work gutting the car with glee. Another crew of local NASA Honda Challenge racers, picked for their hate of all things Nissan lead by the notorious Grandma Paule went to work with the mechanical gutting and removal of the powertrain.
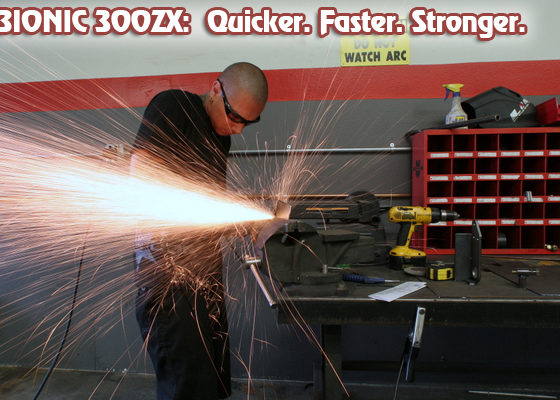
Within hours the chassis was stripped to a bare rolling shell and over 500 lbs of junk littered the driveway. The junk was disposed of in dumpsters behind a few local supermarkets (shush) and the more tedious task of removing the cars insulation and sound deadening was begun. The easy way to do this is to use many pounds of dry ice to deep freeze the sound deadener which then usually peels off in big chunks as the cold makes it brittle. Residual deadener and sealer is then removed with electric angle grinders with twisted stainless steel wire wheels. This is hard, slow work. The sound deadener is heavy and it gets in the way when trying to weld the floor reinforcements for the roll cage in place. We probably removed over 50 lbs of deadener, goo and seam sealant from the cars interior.
 |  |
| Seam sealer and stubborn bits of sound deadener are ground away with angle grinders and stainless wheels. | Before starting the cage, the parcel shelf, some rear shock tower reinforcement and the rear bulkhead are removed to make room for the cage. Normally removing chassis reinforcement is a no no but our semi tube frame will be much stiffer than the stock unibodty could ever dream to be. |
Finally the last traces of residue were removed with rags soaked in MEK to leave a clean bare surface. This is a nice surface that can be welded on and painted. So much weight was removed from Project Spec-V that its ride height increased by 3-4” and the stance ended up being much akin to that of a rally car. With that the car was ready for a trip to the fabricators. We towed the car over to our friends at Technosquare for the construction of the roll cage and most of the cars heavy fabrication. Richie Watanabe, Technosquare’s ace fabricator agreed to construct the cage. With many years of experience constructing Pro Rally and race cars, Richie knows how to build a cage. He is quietly proud of the fact that every racer that has ever crashed while driving a car equipped with one of his cages has walked away completely unharmed.
 |
The front leg of the cage is placed as far forward as possible. This extension of the frame rail was created to give the cage a more solid mounting point to a main part of the chassis. The front leg was first lowered through a hole in the floor so the upper welds could fully encircle the tubes despite a tight fit to the roof. |
The roll cage is the heart of any racecar, especially a road race machine. Besides its most important role of guarding the cars occupants made of soft and squishy stuff, the cage is also the cars backbone. Not only does the cage have to protect the soft and gushy meatsacks from getting physically rendered, it also must coddle them in a shunt, absorbing and directing the energy of a bad crash away from the fragile organic occupants. Simply having a super strong cage is not good. It is possible for a super rigid cage to transfer a lethal level of organ shocking G forces to the occupants by not giving at all in a crash.
A cage must also give the chassis stiffness for good handling. Since suspension tuning involves manipulating weight transfer around the chassis to the various tires, a stiff chassis is essential for the tuning to work well. The stiffer the chassis, the better the car will respond to changes in the suspension setup, making it easier to dial the car to the driver and the track. A noodly chassis can act like a huge spring in response to loads placed on it from the tires. It is basically an undamped spring which can impart rebound forces that can upset the car if they are too large. A stiff chassis will not deflect enough to have significant undamped rebound forces. This forces road shocks and bumps to be absorbed by the cars springs and dampers instead of making the car hop and bound. The ride, the grip and the overall handling benefit this way. B15 Sentras have pretty weak and flexable chassis so the cage is especially important to get it to handle right.
 |
The main loop floor plate not only covers a large area of the floor, bit it also is formed to the frame rail on three shides for maximum support. A hole was also cut in the floor here so the upper welds could be completed and the cage made tight to the roof of the car. |


