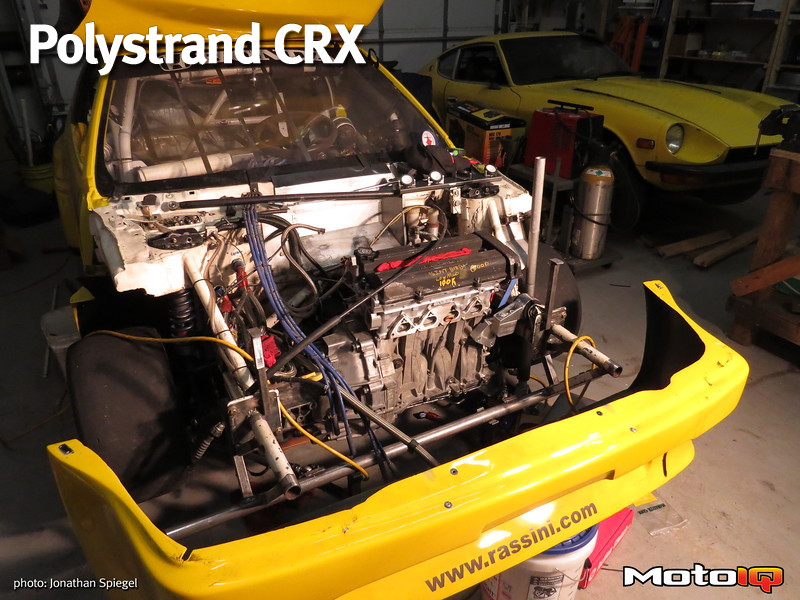
,
After the head was installed, we installed the cams and the timing belt. Before rotating the engine, we wanted to make sure we accounted for a worst-case scenario, so we advanced the intake cam and retarded the exhaust cam 10 degrees each (thus reducing piston to valve clearances). Based on experience, we don’t anticipate having to exceed these settings during tuning, so anything less than that provides us an extra measure of safety. After rotating the engine through TDC at overlap, everything was disassembled and clearances measured. We found that the radial clearance at the edge of the exhaust valves was a little tight, so we ended up relieving the exhaust valve pockets in the pistons a little bit. After repeating the procedure, clearance was deemed good.
 Here’s what the solder looks like after rotating the engine through TDC. We have mild cams, but, since the head is shaved, the radial clearance on the valve faces was too close for comfort on the exhaust side, which is what we’re measuring here. The solder on the right of the jaws shows the squish clearance, and the solder to the left of the jaws shows the clearance of the valve face to the piston relief, which is more than adequate. A lot of people forget to check the radial clearance, and all it takes is slight contact to bend the valve ever-so-slightly and cause a loss of compression and power.
With everything double-checked, we assembled the head onto the engine, and then installed the cams. We set cam timing on both bumpsticks back to zero degrees (no advance or retard), and then mounted our dial indicator and degree wheel to verify the intake centerline. As we knew they would be, the cams are slightly retarded due to the machining of the head and the deck, but it’s important to verify the actual numbers so we know where we started once we get on the dyno.
 Here’s the bottom end ready to receive the head. If you look carefully at the near side of the pistons, you can see that we’ve massaged the exhaust valve reliefs for more clearance. Also, we’ve made sure to file off any sharp edges on the pistons, as well as giving them a good once-over with a scotchbrite abrasive disc to make sure all the surfaces are smooth. People often ignore the piston tops but you need to remember that the piston is actually the floor of the combustion chamber. If you’re going to spend time and effort on the head, which is the roof of the combustion chamber, why wouldn’t you do the pistons?
After the head was reinstalled, we reinstalled the cams and valvetrain with a heavy dose of assembly lube. We also lubed the ARP head studs, washers, and nuts to insure a smooth and even torque pull-up. With the top end in place, we moved to the rear of the engine and installed a new lightweight Fidanza flywheel, and an Action Clutch clutch assembly. Since our horsepower (and torque) will be restricted, we don’t need much extra clamping pressure over OE, and we wanted to keep our rotating mass to a minimum as well, Eric at Action recommended a Kevlar friction disc. A lightweight disc makes for easier shifting, since the synchros won’t have to slow down any extra mass. The Action Clutch assembly came with everything we needed for the installation, including an alignment tool, and new throwout and pilot bearings.
 Once again, plenty of assembly lube. We’ve backed off the valve adjusters and installed the rockers, and the head is ready to receive the exhaust cam (which is resting comfortably in the intake cam journals in the picture).
 Here we are checking the cam installation using a degree wheel and dial indicator. As
we expected, with the timing gears set at zero degrees, the cam timing is slightly retarded due to the head and deck being machined. Because we went to the trouble of checking, we know exactly how much – which is important when it comes to making tuning changes.


2 comments
Any progress on this thing? It’s such an awesome project.
Any updates?