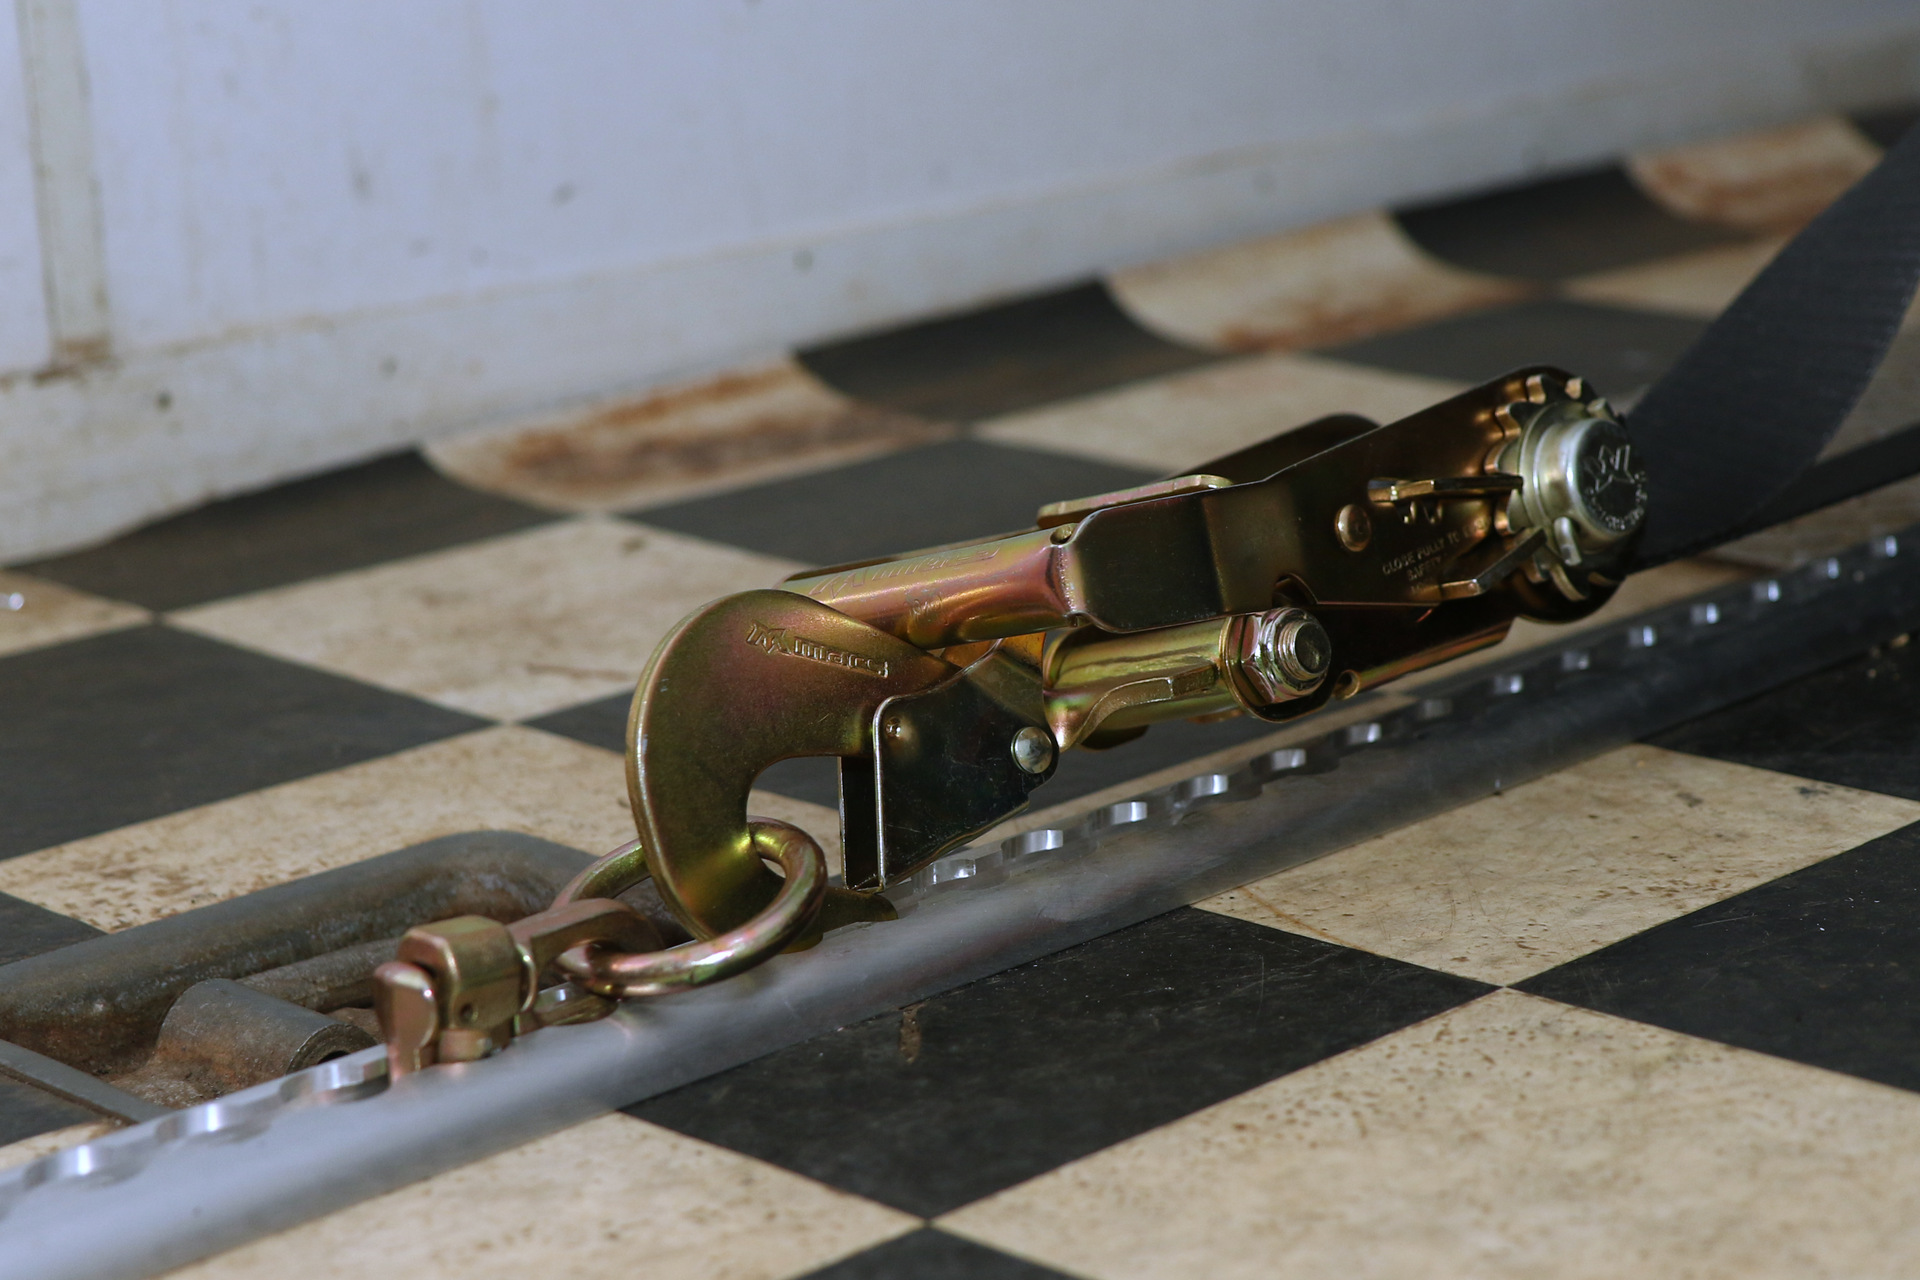
It comes with a really nice bag, the four ratchets, the four straps with pre-installed idlers, nice velcro holders, and the extra idlers. We also needed to order L-track D-rings for the ratchets to attach to the track on the floor.
These are also custom-length straps (extra long) to account for the front splitter length.
Mac’s technicians were super helpful in figuring out everything we needed to order. We placed our order, and everything showed up relatively quickly. Installation is pretty straightforward, but we have a few tips for you, of course!

As you may know, Project SC300’s nickname is Dammit. Something would inevitably go wrong. We didn’t want to trust that the car was shaped right or that the trailer was shaped right or that the floor was symmetrical, or leave anything to chance. Measure fifteen times and cut once, and hopefully, it comes out right. Hopefully.

When you’re dealing with 20-ish feet of track, you want it to be as straight as possible. Lasers make pretty damned straight lines. We were able to mess around with the Intercomp laser leveling system’s laser inside the trailer (in the near dark) to cast a line on the floor that would be as straight as possible. The trailer’s frame has to be pretty darned straight, so it was a safe bet that a straight line between the original D-ring tie-downs would be straight and parallel along the length of the trailer.
We measured a lot, and then measured a lot more, and then measured again, and then finally drew on the diamond plate with a permanent marker to indicate where the outside edge of the track would be.
One of the things to check is to make sure that you are not laying track down on top of the trailer frame’s long beams. That would be bad. Trying to drill through the entire trailer frame is not going to go well. Even with all of the measuring, some of the holes will end up on top of the trailer’s cross beams.

First of all, we were about to drill an awful lot of holes. The L-track has holes regularly spaced at least every foot. 20 feet times two tracks makes 40 holes. That’s a lot. The plunger helps ensure that your drill hole is at a precise angle. In this case, it helped us get precise 90-degree holes, which comes in handy when you want to then put 40 bolts through those holes. Especially when you want nice fender washers underneath and for the nuts to sit flush on the washers.


4 comments
I certainly understand your choice in winches, but just for those with more budget in mind I’ve been pleased with the meager 2500 lb winch I have on my open deck trailer. While I am equipped to run a snatch block if needed, so far I’ve been able to pull a GMC Envoy (~5000 lbs) up a set of 7′ ramps on a trailer without drop axles.
That said, I wouldn’t expect that winch to be able to pull a vehicle with something like a locked up wheel onto the trailer.
With an open-deck trailer and a not-too-crazy angle on the approach, a 2500lb rated winch can haul a 3000lb car. The key word is can. A little overhead won’t hurt. You’re absolutely right on the snatch blocks, and we made that comment in the Winch2Go article that’s linked in the intro paragraph.
With only one wheel dragging, a 17,000lb rated winch should probably be able to get the car on. It likely won’t be fun. It’d probably be easier to try to get a jack under that corner and do some fishy stuff. But, either way, you’re far more likely to get a broken car onto a trailer with a 17,000lb rated winch than with a 2500lb rated winch with only a snatch block. And, hey, you can still use a snatch block with that 17,000lb rated winch to get even more ugly pulling power!
To be clear, I haven’t used the snatch block yet.
Next you gotta get a monster slide in truck camper for the F-250, hitch and extension from Torklift to go with that schwanky new to you enclosed trailer. Then when it’s pouring buckets outside, the car is dry inside and you’re pounding beers inside the camper. Everybody wins. It also keeps the morning dew off the car.