The DTT requires minimal wiring, nearly all of which is plug and play if you buy a jumper harness to route the ignition circuits into the turbo timer. Blitz no longer sells jumper harnesses, but HKS does and they happen to have jumper harnesses for the Cappuccino.While the connector plugs in, the locking tab is different and does not seat into the Blitz DTT harness. A zip tie is a solution to this issue. We could have looked around online, found the correct female connector, and re-pinned the Blitz side but we already had a big can of zip ties on the bench.We grounded the DTT to the shifter, the same point the radio used to be grounded too. We also spliced in the parking brake interlock. This is a special interlock that will ignore the DTT and shut down the engine if the parking brake isn’t on. This is an important safety feature to keep your car from rolling away, so we wired it in. You could also just ground this wire and bypass the safety circuit, but since the interior was this far apart, it made sense to wire this feature up. We stashed the main box of the DTT under the dash where the radio used to live and tucked and zip-tied all the wiring out of the way. If this car still had a radio, there is plenty of room on the passenger side of the firewall to mount the box.The Cappuccino has a little dash light that turns on when there is turbo boost. This light is triggered by a pressure sensor in the engine bay. This makes an ideal reference point for the DTT’s built-in boost gauge. We simply teed into this line to obtain a clean boost reading. The vacuum line for the DTT gets routed along the firewall to the passenger side of the car and enters the interior with the ECU wiring harness.We decided to mount the DTT display in front of the center vents. This area is out of the way but still allows for easy reading of the gauge and access to the buttons. We used a bit of 3M Dual Lock to mount the DTT to the dash.
Hmmm. So that’s what that little gizmo is for. My Cap came with one, and I consider myself generally knowledgeable about all things car and mechanical, but I wasn’t exactly sure what that was for. Guess I’ll be using it from now on.


3 comments
Is this an F6A or K6A car?
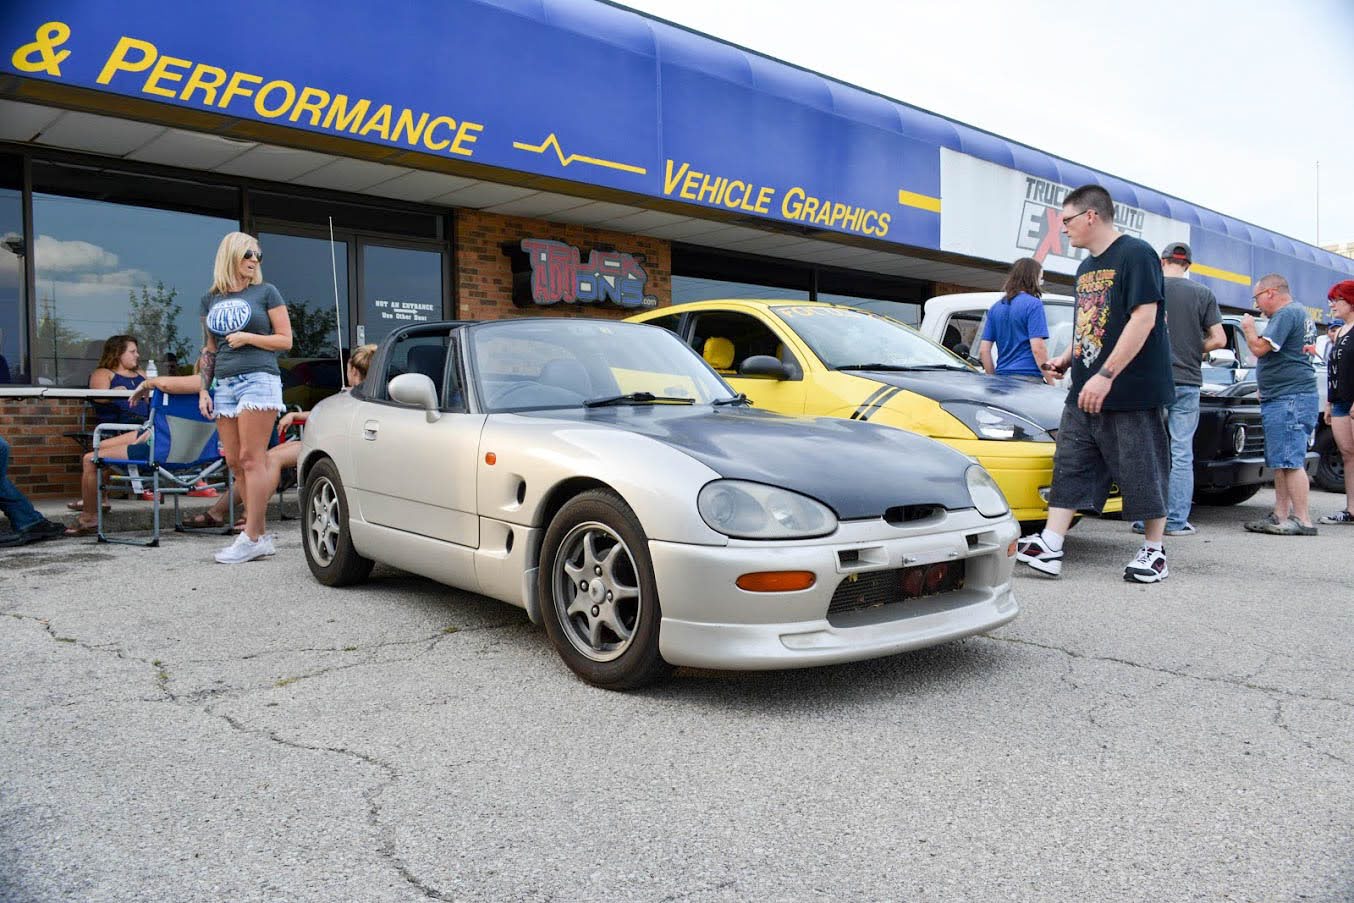
This Cappuccino is an EA-11R chassis with the F6A engine.
Hmmm. So that’s what that little gizmo is for. My Cap came with one, and I consider myself generally knowledgeable about all things car and mechanical, but I wasn’t exactly sure what that was for. Guess I’ll be using it from now on.