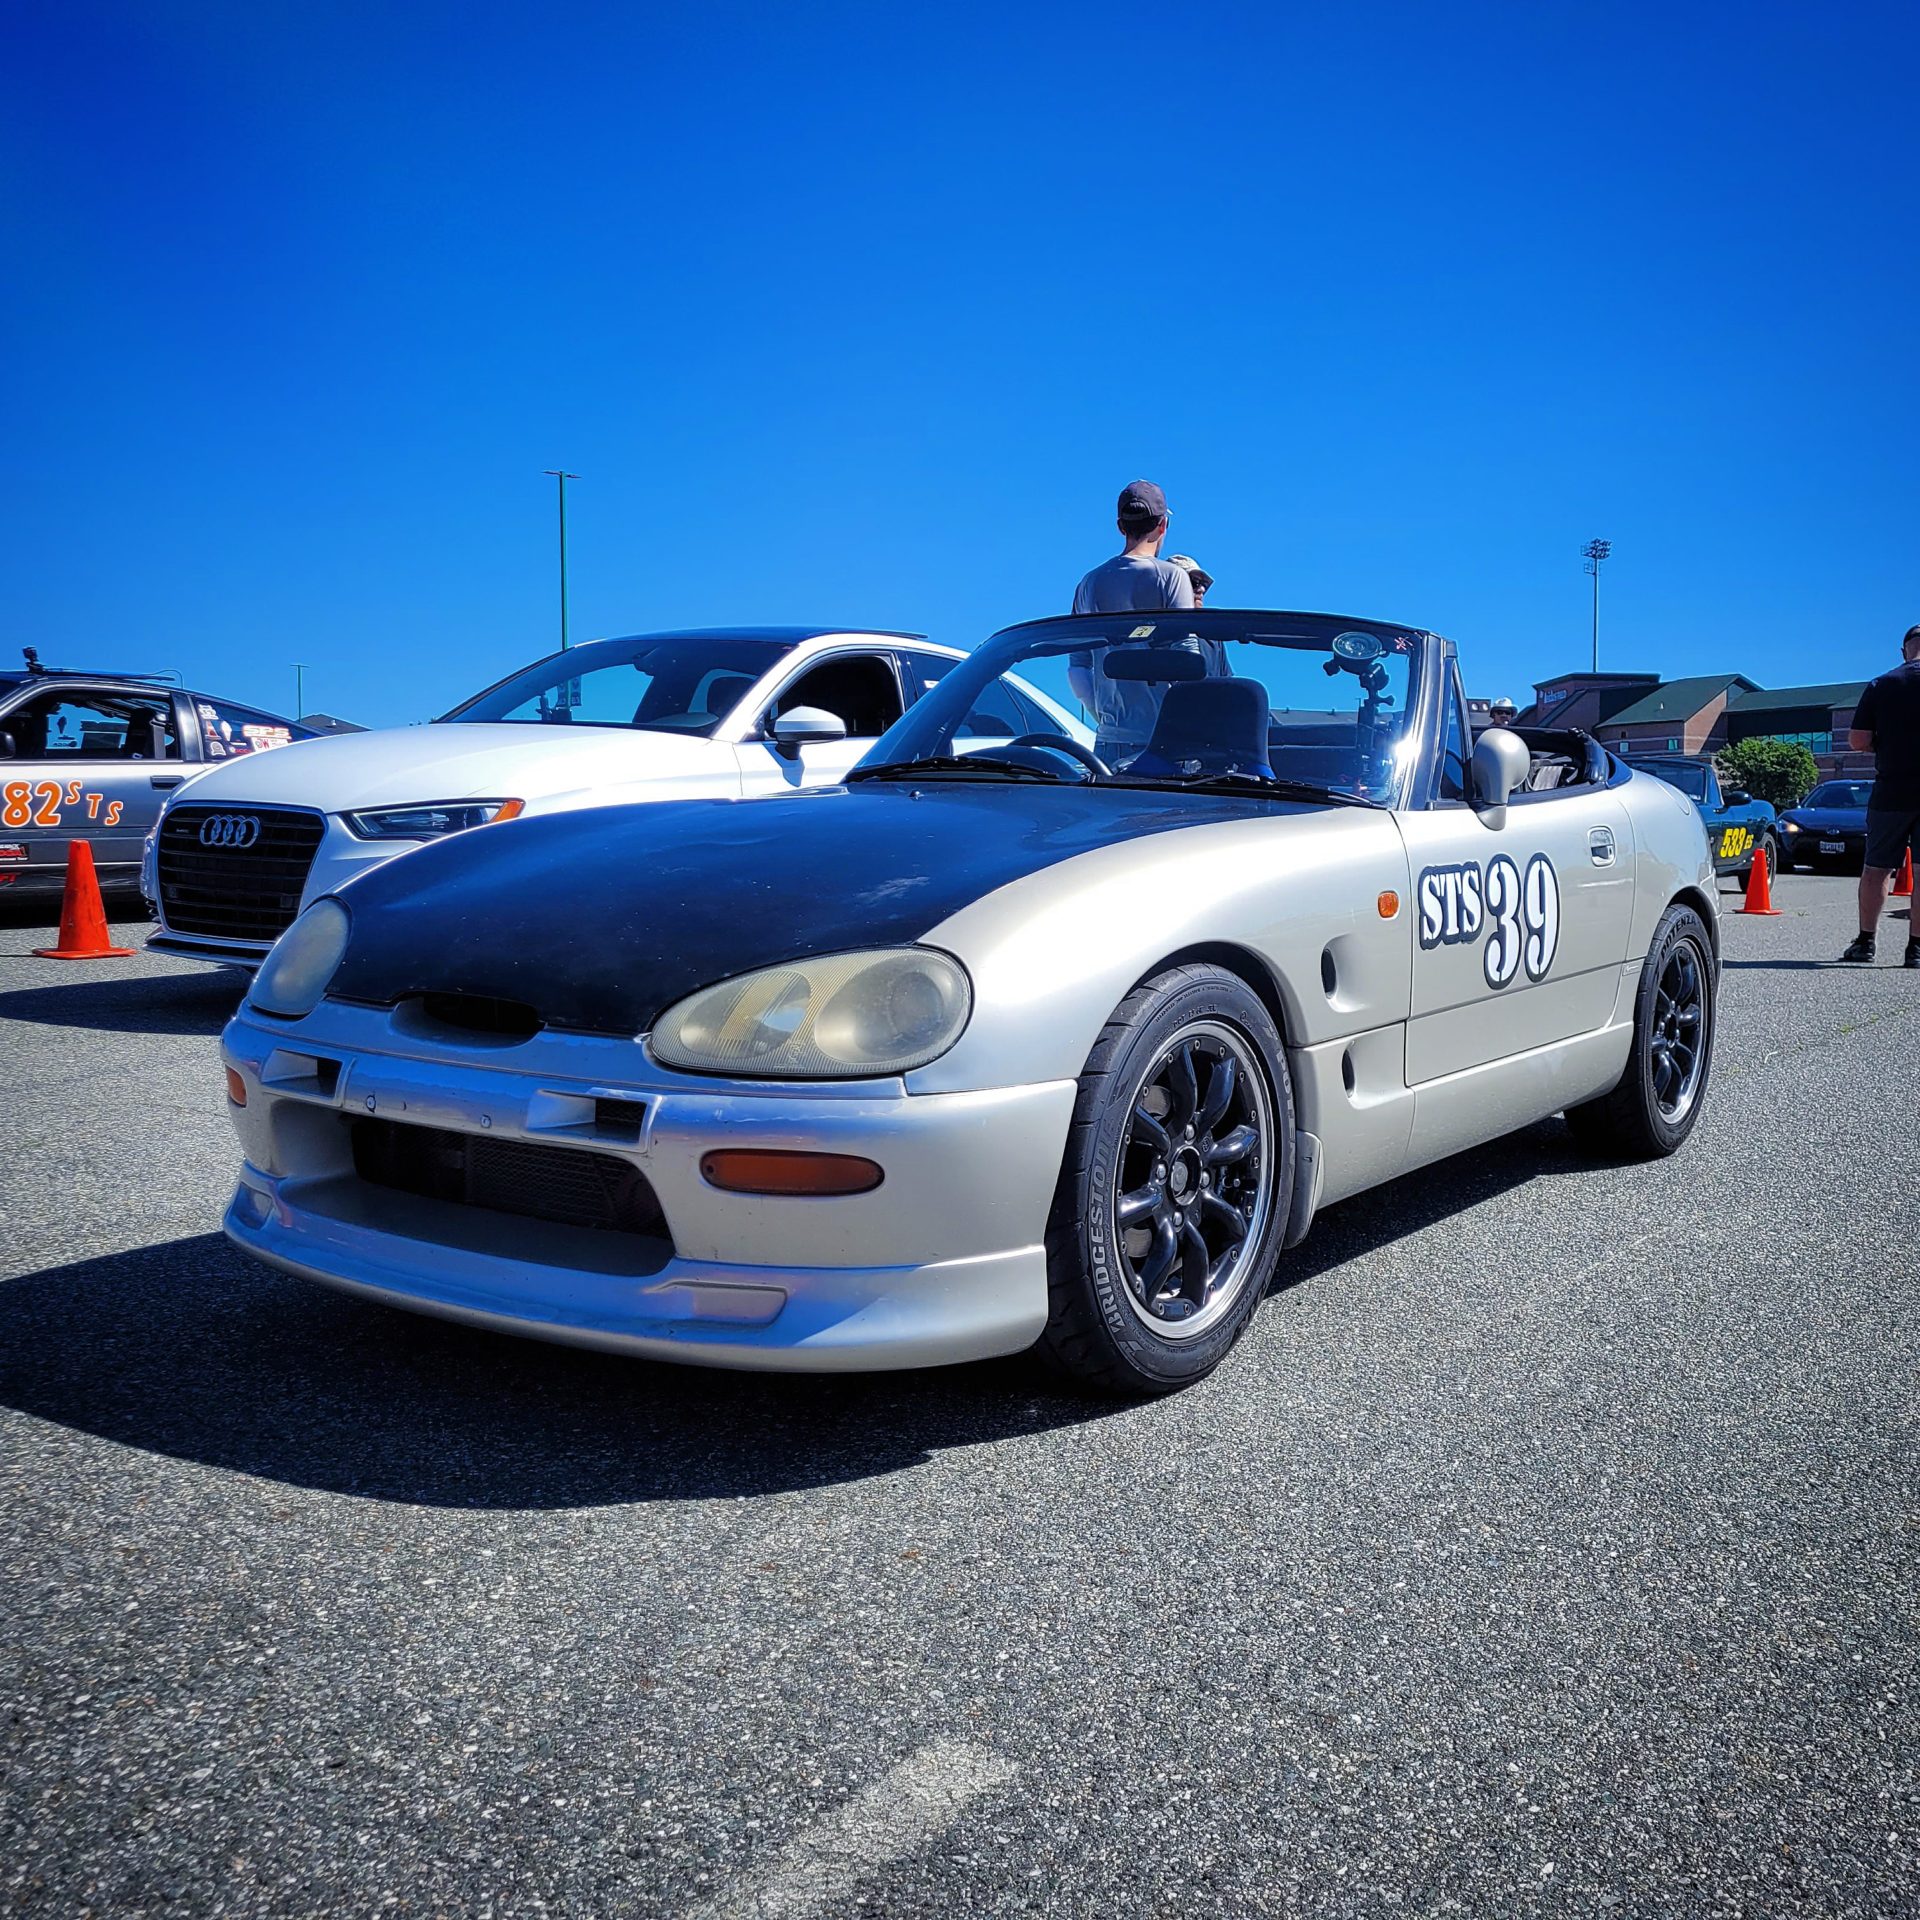
We also picked up a Shorai charger so we can safely charge and balance our cells after the car has sat during the winter. This charger will balance the internal cells and prevent overcharging. Balancing the cells prevents excessive charge/discharge cells on an individual cell. This can cause that cell to burn out early, decreasing the lifespan of the entire battery.The new battery lays down almost perfectly in the tray, but it partially sits on the old retaining tab ears instead of between them. We could cut off these tabs but they do a great job of locating the battery in the fore-aft direction, so we can use them to our advantage. Laying the battery down like this will help lower the CG slightly.Shorai packages their batteries in multiple layers of adhesive backed closed cell foam in varying thicknesses. Shorai only makes a few different battery sizes, so the foam sheets allow bike users to pad out their battery mounts to fit a smaller battery. We picked the largest ⅜” thick pad, cut it to size, and stuck it to the bottom of our battery to take up the gap to the tray.We knew we would need to fabricate a new battery tie down. We bent a new strap from some 1”x 3/16” thick aluminum strip. We drilled the ends for an M6 bolt. If you don’t have access to a bending tool like this, the Shorai battery is short enough that some ⅛” thick flat stock and 60mm long bolts would work too. We had a bender so we decided to use it. We then marked and drilled a pair of M6 clearance holes in the battery tray to secure the strap.We intentionally made the bracket a hair too tall and wide. This allowed us to line the bracket with foam to provide some vibration isolation and prevent chafing against the plastic case.
Nice! I’ve had a Shorai in my CBR600rr for like a decade. OEM batteries died after 2-3 years each. The Shorai, even a decade old, cranks up super strong even after sitting for two months. I’ve never had to put a tender on it like I did the factory batteries and those still died after a couple years.
Was the vice mounted metal bender you used fabricated or purchased? If purchased, may I ask where you got it? Thank you. Nice work on the Cappo. It’s probably my favorite build series on here.


6 comments
Nice! I’ve had a Shorai in my CBR600rr for like a decade. OEM batteries died after 2-3 years each. The Shorai, even a decade old, cranks up super strong even after sitting for two months. I’ve never had to put a tender on it like I did the factory batteries and those still died after a couple years.
Was the vice mounted metal bender you used fabricated or purchased? If purchased, may I ask where you got it? Thank you. Nice work on the Cappo. It’s probably my favorite build series on here.
They’re called manual rod (or flat) benders. The one in the article specifically is a Huth manual rod bender. They run about $100.
What Augustus said below is accurate. It’s a handy tool for bending rod or small flat stock.
And thank you for the kind words, I love this little car and it’s currently getting some winter updates to the interior and cooling system.
McMaster is the GOAT!
Thanks for the info.