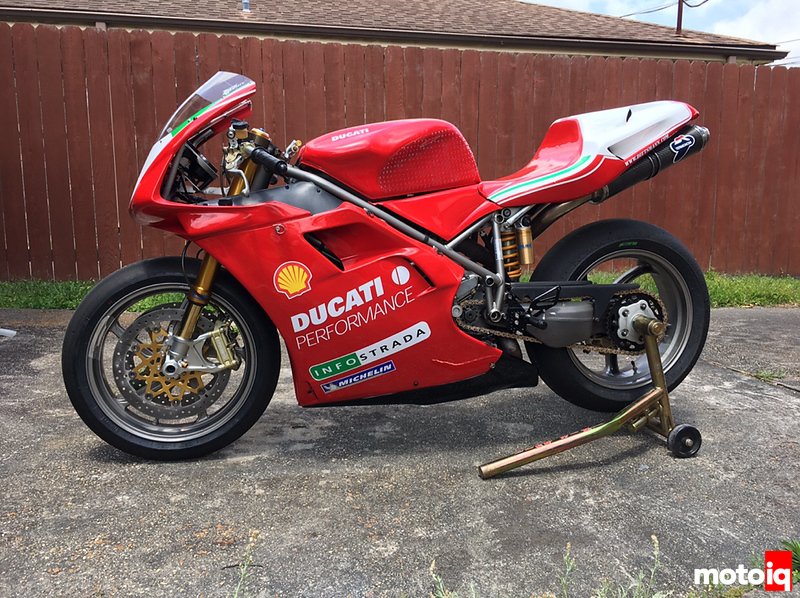
After the shakedown event in the last installment of Project Ducati 998 was brought to an end by a failed fuel pump o-ring, the Ducati is back in the garage and the new fuel pump o-ring goes in without a hitch. I’ll need to remember to bring spares to the track just in case.
To solve the braking shudder mentioned in part 3, let’s first determine the problem. The stock discs are semi-floating as almost all OEM units are. This means the disc is held to the carrier by buttons just like the fancy race discs, however the buttons are riveted into place instead of just clipped. This greatly limits their freedom of motion and over time the buttons can seize from dirt or debris and cause vibrations. In the past I’ve cleaned these and knocked them loose with rubber mallets with some success, but there are better options for a race machine. First option would be to get some super nice Brembo HPK discs for around $700 and bolt them on. With my second baby due in 90 days, I’m trying to keep this on a budget.
Option number two is to replace the buttons with full floating units by Brembo as used on their HPK discs. Bought from Kurvey Girl, they come 10 per pack because HPK discs have 10 buttons per disc. OEM discs have 9 because they’re less cool; two packs were required.

The buttons are made for 5.5mm HPK discs and come with .3mm shims that are to be fitted to one side of each button. OEM discs are only 4.5mm thick because they’re designed to have lower thermal capacity than the race units. Because of lack of thickness the buttons won’t work with .3mm shims, you need something to take up the additional .7mm of your thinner disc. The HPK style buttons are also aluminum, so I don’t have to feel as bad weighing 230lbs because I saved .5lb of unsprung and rotating mass. I measured the shims and ordered some .5mm shims from McMasterCarr to use 2 per button (1 per side of each button) to get the proper clearance. I’m not certain that the supplied .3mm shims would cause a problem, but they left the discs with an alarming amount of play with the carriers.

The stock buttons were drilled out with a sharp 3/8ths inch bit and a pair of vise grips. If you don’t grip the discs the rivets will begin to turn with the drill bit and you’ll get frustrated and throw things. Once drilled out the rivets fall right out. I cleaned the discs and carriers with a disc hone that attaches to the end of a drill. Honing should be done anytime you replace the brake pads as this will knock off the embedded pad material and give the new pads some new steel to bite into.


After honing, place the new buttons in place with a shin on each side of the disc. The new buttons use E clips to secure them so they’re easily removable in the future.
I’ll admit this is the first time I’ve done this and I’m astonished at the results. The amount of friction reduction spinning the front wheel while on the stand is amazing. The pads used to drag the wheel to a stop in 360 degrees or so. Now the wheel will make several rotations, this should be a noticeable improvement on track.


9 comments
That’s wwway easier than AP Racing brakes, no spring clip, no jet nut, no bolt, and you only need spacers because you have a thin disc. Basically a bobbin and an E clip, I wonder if anyone make replacements for Alcon/AP/Brembo.
These discs are Brembo, as are the replacement “buttons” or bobbins.
Ah, sorry, I meant car brakes that use bolt-washer-spring clip-bobbin-washer-jet nut x12 to hold a disc on to the hat. Motorcycles seem way simpler by comparison.
Awesome article. Can’t wait to hear how it does on it’s next track day. And congrats on #2!
Pretty cool. I have updated the buttons on my Kawasaki race bikes, it is neat and does reduce friction but it is not something you will notice on the track. Stomp grips are the single best value mod to a motorcycle, braking is so much easier with them.
Rafa, I have to say, I noticed a considerable difference from the ‘fully floating’ conversion. Perhaps my discs are considerably warped causing more vibration than normal though. This bike does have roughly 12,000 street miles on what I have to imagine are the original discs. And yes, 100% agree on the stomp grips. I was astonished at how much I missed them during the previous event. I’d completely forgotten about them having had them on the Triumph for 10 years.
Very cool, what a stunning build. Thanks for the tip about honing the discs, definitely something I should’ve done before. I interested in your process of suspension tuning and alignment. And what what the feel of that or various setups is like. Kind of like the alignment tuning series Mike has on here but for bikes.
Thanks Miguel, I’ll take that as a huge compliment. I’ve been reading Kojima’s work and have idolized him for almost 20 years now.
I do plan on doing a separate blurb specifically about chassis setup and suspension geometry/dynamics. Motorcycles are so incredibly complicated in motion that it’s difficult to put into words on paper and make it understandable. I promise to give it my best shot though!
Huh… didn’t even know replacing the buttons was a thing. Learn something new every day!