,
 |
| The racelight ground wire was run to the main chassis power ground, a starter mounting bolt. The big wire goes to the battery negative terminal, the other small wire to the ignition coil. |
 |
| We cut the Husky's stock headlight wiring on the bike side of the connector and replaced it with a Molex Mini-Fit Jr. connector (white, background). Avoiding wire splices and using commercially-available connectors gives us more options down the road. The Molex Mini-Fit Jr. line is available from Digi-Key (where we bought all the connectors and terminals for this project) in a wide range of configurations with impressive current ratings relative to the size and weight of the connectors. They are not weather-sealed, but neither was the stock one. Because the connector series includes high pin counts, the (dis)engagement forces were kept low, making it super-easy to use. The locking mechanism is very secure, yet easy to release. For the power connection, we used a Weatherpak connector (black, foreground). The Weatherpak system has been obsolete for OE automotive use for a long time, but still works well and is the one high-content electrical connector system that is widely supported in the automotive aftermarket. |
 |
| The most protected location on the bike for the power relays is inside the Baja Designs rear cover. We used Panasonic automotive micro relays held in place with Velcro, which provides easy replacement and some vibration isolation. Instead of integrated relay connectors, we used lighter, more compact and lower-cost open barrel, double crimp, spade terminals. We used a Hella H4 connector with spring-loaded terminals after one of the wires fell out of a “fake” H4 pigtail we had bought. Note the grey button on the bottom of the racelight housing, held in with a hex nut. It's actually a filtered vent for air movement from inside to outside the sealed housing. One more example of Baja Designs' attention to detail. |
Be careful to make a good schematic, label it carefully and check it three or four times. The Italian wire color conventions followed by Husky use the same blue, white and black as standard H4 pigtails, but with different meanings. We placed the border between them at the connector to the bike, but it still confused us enough we ended up being glad we'd bought extra connector parts. The white and blue segments on the 14-gauge wires are white heat shrink tube, the blue one colored with a Sharpie. We also used Sharpies to mark colored tracer lines on the white, 20-gauge wire used for control inputs from the bike's stock wiring harness.
 |
| The TE610's horn normally lives behind the headlight mask. That space was needed for the racelight's mounting bracket, so we trimmed and redrilled the horn's bracket to turn it 90 degrees. We left an anti-rotation tab to stop against the turn signal bracket when the triple clamp bolt is tightened. We painted the bracket with zinc-rich primer and Rustoleum to prevent cut edges from rusting. |
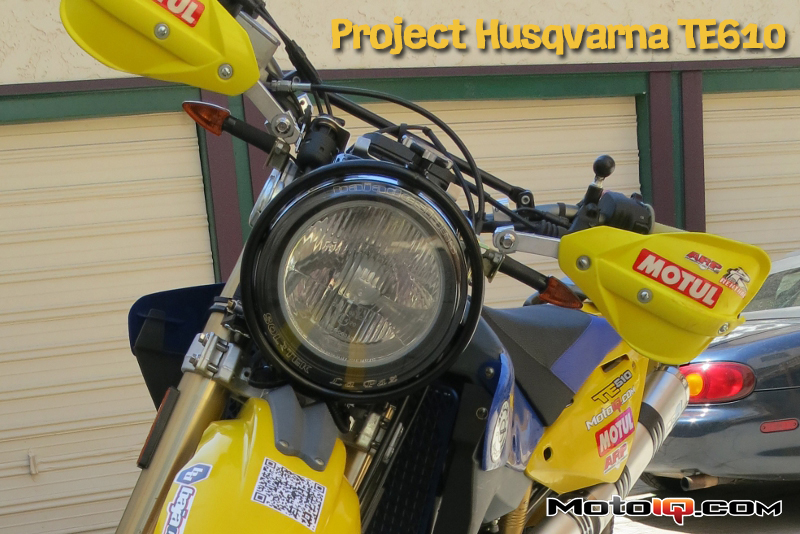
The powdercoated chromoly frame surrounding the Baja Designs racelight housing protects it from crash damage, while providing complete vertical adjustability for load conditions or different mounting geometry. The Lexan guard protects the lens and housing from rocks that may be thrown up by a leading vehicle. The assembly is designed to be quickly dismounted or remounted, as it seats on pins on the anodized aluminum receivers, which are mounted to the forks. Additional receivers could be installed on another bike, allowing the light to be transferred in seconds. Or, if you were actually racing, you could leave it off for lightness and crash damage avoidance during the day and install it at a pit stop when the sun got low.
Related


1 comment
Great Post for Services