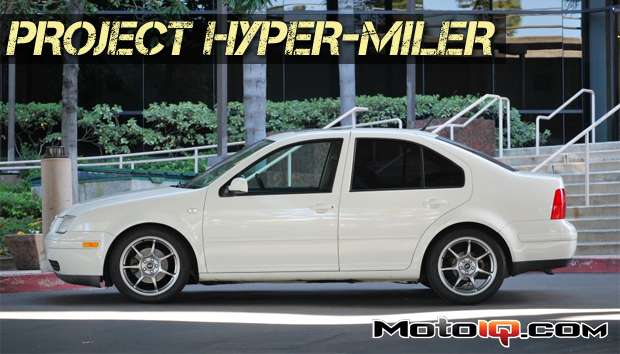
,
| Installation of the ST coilovers was extremely straightforward. Depending on expected ride height and specific setup (MKIV chassis varied slightly in configuration depending on trim), assembly varies a little, but the ST instructions were extremely helpful and easy to decipher. As usual, we were met with VW’s specially engineered sources of frustration that needed to be solved with either special tools (expensive) or half-assed genius. The recessed upper strut nut would usually send a lesser man to the hardware store to get an offset box-ended wrench. Luckily, a ghetto socket set (vice grips), a 21mm socket, and an allen wrench saved us from such a trip.
|
| Ah, the ghetto socket set. So adaptable. |
Removing the strut from the knuckle also proved to be difficult. A specialized tool can be bought for the vast sum of tens of dollars, or a short prybar and an open-ended 10mm wrench can be combined to accomplish the same task for free-fitty (assuming current possession). MotoIQ: saving you small amounts of money as we force you to spend large amounts on upgrades.

Once the coilover setup was in place, ride height was set to 1″ below stock. While not necessarily good for handling, the lower ride height should reduce the amount of air going under the car. The heavier spring rates of the ST coilovers should keep the front suspension from getting into the really nasty parts of the camber curve as well. Care was also taken to carefully remove any the slight rake the car had before the install to decrease frontal area.
 |
| The ST coilovers installed up front… |
 |
| And out back. |


