,
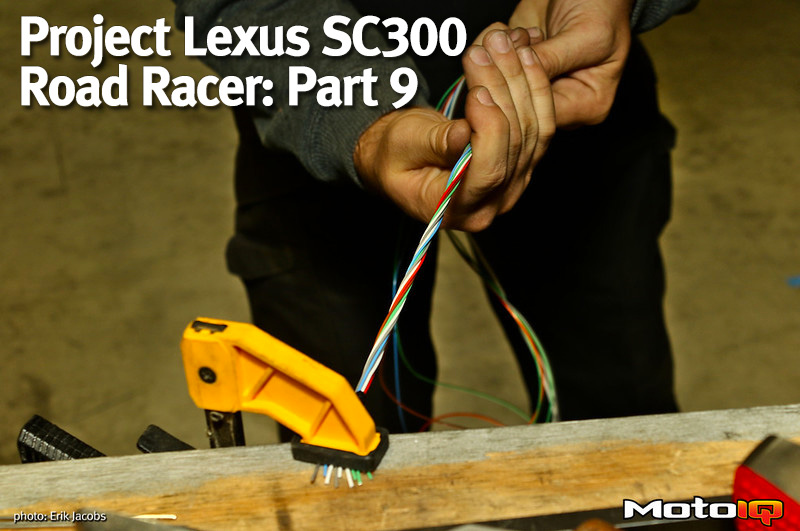
 First, you take your expensive milspec wire stripper and remove the proper amount of insulation.
You don’t want to remove too much insulation on your wire before crimping on the pin. You also don’t want to remove too little insulation. The pin is designed to accept a wire with a specific length of exposed conductor at a specific depth. This ensures a proper physical and electrical connection between the wire, conductor, and pin.
In this case, the DT connector at the bulkhead uses a strip length of around 5mm for the #20 contacts.
 Now that your wires are all stripped to the proper length, it’s time to crimp on the contacts.

This bad boy is the DMC AF8 crimp tool, more properly known as the M22520/1-01.
The DMC AF8 crimp tool is the industry standard milspec crimper. The AF8 has dozens and dozens of different turrets that can be installed to crimp all manner of contacts onto a wide range of cable, wire and other materials.
Since we are using DT, DTM and standard circular milspec connectors, the MilSpecWiring combo kit that comes with the crimper and a turret that works for all of our needs is perfect. It’s also $495. I’m glad that Robertson Racing / H Craft already has these tools, because it would cost us almost as much in tooling as all the wiring supplies cost!
You can go a little cheaper here if you forego the milspec machined crimping in favor of the “W crimp” type contacts. The proper crimper for that application is this open barrel crimp tool. However, this is not an aerospace grade crimp and is also not usable with the contacts on circular milspec connectors.
With the high cost of the industry standard tooling only going up, RaceGrade and MilSpecWiring are working on an alternative. In the next few months they will be finalizing their own M22520/1-01 and M22520/2-01 crimpers that will be sold under their Racegrade brand. Not only will they be offering the tooling, but they will also be offering all the most common motorsport sized turrets and positioners! They will be attractively priced for the enthusiast market. We will be sure to buy one ourselves once it is available! Stay tuned to the MilSpecWiring website for details.
 Contact after contact, we make slow progress.
Tom has put almost all of the DT connector sockets onto the firewall-side of the harness. You can see that we have already put the heat shrink on this bundle. Generally speaking, you want to put the pins on last. It would be pretty hard to pull a bundle with contacts crimped on through a heat shrink tube!
You’ll notice that we are using a few different words here: pin, socket, contact.
The contact is the thing that goes on the wire, and there are two types. Pins are inserted into sockets. Pins are male, sockets are female. Be sure when you buy connectors that you buy the proper mating connector! Whatever your dating scene is, just remember that wiring is boy+girl.
Back to the fuel cell for a moment.
The Radium FCST came with pigtails already pre-wired for the pumps, but we had to figure out how to integrate them into our harness. Radium went a little overboard on the wiring diameter, so we had to merge their stuff into our stuff.
It wasn’t all that bad, though. We removed the extra wires on the large pressure pump connector (we only are using one pump). Once we were ready, we would splice the connectors into the harness that we assembled leading to each pump.
Now for the rest of the connectors!