,
| ||
| The clutch cover adaptor, hewn from a solid brick of aluminum, will hold our flywheel shaft and help locate the bellhousing adaptor. |
 | ||
| The original clutch cover, on the bottom, and the starter gear reduction box, on top, both have to go. The starter gear reduction box sticks a full 2.5 inches off the block, and leaving room for it would push the engine way too far forward. |
 | ||
| With both parts removed, you can see the delicate castings we're trying to transfer this load through. The gear on the right is bolted directly to the nose of the crankshaft, in case you're disoriented. |
 | ||
| The clutch cover adaptor in place. The raised lip in the middle helps locate the bellhousing adaptor. The angled face of the clutch cover is a damn frustrating feature of most modern sportbikes. If it were flat, this whole thing would be much easier to make. |
 | ||
| Tim designed the plates to fit together very precisely, needing just a single, determined whack with the deadblow hammer to get the plate seated on the alignment ring and the two dowels on the crank nose flange. |
 | ||
| In the end, we'll have a hardened steel shaft poking its head out here, but for the test fit, it's all hollow. Note the ring of bolt holes on the right. These are the ones serving double duty sealing the nose of the crankcase, and resisting the engine's torque output. |
 | ||
| Success! Tim's prodigious design and fabrication experience paid off in a part that fit together perfectly on the first try. Unbelievable! |
 | ||
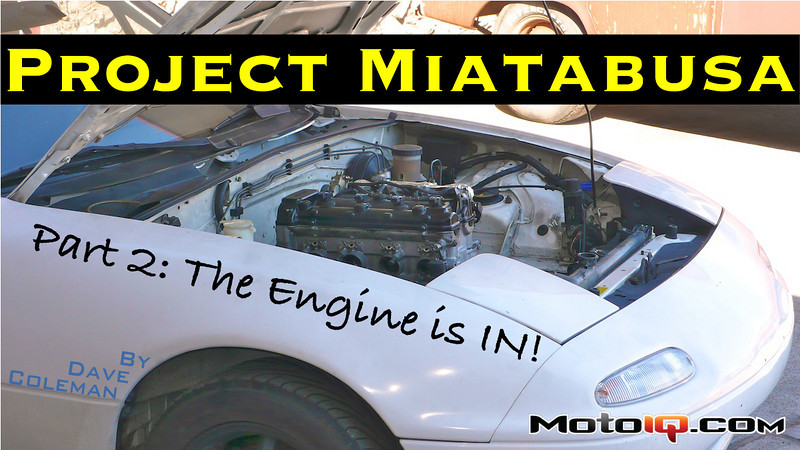
| Even our hood clearance estimates, which consisted of tape measures and squinting, turned out to be right on. There should be no problem keeping the valve cover and throttle bodies clear of the hood. |
Now don't let all this success make you think it's all easy from here out. Far from it. There are a number of hurdles left for us to tackle, but we've got plans in place for almost all of them.
 | ||
| First, the starter problem. When we eliminated the Hayabusa starter, we had hoped to use the Miata one instead. Turns out it's simply too huge, though. The Tilton starter mocked up here in the SolidWorks model would fit, if they still made it. Sadly, it turns out to have been discontinued. We'll find something soon. |
 | ||
| Next up us the subframe, a problem we identified early on. The oil sump sits so far forward in this configuration, that it desperately wants to occupy the same space as the subframe. As it sits here, the subframe is just starting to hit parts of the engine, but look at the top of the tape measure. The subframe is a full 4 inches from the frame rail it's supposed to bolt to. None of the commercially available subframes will clear our engine, strangely. Not even the ones designed to clear an LS1. We've got a subframe design that will work, and we'll be forced to build it ourselves. |
 | ||
| The offset mounting should actually work out well, helping to counterbalance the driver's weight. It also leaves plenty of room for a turbo over on the driver's side, if we can just get the exhaust over there to it. Speaking of exhaust, that's problem #3. There were daydreams of the factory Hayabusa header somehow fitting in the car, but there simply wasn't room. A custom header is being designed as we speak to wrap around the front of the engine. The header should simultaneously extract some power that Suzuki surprisingly left on the table, and end in a perfect location for the turbo we'll someday put in here. |


1 comment
I really want to build a haybausa rock crawler. I see that you made a adapter to the miada transmission. Would you sell the cad files or the adapter for me to make this combo work? I want to copy this exact build so i can make a small moon buggy for the rocks. Any help would be appreciated. Thanks