,
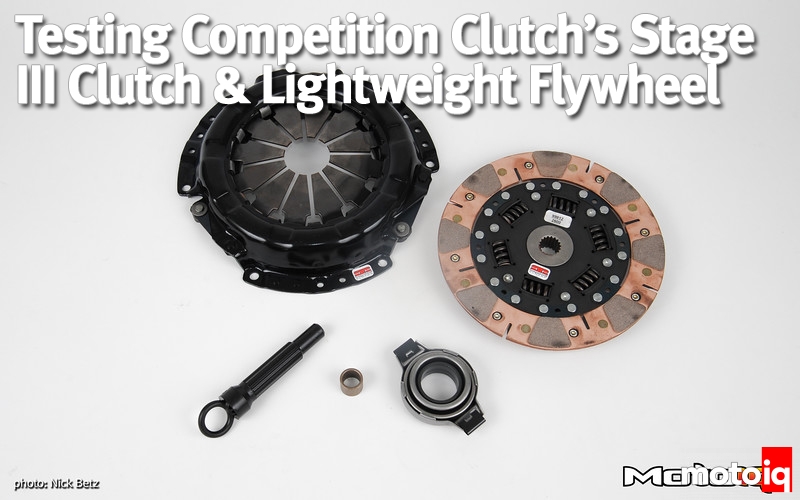
 The clutch kit comes with a new throwout bearing, a pilot bushing and a disc alignment tool. More on the throwout bearing later.
 The flywheel is placed on the crank register, the fit is tight so the flywheel is tapped down carefully with your hand. If the fit is really tight you can use a dead blow hammer and some common sense. On a FWD Nissan SR20, the input shaft doesn’t even go into the pilot bushing so we didn’t bother to change it.
 We used some Loctite red on the factory flywheel bolts to make sure they stayed in place. When using Loctite on flywheel bolts it is very important to use it sparingly. Too much and the Loctite might migrate in between the flywheel and register which could make it easier to shear the bolts.
 We tightened down the bolts by hand first.
 Next, we torqued the bolts down in three steps in a cross pattern to avoid cocking the flywheel sideways. After we torqued down the flywheel, we removed the bolts and repeated the process. This ensures that the flywheel is fully on the register and seated correctly. Note Howard’s super cool flywheel holding tool.
 With the flywheel all nicely installed, we used some brake cleaner to remove our greasy fingerprints from the flywheel’s friction face. Grease and fingerprints can cause the disc to glaze during break in.