Hello and welcome to the Ultimate SR20DET Rebuild Guide! In this series we will be covering the disassembly, blueprinting and reassembly of a S13 SR20DET engine in extreme detail. We will explain how each measuring tool works and how you can use it to precisely blueprint an engine. We will also cover some of the custom tools we need to make along the way.

Before we get started, let’s go over the history of this motor and why we are tearing it down. It’s important to have a good idea of what may have caused the damage to your motor so that you know what to look for. Figuring out what went wrong is the most important step during a rebuild!
The SR we will be working on came out of my drift car. It has standard sized ACL main and rod bearings, a 0.9mm APEXI MLS head gasket, ARP head studs, a dual rocker guide conversion and a Greddy oil pan. It was fed by a stock T25 turbo, running stock engine management with stock injectors being fed by a Walbro 255. Of course it also had the basic bolt ons, intercooler, exhaust and a chinese exhaust manifold. The boost was set at 13psi, the knock sensor has been bypassed with a resistor and the fuel pressure was set to 47psi at atmosphere (5 psi higher than normal to help with injector duty cycle).
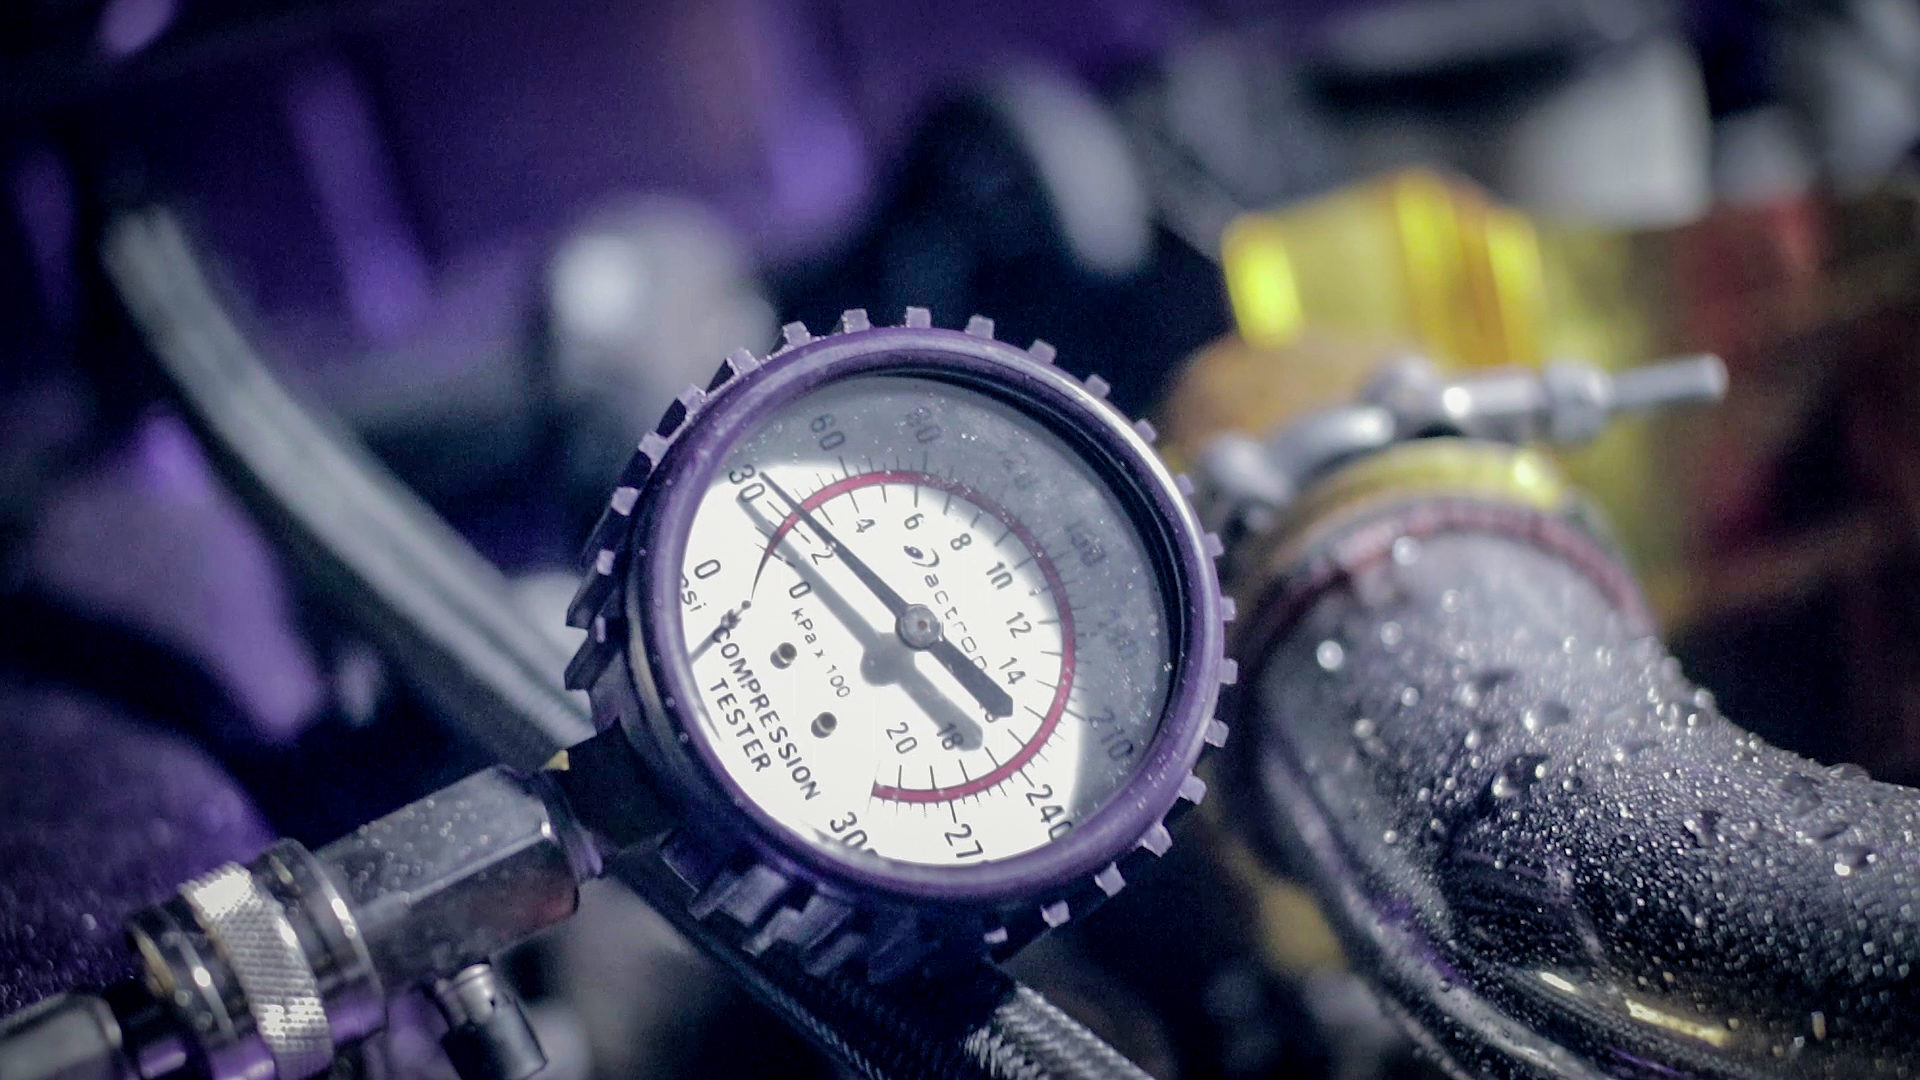
This engine was originally blueprinted and assembled by me October 2nd, 2017. Since then, this engine has seen 5 drift events and roughly 7,500 miles of street driving, destroying 3 axles and 1 transmission in the process. I first noticed trouble on January 18th, 2018, when I noticed the unmistakable sound of lifter tick during a canyon run. There was no oil in the oil pan. Unbeknownst to me, the engine has been burning oil when on boost, which I completely failed to notice since I mainly drove the car at night. After getting some oil and getting the car home, I pulled the oil filter and cut it open for inspection. There was a lot of bearing material present in the filter since the engine ran dry. Since the engine was running very smoothly and pulling hard, I foolishly assumed that the engine lost all the oil due to an oil leak. I climbed under the car and tightened some hoses hoping that would fix the issue. I then drove the car to Las Vegas, where I again cut open the oil filter to see if my bearings were still getting eaten. This time there was no metal, and the dipstick didn’t indicate any oil loss. I assumed the car was alright, and proceeded to run about 30 laps at Vegas drift without any issues (other than exploding 3rd gear), after which I drove the car back to Los Angeles. The car ran fine until another fateful canyon run in February. This time I definitely felt that the car wasn’t running quite right, and even in the dead of night I was able to see the smoke plumes coming out of the back. I limped the car home and performed a compression test the next morning, 155 35 155 155. Cylinder #2 was gone.
So that brings us here. Now that you know the story of the engine, let’s get right into the teardown! Every time you experience an engine failure, it’s important to find the root cause and learn from it.


24 comments
Nikita,
Huge fan of what you’ve done here! Just curious when youll be blueprinting the engine and doing assembly and posting that back on moto?
Love it thanks man!
Ryan
Nikita,
Great write up! Can’t wait to see whats next with this. Will be doing a rebuild on my SR very soon.
Awesome read great help.
Don’t you risk damaging the crank pulley with that type of extractor?
Yes, I’ve broken my pulley using a 3 jaw puller like that before. It can be avoided if you’re careful and make sure to have the puller perfectly squared up with the crank and don’t apply any uneven pressure when turning the bolt.
I’m surprised to hear that. I’ve never had issues, but I guess I’m careful. What type of puller do you recommend?
If I’m not wrong, the correct type is an harmonic balancer puller. That type pulls the pulley with two bolts that go in two threaded holes in the pulley.
Well the problem is SR20 pulleys don’t have two threaded holes in them! That’s why I’ve been using a 3-jaw puller my entire life lol.
A normal 3 jaw puller will work, just be careful with your placement of the arms and make sure not to let the puller bolt shift on the crank bolt. When I broke mine I was removing the pulley while the engine was in the car while trying not to hit the radiator so I had minimal space to work with and was using an open ended wrench so it was hard to not let the puller move around.
I’m actually in the process of disassembling an engine and had no issues this time around removing the crank pulley
Hello i see that you live in LA and i wanted to know ware you take your block to the machine shop? it looks like i have a rod knock and am looking to rebuild my s14 Sr20det by myself . i would like to toake it to a machine shop that does things right. ware would you recommend me to take it ? i would really appreciate it. Thanks !!! Oh and am looking forward on seen your writeup on how to assemble the engine back.
Engine Supply in Santa Ana is good.
However, I’m looking at RWD SR20DET crankshaft pulley photos and I don’t see those two holes. I’ve seen them in FWD SR20DE.
Hi I noticed you mentioned you stay out here in la would you recommend me a machine shop to send my block and get it checked. I have a rod knock on my engine and am thinking of rebuilding it by myself for the first time. Would really appreciate the help.. thanks!!!
Engine Supply in Santa Ana is good.
Excellent write up with pics on the SR20. looking forward to moe. just got one and going to start soon.
This write up will help immensely as I’ve never tore down an SR20 before and will be doing it shortly to replace pistons and rods. Thank you for doing this and I can’t wait to see your next post about blueprinting and reinstalling everything!
Absolutely thrilled to find such a well done and current article related to (disassembly) rebuilding the SR20 Part 1 however a little confused in your choice of a second topic in the series!
Our garage and assembly area are as near yours as possible, actually we are probable several pages ahead of you now however, my son and I are anxiously awaiting continuation into your thoughts and direction on blueprinting and reassembly.
Is there a planned date for moving forward?
Also waiting for this, looking at pulling my sr20 apart and found this to be a amazing first step but hesitant to go ahead without the rest of the information
This is a great thing, I think everyone feels this information is very valuable, thank you
Hey Nikita,
Just wanted to say thank you for this great information!! Im starting my build soon and was curious if you were planning on sharing the blueprint and build up of the engine..
Very nice write up. I’m about to look for this same for the reassembly as well.
love this , please continue with the reassembly and machining etc. the detail is second to none. Thanks
A little late to the game but have been following this article play by play while disassembling an SR20DET and has been very valuable. Have not been able to find the continuations of this project, has there been updates since 2018 – hopeful there are. If any users could share hyperlinks to blue printing, machine work, project reassembly that would be amazing. Thanks in advance for the assists!
What are the two bolt holes on the side of the front cover used for?