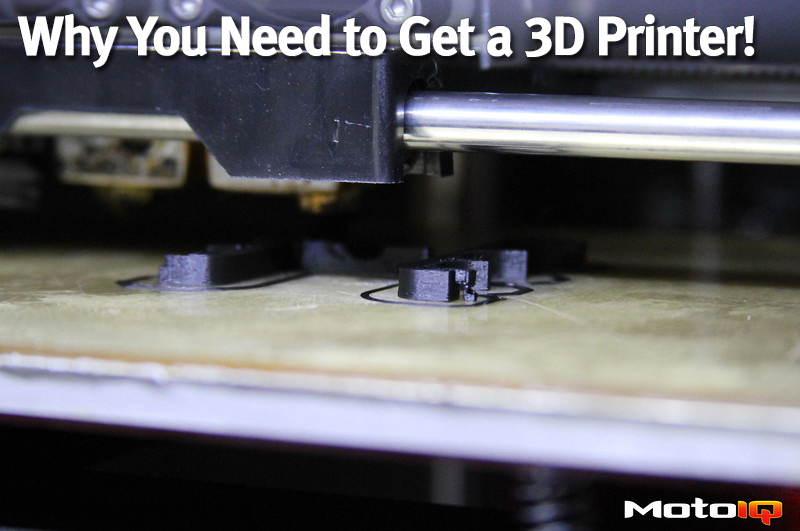
The printer I have is a Qidi Tech 1, which I picked up for $700. It’s essentially one of the many replicas of the Makerbot Replicator 2. It does have a couple of modifications though. I have upgraded the print bed to a PEI (polyetherimide) material to improve print adhesion. In addition, I have a Raspberry Pi running OctoPi controlling the printer. It’s connected to the internet which allows me remote control and monitoring of the printer. I even have a camera connected to the Pi, so I can spy on my print progress from anywhere in the world.
Most people who buy 3D printers never actually design their own parts, instead, they mostly print things they find on Thingiverse (a massive user populated online repository of different objects that you can print). However, if you really want to use the full potential of your 3D printer, you must learn how to CAD. This seems to scare a lot of people, but it’s really not that difficult at all. There are tons of free tutorials to get you started, and you can be designing parts with just a couple of hours' worth of practice. I would know, because that’s how I learned.
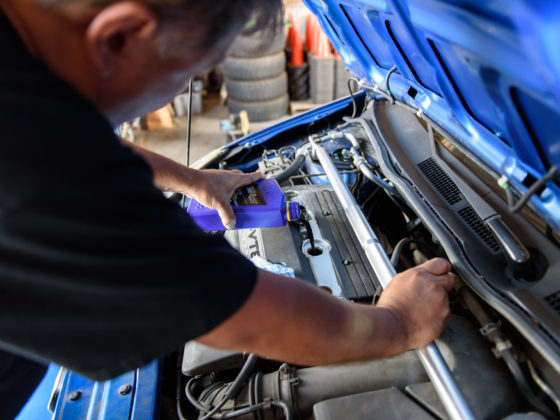
See that mess of hoses and wires dangling in front of the valve cover? We’re going to design a clip that holds it all in place.
Let’s actually go through the process of designing and printing a custom part. We’re going to start with something very simple- a clip.
The first step is to whip out your calipers and take measurements. I measured the outside diameter of the vacuum hose, the wiring loom, and the coolant hose for the swirl pot. I already know the mounting holes on the valve cover to be an M6, but I needed to measure the distance from the hole to the edge of the valve cover, to know how much clearance I had. Now, we open up the computer.I use Solidworks 2017 for CAD, which isn’t exactly cheap. However, there are plenty of great alternatives. If you’re starting out, I’d recommend AutoDesk Fusion360, which is free.
I started out by making a sketch of the clip using all the measurements I took. This is where knowing your 3D printer is very helpful. As you can see, I already knew I had to make that M6 hole into 6.25mm to compensate.
I then extruded the whole contour, split it in half, and added snap hooks. One thing to note, as you can see, I added fillets to round off the edges on the top and bottom, but not on the sides. This is for a very good reason. I planned for the part to be printed on its side, so having the part be completely flat on the side it’s being printed avoids overhangs. Just like with any manufacturing process, you have to think about how the part will be made when you’re designing it.