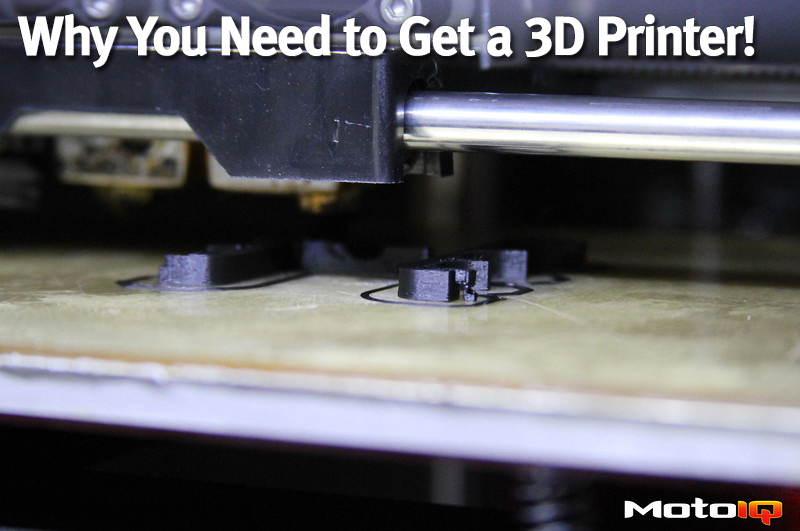

The next step is to export each part of the clip into an .stl file (mesh model), which I then imported into my slicer software. The slicer’s job is to convert your model mesh into gcode movement instructions for your printer. It does so based on hundreds of settings that you can configure to tweak your print quality. After tweaking a couple of settings, specifically to add supports for those snap hooks poking out the side, I can simply slice the model and export the gcode file, and I’m ready to print.

Now here is the thing with 3D printing, endless possibilities means an endless way to improve your design. So as always, I had a better idea halfway through the print; that also demonstrates the true power of 3D printing. Let’s get rid of those pesky snap hooks, which are a pain to print correctly and snap super easily anyway. Instead, we’re going to use a single zip tie to close the clip. I quickly measured the dimensions of the zip ties I had on hand, and then performed an extrude cut to form a cavity inside the clip that the zip tie will pass through, completely concealed from view.


This is what makes 3D printing so powerful and so cool. To make a part like this, you would have to pay thousands of dollars to have a custom injection mold made. Meanwhile, I can spend 15 minutes in CAD, hit a button, and have it be ready in an hour, all for PENNIES.