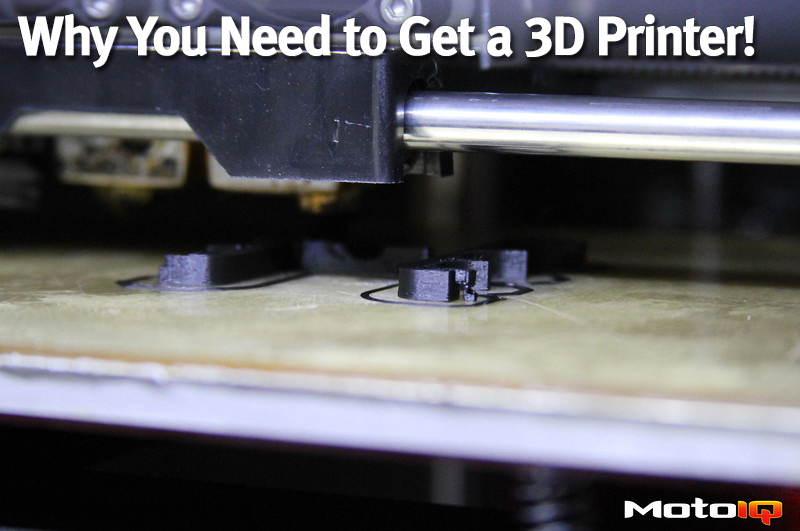
Now here is a little trick you can use to improve the finish of your 3d printed parts. It’s called an acetone vapor bath. Soak a paper towel in acetone, and place it inside a zip-lock container. Then get some aluminum foil and make an “island” to put your parts on (the goal is to not let the parts touch the acetone). Place your parts on the island (preferably with the non-visible side of the parts facing down) and seal the container. Acetone dissolves ABS plastic. The way this works is the acetone slowly evaporates from the towel, making the sealed container full of acetone vapor. The vapor just barely melts the outside of the plastic, which helps smoothen out the ridges from the printer nozzle. I usually leave them in there for about an hour, but this can vary.


After letting the vapors flash off we can finally install the parts. Now, this was a fairly simple example, but you can go wild. Your imagination is your only limit. And don’t be afraid to use parts in your designs that aren’t plastic. I’ve pressed in everything, from bearings to magnets, into my printed parts!

Ultimately, the benefits of 3d printing outweigh the challenges. You will have to learn CAD, and you will have to tweak and troubleshoot your printer. However, if you overcome this learning curve, the possibilities of what you can create are infinite. Need intercooler mounting brackets? Print them. Need a camber gauge? Print it. But be warned–once you’ve discovered the wonders of 3d printing you may be spending more time printing cool car things than actually working on your car.


