
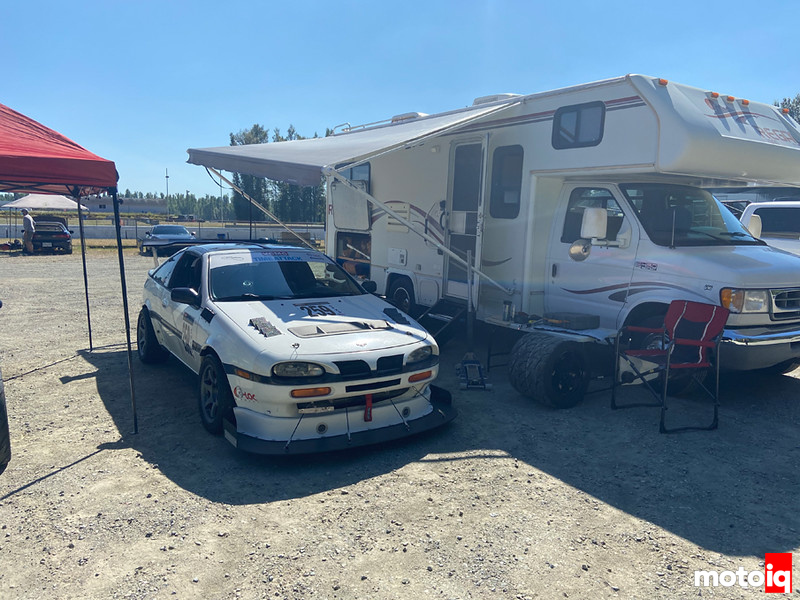

Removing the original On/Off switch was easy. Six screws and 2 nuts for the power line was all it took. Fortunately access under the RV was a piece of cake, and I was able to push the wires out and under the RV providing lots of room to redrill the floor so that I would have room for three wires. Battery wire from bank 1, from bank 2, and the common wire going out to provide power to the house. The original on/off switch is now mounted on a race car somewhere in B.C. and the new switch is now mounted in the same location with the bonus being that it is larger so most of the previous mounting holes are covered. The last time I went through the floor I used spray foam insulation to seal the opening. This time I used silicone caulking – partially because I thought that it might be a tougher seal and mainly because my spray foam had solidified and I had silicone caulking on hand.

With the inside done, now it was time to clean up and organize the old and new battery compartments. For this I required the following parts: two battery boxes, two distribution bars, a 50 amp automotive circuit breaker, 4 amp battery cables and 5/16″ ring ends (you’ll need a heavy duty crimping tool for this) so that I could make my own cables. Fortunately, I already had the crimping tool as I had picked it up when I installed an On/Off switch in the RV. I also got some aluminum square tubing to make solid battery tie down bars.


15 comments
I could feel the love in that article. That kid has the best Grandpa ever.
ERK, tons and tons of love. Not sure about the best Grandpa, but I certainly have the best Grandson! 🙂
Thank you!
Frank
I don’t have a camper… I’m not from Canada… I don’t have anyone in my life with a similar condition to Emmett… But I really enjoyed this article. Thank you.
Hi Jerry,
Glad you enjoyed it!
Frank
Incredible article! I don’t understand the innards of automotive repair, but after observing my brother’s love for car-racing for years at Mosport (now Canadian Tire Motorsport Park) in Ontario and then after his move to BC, his love for everything Emmett I can fully appreciate all 7 pages of this article! His love for car-racing, RV Camping and Grandson combined! I love my brother Frank and so proud of him and all his accomplishments!
Thank you, Janice. Love you too! I’m pretty sure that you’re going to get into car racing and track days sometime soon!
Great article! Its good to be reminded from time to time that our hobbies can mean so much more and that its important to enjoy life with those we love! Thank you!
One nit pick though: According to your diagram, if you put your battery switch into the “Both” position you are connecting you banks in parallel not series. In effect it turns both banks into one large 12v bank.
In the marine world this position is used to charge both battery banks with the alternator while the engine is running, then you can choose between the two banks when your docked or at anchor and the engine is no longer charging.
Functionally, this doesn’t change how you are currently using the switch, but if someone were to accidently set the switch to “both” you wouldn’t suddenly get a 24v surge that would damage any electrical components.
Joel, Thank you.
And thank you even more for your update on my battery switch. I’m going to be reaching out to you as you’re knowledge base on this is obviously way better than mine!
Frank
Love the article.. another vote for the greatest Grandpa!
Hi Adrian, Thank you and so glad you enjoyed the article!
Frank
Thought about running 6 volts?
Rockwood, 6 volt is absolutely a longer lasting battery. But two years ago when I bought a new set of house batteries my RV manufacturer recommended 12 volt. This was the manufacturer not the dealer. I didn’t have time to research so I just went with their recommendation. (I briefly comment on this on page 4). Too bad as 6 volt would have given much better life. And with this upgrade I wanted both banks to be the same, so 12 volt is what it had to be. When it comes time to replace all four, then I will probably go to a 6 volt solution.
Now you’re talking. No savvy sailboat guy would use anything but 6 volt golf cart deep cycle batteries. They work just as well in my RV, just don’t buy cheapies.
JD, if only I were a sailboat guy. I don’t even need to be a savvy one! Ha ha ha. I’ve certainly expanded my knowledge base over the years and 6 volt will be the next step. But only once I’ve used these up!
Given your use case, minimum of 4 batteries will be needed. Biggest bummer about 6v batteries is if one dies, you’re (you guessed it) stuck at 6v only.
A bunch of guys are experimenting with LiFePOs, but the danger of fire is waaaaaaay too high for me. Anyone who’s seen an RV fire live will agree. They go up FAST