
If you follow my writing, you know that I meander and that there will always be more than the title indicates. I also resealed the roof of the RV – that’s an ongoing task for RVs with a membrane roof. I also was worried about our stairs on the RV. Watching my daughter and son-in-law carry Emmett in and out of the unit worried me. The stairs were flexing a fair bit, the step was higher than was comfortable. So I talked to Cottonwood RV in Chilliwack, B.C., and told Kyle about some solid looking stairs that I had seen on other peoples’ units. Kyle was ready for me, as he had a set of Step Above by MORyde in his showroom. While he dealt with other customers, I walked up and down these display steps. I bounced. I probably even jumped up and down. When Kyle wrapped up the sale with his other client, he didn’t have to say a thing. I bought them. The installation was straight forward – it did involve shortening the door slightly. The safety and security of these steps for my wife and myself is fantastic. When carrying Emmett, it’s absolutely peace of mind.

There were two other small upgrades that we did with our Ford E450 based RV before heading out on our next expedition. The first was to follow the lead of James Houghton: he told me how they had installed a Bilstein steering damper on their 3 year old E450 RV and it made a huge difference. It absolutely was overdue on my 20 year old truck as the stock damper was completely done. The Bilstein 24-174534 steering damper took a couple of weeks to arrive, but when it did it was barely even a 30 minute job. Made me think that I should have done it years ago. While working on the damper I noticed that the sway bar end bushings were showing signs of wear. I looked up getting a full replacement sway bar setup, but decided to go with Moog K80222 upgraded polyurethane bushings for the stock system. This was touted on the internet as being an upgrade that could be done in well under an hour. I loaded up my air tools and tackled this project. The timeline is probably accurate, unless like me you’ve had a bicycle carrier hitch welded onto the front of your undercarriage. This caused me great grief as the swaybar couldn’t be easily moved out of the way. With some contortions and muscle power, the sway bar was out, the air hammer easily popped the factory bushings out. Note: drive them out from the rear to the front. The Moog bushings went in with a C-clamp and some loving force. I also slathered them with dishsoap. Getting the sway bar back required a bit more effort but I succeeded – again, unless you’ve welded a frame to your undercarriage, you won’t have an issue with this. While I cannot say which one made the most difference, I can tell you that combined the feel of the truck during a one hour trek to the mountains and back was a definite improvement.


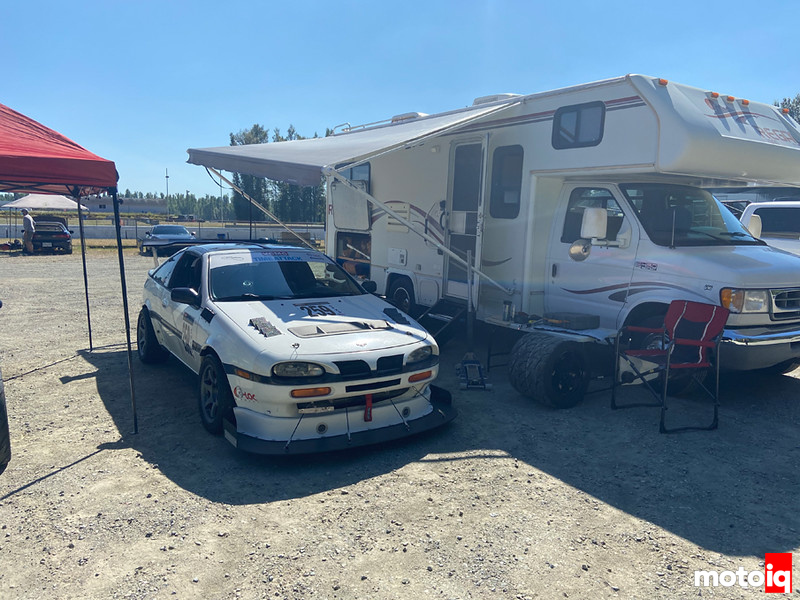
That one hour trek took us to Golden Ears Provincial Park, a beautiful and heavily forested park that is about 150 metres above sea level – about 140 metres higher than where we live. This was a mix of secondary and smaller roads and the RV ran perfectly. Our 3 night stay would have been one night longer than our previous battery setup would have allowed with uninterrupted power, so this was a great test. I’m pleased to say that everything worked exactly as it was supposed to. When Battery Bank 1 ran out, it was a simple switch to Battery Bank 2. Well, it would have been simple except I went for an hour walk at 7 a.m. on the second morning, leaving everyone else sleeping. They were shocked into alertness by the sound of alarms – the inverter alarm warning of the low battery, followed by the fridge alarm, and then four of Emmett’s medical devices started sounding their low power alerts. As you can imagine, it caused some panic. Even though I had shown everyone how to switch from Bank 1 to Bank 2 without ever leaving the RV house, in their sleep induced stupor they forgot. Rushed through their belongings to find the second set of RV keys (of course, I had mine with me!), ran outside to open the battery compartment and and then shut down everything. I came back and was pleasantly surprised to find everyone awake – only to hear of and then laugh at their difficulties – and with no power of any type. After resetting the circuit breaker which they had pushed, I showed them once again how to switch from Bank 1 to Bank 2. We had full power again and it couldn’t have been easier. And no one will forget how to use the switch again. In conclusion, I’ll leave you with a video of Emmett enjoying his new power chair. I have ideas about modifying it – but for now have been warned of bodily harm should I touch it. But just think what this chair would be like with wide, knobby tires and balloon tires on the front and rear stabilizer wheels!
15 comments
I could feel the love in that article. That kid has the best Grandpa ever.
ERK, tons and tons of love. Not sure about the best Grandpa, but I certainly have the best Grandson! 🙂
Thank you!
Frank
I don’t have a camper… I’m not from Canada… I don’t have anyone in my life with a similar condition to Emmett… But I really enjoyed this article. Thank you.
Hi Jerry,
Glad you enjoyed it!
Frank
Incredible article! I don’t understand the innards of automotive repair, but after observing my brother’s love for car-racing for years at Mosport (now Canadian Tire Motorsport Park) in Ontario and then after his move to BC, his love for everything Emmett I can fully appreciate all 7 pages of this article! His love for car-racing, RV Camping and Grandson combined! I love my brother Frank and so proud of him and all his accomplishments!
Thank you, Janice. Love you too! I’m pretty sure that you’re going to get into car racing and track days sometime soon!
Great article! Its good to be reminded from time to time that our hobbies can mean so much more and that its important to enjoy life with those we love! Thank you!
One nit pick though: According to your diagram, if you put your battery switch into the “Both” position you are connecting you banks in parallel not series. In effect it turns both banks into one large 12v bank.
In the marine world this position is used to charge both battery banks with the alternator while the engine is running, then you can choose between the two banks when your docked or at anchor and the engine is no longer charging.
Functionally, this doesn’t change how you are currently using the switch, but if someone were to accidently set the switch to “both” you wouldn’t suddenly get a 24v surge that would damage any electrical components.
Joel, Thank you.
And thank you even more for your update on my battery switch. I’m going to be reaching out to you as you’re knowledge base on this is obviously way better than mine!
Frank
Love the article.. another vote for the greatest Grandpa!
Hi Adrian, Thank you and so glad you enjoyed the article!
Frank
Thought about running 6 volts?
Rockwood, 6 volt is absolutely a longer lasting battery. But two years ago when I bought a new set of house batteries my RV manufacturer recommended 12 volt. This was the manufacturer not the dealer. I didn’t have time to research so I just went with their recommendation. (I briefly comment on this on page 4). Too bad as 6 volt would have given much better life. And with this upgrade I wanted both banks to be the same, so 12 volt is what it had to be. When it comes time to replace all four, then I will probably go to a 6 volt solution.
Now you’re talking. No savvy sailboat guy would use anything but 6 volt golf cart deep cycle batteries. They work just as well in my RV, just don’t buy cheapies.
JD, if only I were a sailboat guy. I don’t even need to be a savvy one! Ha ha ha. I’ve certainly expanded my knowledge base over the years and 6 volt will be the next step. But only once I’ve used these up!
Given your use case, minimum of 4 batteries will be needed. Biggest bummer about 6v batteries is if one dies, you’re (you guessed it) stuck at 6v only.
A bunch of guys are experimenting with LiFePOs, but the danger of fire is waaaaaaay too high for me. Anyone who’s seen an RV fire live will agree. They go up FAST