

Two days later, my Z4MR got a bath to remove all the rubber, dirt, and debris we picked up at the track. It’s a 12-year-old car, so it’s got some minor scratches, but I was dismayed to find a seriously deep rock chip on the left rear side skirt that actually took out a chunk of material. I’m not sure if it happened at the track or just during the course of normal daily driving, but it hurt my heart to see my shiny new toy with a blemish.

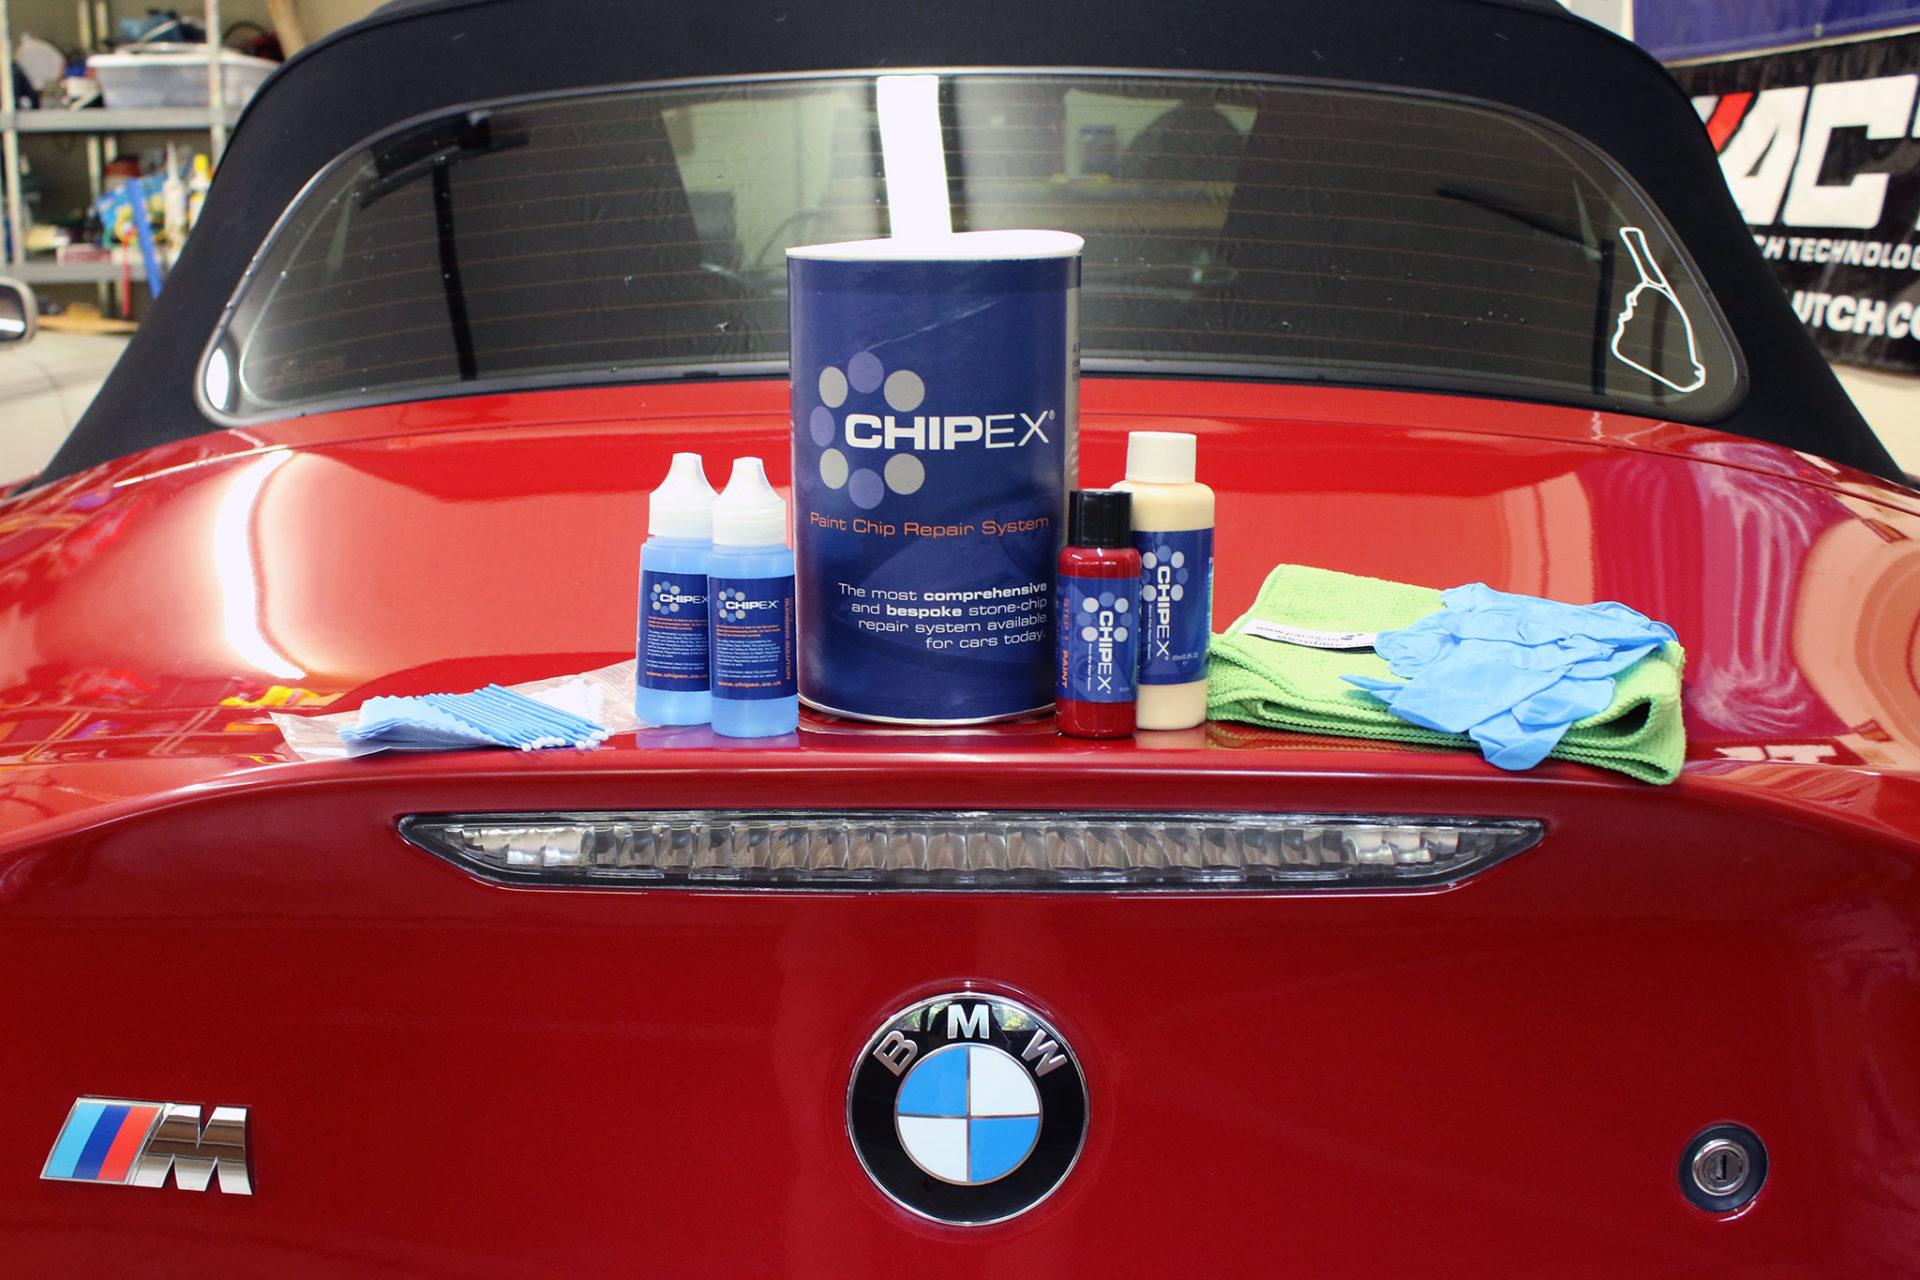
Fortunately, I had recently ordered a paint touch-up kit from Chipex and knew this was the perfect opportunity to try it out. The Chipex Platinum Kit contained everything I needed to perform the repair from start to finish and was a really nice improvement over other touch-up pen-style paints I had used on my turbo 1993 Infiniti G20 in the past. Contents of the kit included:
- 1 fl-oz of Chipex “IMOLAROT 2 405” paint, which is supposed to match the factory BMW color
- 1.98 fl-oz of blending solution
- 2.14 fl-oz of polish
- 10 brushes
- several silk paint remover cloths
- a microfiber cloth
- a pair of nitrile gloves

The kit included thorough step-by-step instructions, and I got to work in my garage. Step one consisted of simply filling in the damaged areas with Chipex touch-up paint and letting it dry.

For step two, the Chipex blending solution was promised to remove excess paint and ensure a seamless transition from old paint to new. I’ll admit, I was skeptical, but it did exactly what it said it would.

Finishing up with step three, the Chipex polish removed any other residue and was the last step in the repair process.


1 comment
That’s very useful foe mee