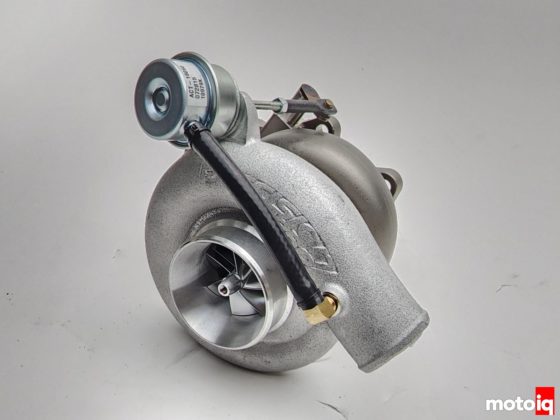
Installing a boost controller in a Cappuccino is a bit of a chore. The turbo is bottom mounted to the exhaust manifold and slipped between the engine and the passenger side shock tower. You can just barely see the wastegate here. The wastegate is obscured by the intake, turbo inlet and outlet piping, and the air conditioning compressor and lines.We had to remove the air filter, the intake, the turbo inlet, turbo outlet, blow off valve, the turbo hot pipe, and the forward chassis brace in order to get to the wastegate.Removing the chassis brace is the easiest way of getting to the bolts for the turbo inlet. The A/C compressor and lines make it very difficult to get a straight shot at the inlet and removing the brace allows tool room.Removing the brace is pretty easy, just be sure to unbolt this bracket that supports the lower radiator hose. The main wiring harness is also attached to this brace. Just unsnap the clips and lay the harness out of the way.There’s the wastegate and the vacuum line we need to remove. Be careful when removing this line. After 30 years it will be rock hard. The rubber lines around it are the coolant lines for the turbo. Tear one of them and you end up with a hard to fix coolant leak.All that work for this stupid little thing. We ended up slitting the ends and cutting it in the middle so we could pull it off without damaging the turbo coolant lines.


3 comments
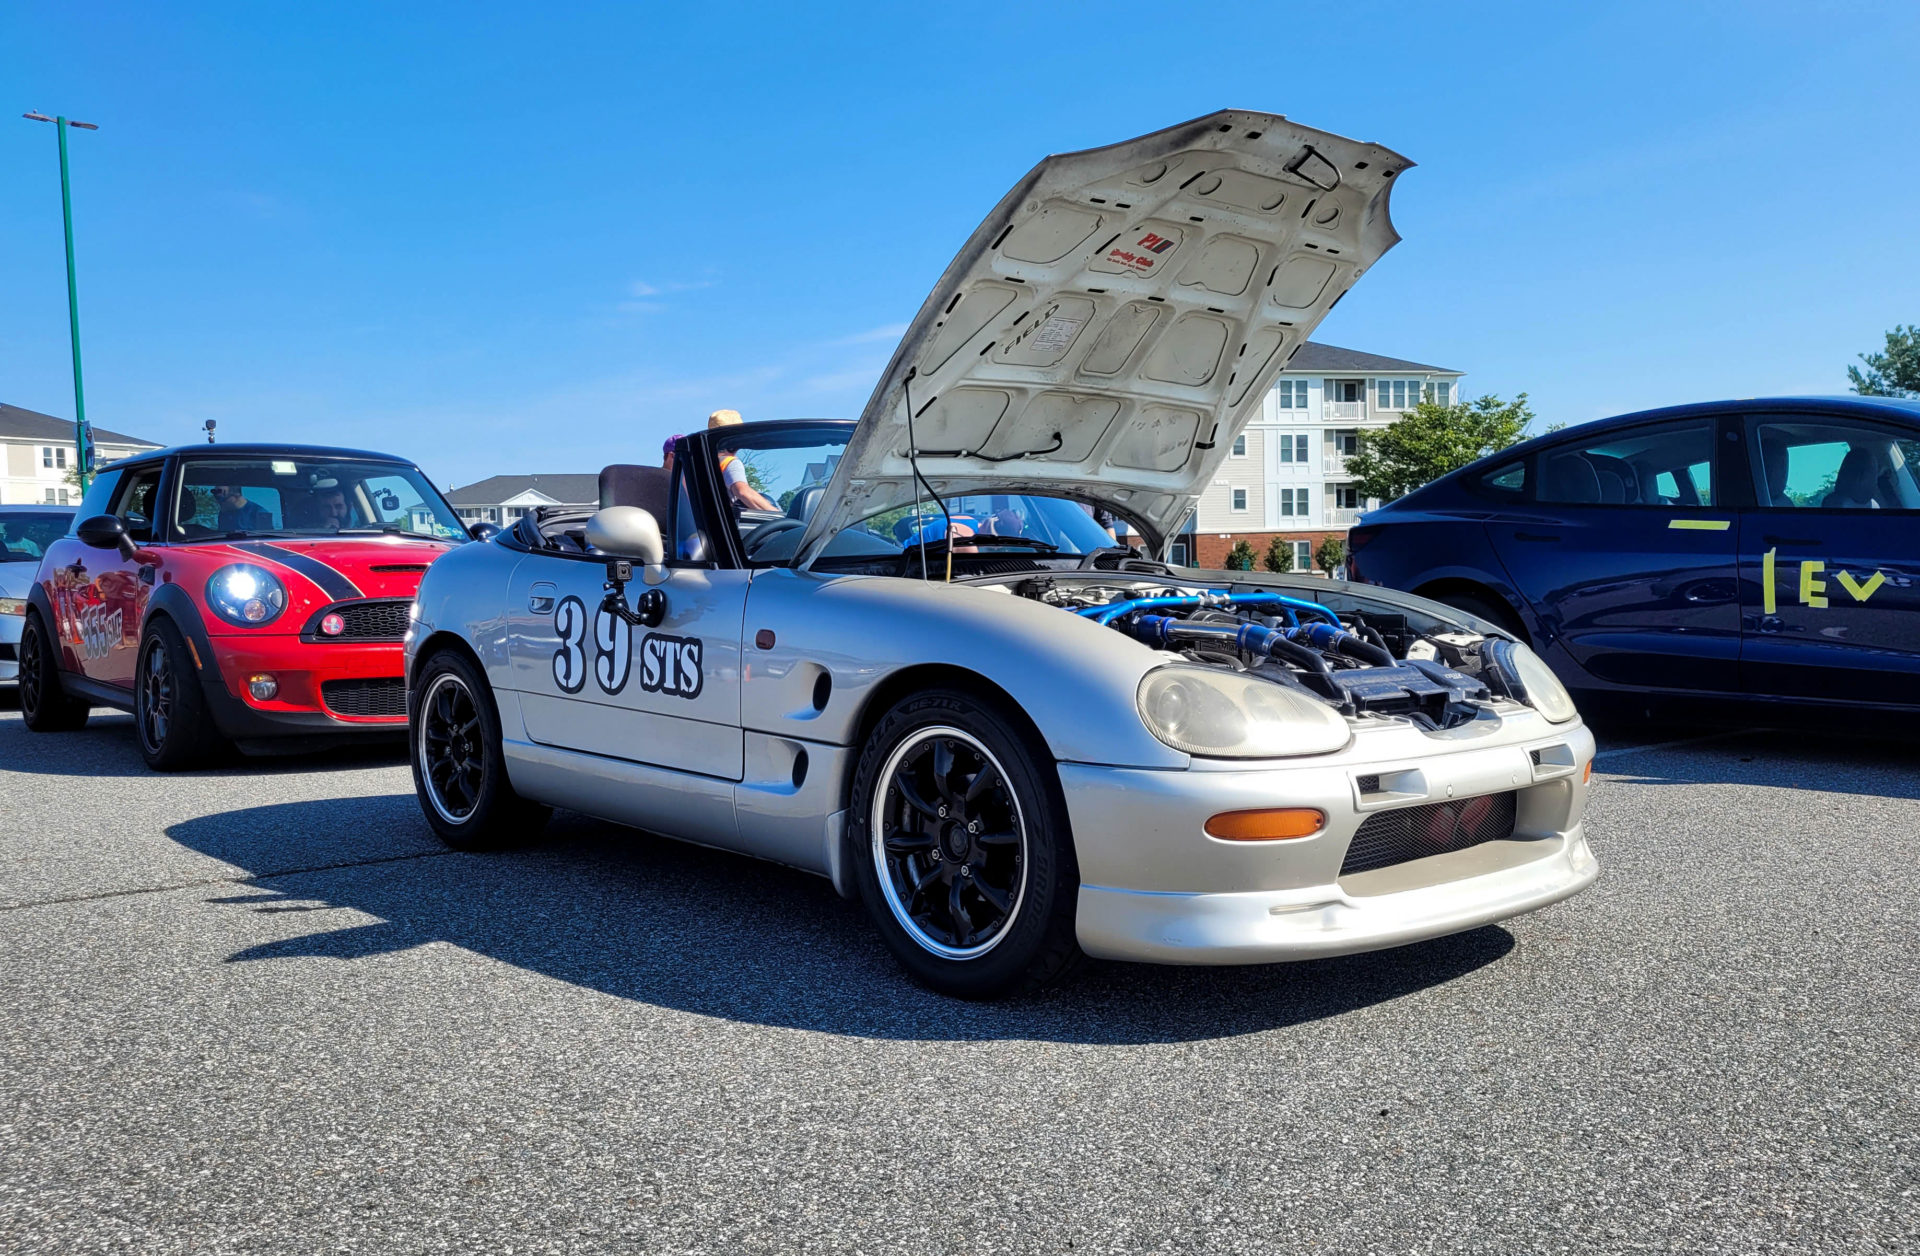
Time for a diff and sticky cheater tires for the cones!
Great writeup! Really looking forward to the Shorai battery details! looks like they have a size perfect for my NA6 Miata
Here’s an old MotoIQ article that discusses the basics of engine management systems:
https://motoiq.com/basic-control-systems/