,

Note the use of carpet-like sound deadening material. Between techniques like this and the “Acoustic Glass”, it is surprisingly quiet inside the cabin of this F150.

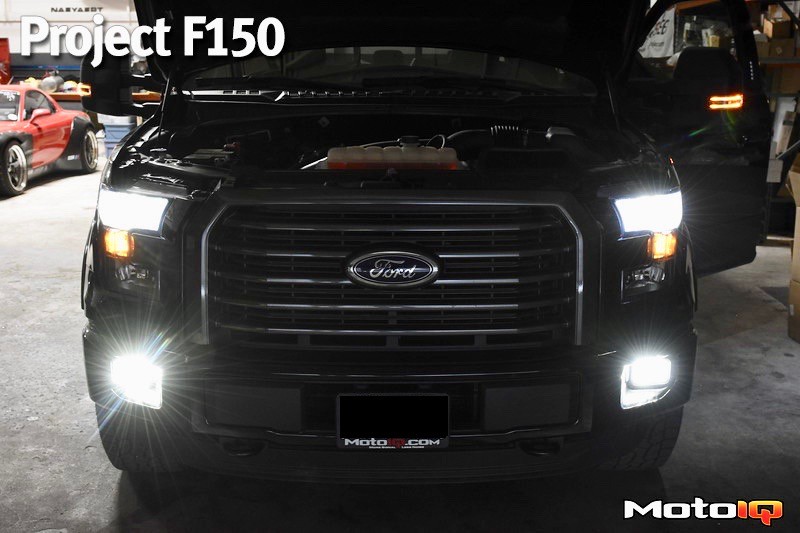
Like the evolution of all good products, some key changes have been made. Those buying the units today will receive a countermeasure kit. New seals and a ballast relocation kit are included. This will prevent any future issues with heat, especially for those with blazing hot summers.

Howard makes a small incision on the seal just large enough to fit the connector through after the new bulb is set in place.

New connectors pinned and installed, bulbs in place, and the ballast is ready to be mounted.

The ballast is mounted on a relatively flat ledge on the housing. We chose “JB Weld Ultimate Black” (included in the kit) RTV to affix it, and there are no signs of movement. It isn't under load, and if it should work loose, it won't get into any trouble. We also sealed the small incisions on the seals to prevent any moisture passing through into the housing.