,
 |
| With the crankshaft secured in place, we assembled the pistons, wrist pins and connecting rods and lastly, the rail support and piston rings. |
 |
| Before installing the assembly, we measured the length of each of the ARP connecting rod bolts using a Mitutoyo stretch gauge. We recorded each of their lengths, as we would later use these measurements to ensure that our ARP connecting rods were stretched to the right specification. |
 |
| An adjustable ring compressor was then used to compress the piston rings. We bought this one at our local auto parts store, but if you're going to do multiple builds of the same bore, an aluminum ring compressor sleeve like the ones here offered by Wiseco might be worth the investment. |
 |
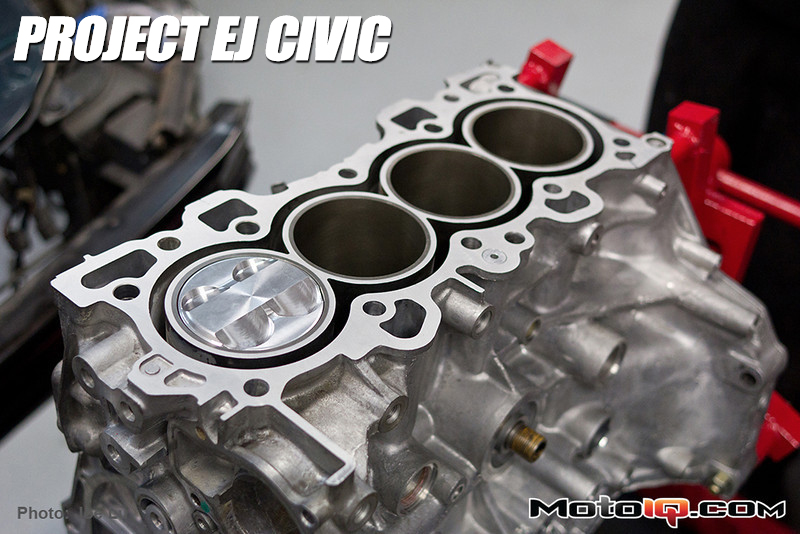
| Going one at a time, we carefully tapped the piston and rod assembly into place using the handle of a dead blow hammer. Once the rod bearing is flush with the rod journal, the block can be flipped over so that the rod cap can be bolted in place. |
 |
| Like the main bearing clearance, we again verified the rod bearing clearances using plasti-gauge one last time. Our rod bearing clearance checked in within spec at .0015″. |
 |
The completed and assembled bottom end shown here. |