,
 |
| We used the” torque and angle” method to install our ARP connecting rod bolts. In this method, the connecting rod bolt is first cleaned and then lubricated with specific ARP bolt lubricant. It's important to use the specific lubricant supplied with the bolts as different lubricants can reduce or increase friction and alter the amount of torque that the bolt requires to overcome the friction. Once the bolt is lubed, it is torqued to the amount specified by ARP and after, rotated a certain increment of degrees. After installing the connecting rod bolt using the “torque and angle” method, we used a stretch gauge to insure that the bolt was installed with the correct amount of preload. |
 |
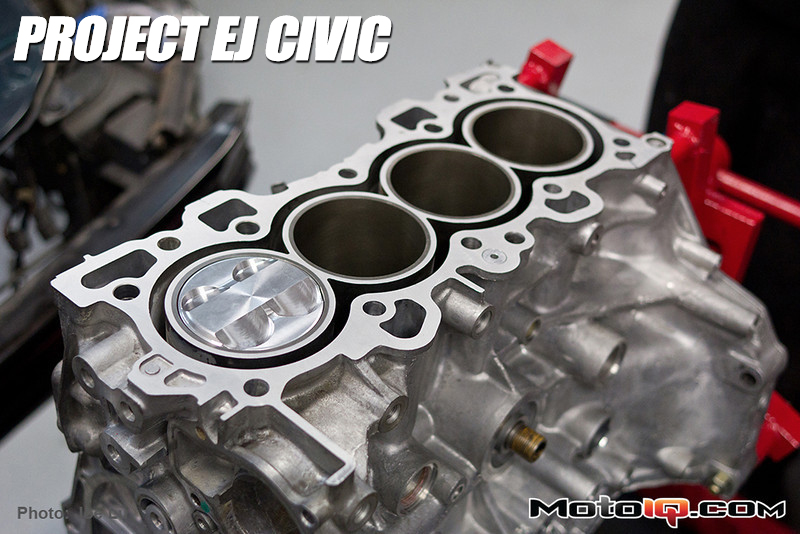
| Before we could continue our engine assembly, we had to verify that we had enough piston to valve (PTV) clearance. This was particularly necessary due to the change in rod ratio and the addition of Skunk 2 Pro Series camshafts. There is a couple different ways to check PTV clearance but the most accurate method that's achievable by the average Joe is to “clay” the engine. In this method of checking PTV clearance, clay is placed on top of the piston's valve pockets and the cylinder head, valvetrain and timing belt are completely installed. The V-TEC is then engaged using compressed air and then the engine is spun through its four stroke cycle. |
 |
| If you're using adjustable cam gears, it's important to make sure that their adjustment bolts are locked in place before checking PTV clearance. Someone, I'm not going to say who, may have forgotten to tighten these bolts causing the cam gears to slip while we were checking PTV clearance. This left me scratching my head and cursing the piston gods through hateful status updates on Facebook for a few days. |
 |
| After my head was extracted from my rear end and I ceased my passive aggressive Facebook status updates, we figured out that the cam gears had slipped and this PTV clearance issue really had nothing to do with the wrath of some imaginary piston gods. |
 |
| With this oversight sorted out and peace made with the gods, it turns out we had more than enough PTV clearance. To be exact, our PTV clearance was .150″ on the intake side and .085″ on the exhaust side. Once the head gasket is installed, another .025″-030″ of clearance will also be gained. |