,

SAFETY WARNING: Do not fucking do this!
I’m sorry for swearing, but this is seriously bush-league. It’s also extremely dangerous. See how the rubber is gone and basically only the internal cloth braid is left? That’s because you are NEVER EVER supposed to use standard rubber hose in an AN- fitting. DO NOT DO IT. That tiny little bit of cloth was the only thing holding this pressurized fuel hose together. This basically tore apart by hand without much effort. If you see a shop doing this, turn around, walk away, and never go back. This was done on fuel hose, which is an extraordinary fire hazard. Not to mention that the banjo fitting was not using the correct bolt size for the hole and did not have proper washers. This was a fire waiting to happen and I am very fortunate that it did not. Only ever use proper AN- rated hose in an AN- fitting. We will definitely NOT be taking Damnit back to the shop (it wasn’t H’s place, for the record) that did this work.

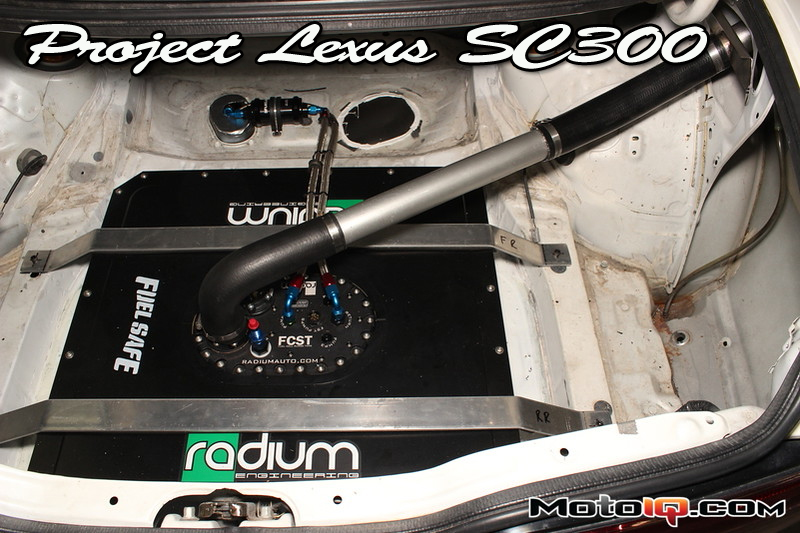
Some quick rework was done on the old FPR bracket and now the Fuelab regulator is in place.
The Fuelab 51502 regulator has -6AN fittings and 1:1 pressure regulation across a wide range. It will be more than sufficient for our lowly ~400hp needs. It also matches well with the -6AN fittings on the Radium/Fuel Safe cell.

The overall lengths were measured and then the hose was cut to size.
We purchased a few very long lengths of braided -6AN fuel-rated hose and then made general measurements before cutting them down to size. Taping the cuts helped to ensure we didn’t fray the braid. This part “isn’t rocket surgery”, as my wife likes to say.

It is useful to mark the hose so that you can be sure you are not pushing it out of the fitting
The hose is pushed all the way into this part of the fitting and then a permanent marker is used to mark the depth of the hose insertion. This way, when screwing the fitting together, if the hose gets pushed out it will be really obvious. Clever, huh?

AN wrenches are good, but this works too.
Once the hose is inserted into the end, the fitting is then screwed together. The blue part actually is a long threaded piece that screws into the red part. It also then goes into the hose inside the red part. It’s not that hard, but lubrication and going slow and steady ensures a good fluid-tight fit. The vice has some softer aluminum covers to protect the finish of the fittings, but we could’ve additionally used rags or paper towels if we were trying to build a show car. The vice is only used to provide just enough pressure to hold the fitting from rotating during assembly.