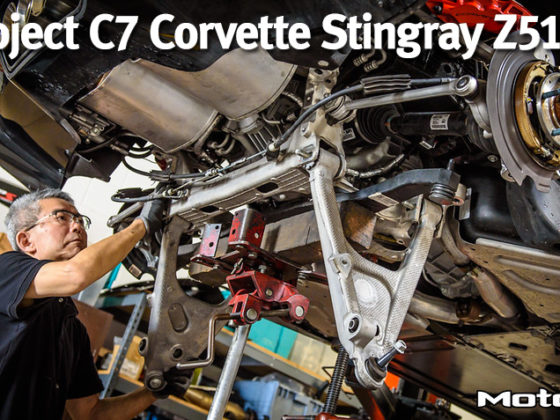
,
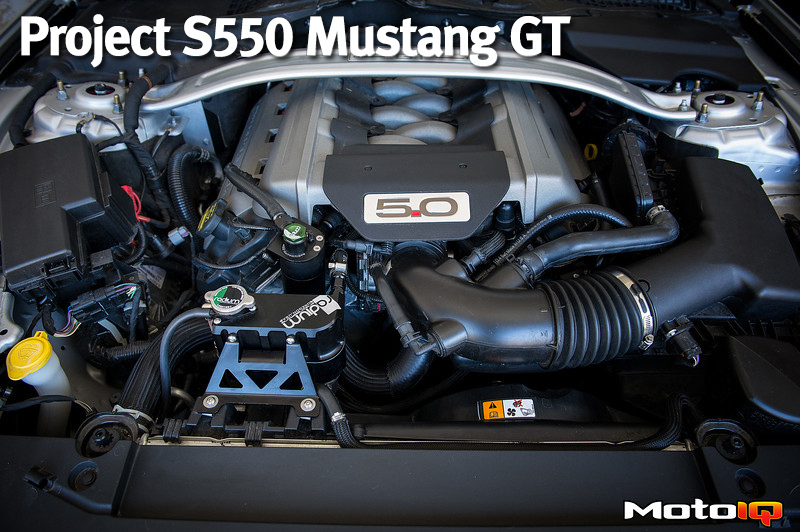
Next up, is their dual catch can setup. If you remember way back to part 1 of our project, I had installed another catch can as the coyote motor is notorious for letting oil pass into the intake manifold; particularly on the passenger side. While there was initial success with the other catch can, it seemed to have simply stopped doing its job. Unfortunately, after the initial oil change where a decent amount of oil was captured, we found less and less being retained with each check, until ultimately no additional oil was being trapped. With this in mind their dual setup was sourced. What’s better than one? Well two, of course!

Much like the quality of the expansion tank, these catch cans are very well thought-out and package into the engine bay very nicely. The kit comes with everything needed for the install. One of the best features is the way they securely mount to the front of the engine on both sides. I also appreciate the small details that Radium incorporates like the dipstick on the top of the unit. With the way these are packaged in the engine bay it makes checking levels very easy.
 The passenger side assembled and ready to be installed. You can see the small dipstick screw on the top that allows for easy fluid checks.
To install the catch cans, I first mounted them to the front of the engine on both the passenger and driver sides. The Radium brackets mount to factory holes on the plastic valve covers. These holes are used to hold the factory wiring harness in place. The small push pins are removed and relocated to the catch can bracket once bolted in place. I then measured and cut the supplied tubing to length. One end of the tubing is attached to the Radium fitting and the other is attached to the stock clips. From there, it was just re-installing the stock components and buttoning things back up. The packaging is very nice, and if it weren’t for the green Radium caps, no one would know that these weren’t stock.
 The kit reuses the factory quick release clips. Here you can see how the passager side clip is installed on supplied hose.
 The passenger side completely assembled and ready to bolt in.
Switching gears and turning our attention to the inside of the car for a moment, I also upgraded some of the high touch items in the car’s interior for a better overall driving experience. In a previous update I had installed a very nice machined billet shift knob. While the weighted feel was excellent, the heat transfer to the palm of my hand was not. In searching for an alternative I came across a company by the name of Raceseng. They offered a great solution for people that live in hot climates but still want a weighted shift knob (along with many other designs). A hybrid shift knob system that uses a billet machined steel core for the nice weighted feel, but also incorporates a removable delrin cover that does not transfer heat. These covers come in a variety of shapes and colors to match your personal preference. I went with the Orbature setup in black. The color compliments our interior very nicely, coordinating the other machined billet items in the interior. The shape feels great in the hand. The shift knob uses a machined adapter to ensure perfect alignment and is compatible with the Mustang’s reverse lockout pull. This new knob feels great and has zero heat transfer- a very important thing in the desert.
 Raceseng's line-up of hybrid shift knobs.