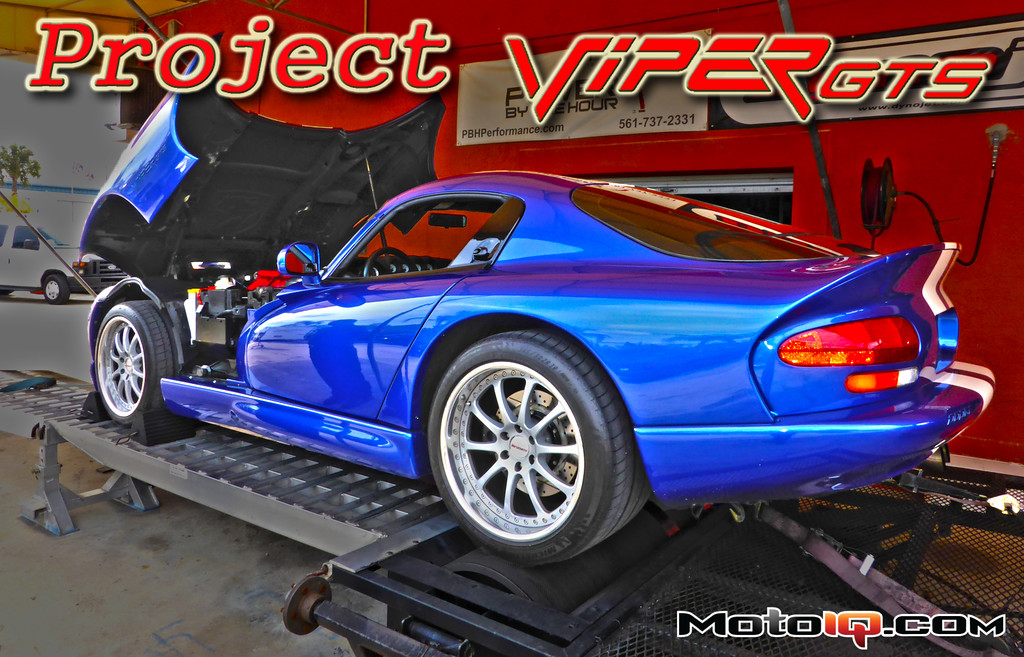
 With our baseline dyno completed, it was time to remove the airbox and swap out the air filters. Removing the airbox is easy, simply unplug the sensor on the passenger side, use a pair of pliers to remove the constant tension clamps on the Idle Control Valve tube and two intake runners, then loosen the three round knobs that hold the airbox on to the car to remove it.
 |  |
 |  |
 |  |
 I’ve always liked and used K&N Filters on everything from my first dirt bike when I was 6 years old to my first car; a Miata which I built into and raced as a Spec Miata. Next to the factory Filter, the K&N not only looks a lot better but will likely give us the reliability and performance that I’ve grown accustom to for decades.
 With the K&N High Performance Filters installed and the airbox back on, we turned the rollers again with a noticeable increase in induction noise giving our Viper a deeper growl from the front of the car. We were eager to see how much power it was going to give us. The air filters were swapped within 20 minutes of baseline so the temperature and humidity conditions were as consistent as possible (and they were according to the dyno’s records).
 We were blown away after seeing the horsepower jump up 14.55whp and 12.76lb-ft of torque from air filters alone! We were now making a total of 445.70whp and 480.78lb-ft tq! Torque gains were consistently in the double-digits from as low as 2,500rpm all the way to redline with a maximum increase of 17.39whp at 5,362rpm.
We knew the factory air filters were restrictive but we did not expect gains this substantial from a simple 20-minute swap that costs $49.99 on K&N’s website. This is one of the best horsepower per dollar modifications of any car that we’ve seen, and completely smashes the general rule of thumb of spending $100 per horsepower increase.
445.7whp is the same as what Gen-3 (2003-2006) SRT-10 Vipers put down on a Dynojet, which equates to an astounding 512.3hp at the crank. Keep in mind that SRT-10s were rated at 500bhp and 525lb-ft of torque and have a 0.8mm larger bore and a 2.1mm larger stroke (102.4mm x 100.6mm) than the Gen 2, and displace 300cc more to total 8.3L. Look further into the article for a dyno overlay/comparison of the Gen 1-4 Viper engines.